The Waterbomb Base—yep, that one! Some people call it the balloon base, but most folks know it as the waterbomb base, since that’s what it was first used for.
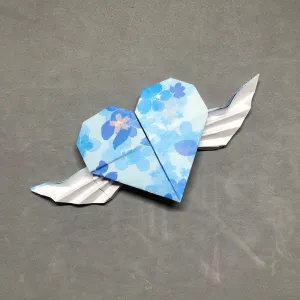
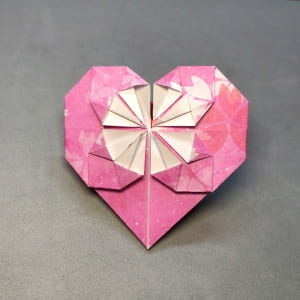
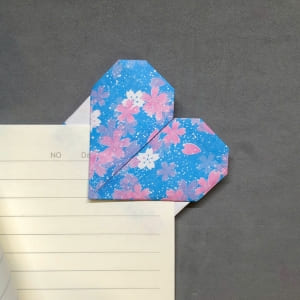
It’s not just for waterbombs though! I also use it as the starting point for models like the origami lily, angelfish, crab, and even that fun inflatable goldfish.
Step 1! I fold the paper in half from left to right—just a simple valley fold. Then I press down to crease it nice and firm.
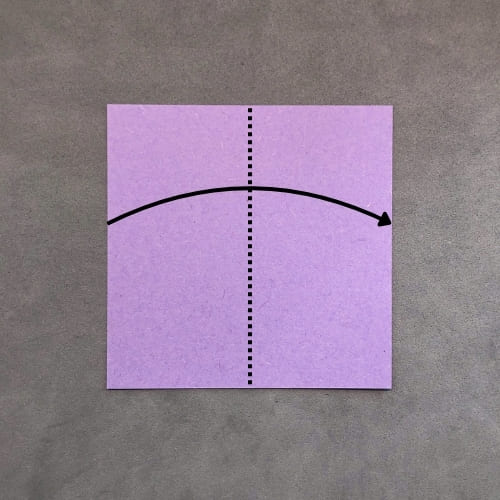
Then I press down to crease it nice and firm.
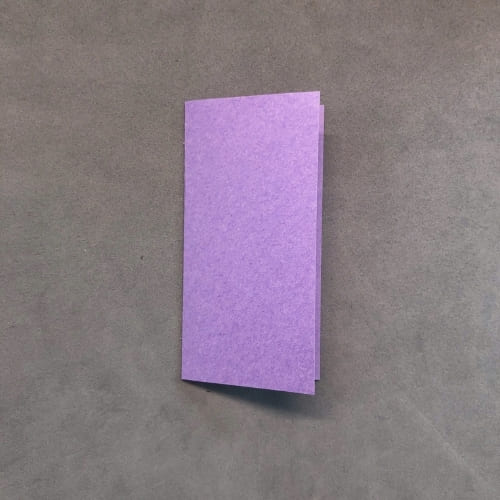
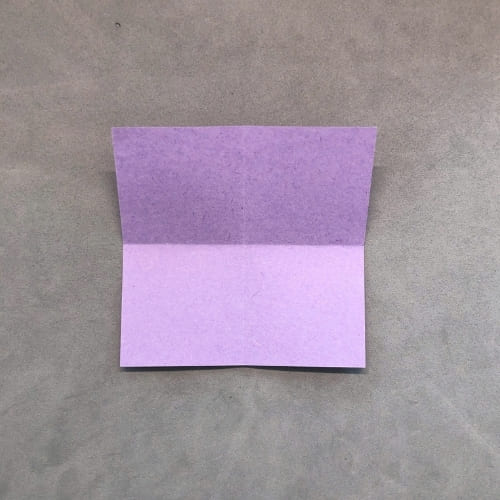
After that, I unfold it back to a square. Easy start!
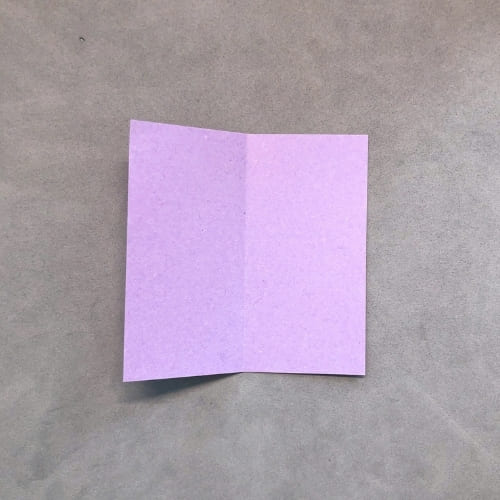
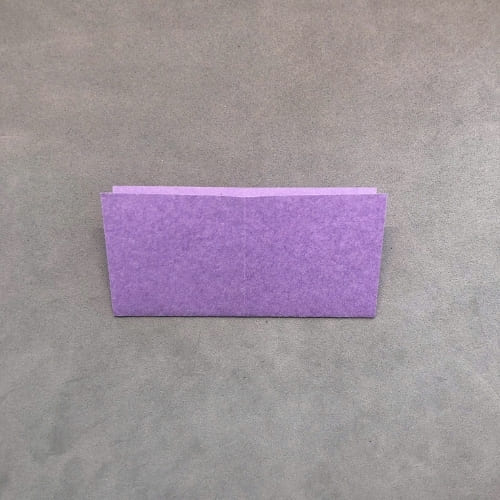
Step 2 now. I fold the paper from bottom to top this time—right along that dashed line.

Just like before, I crease it really well, then unfold it again.
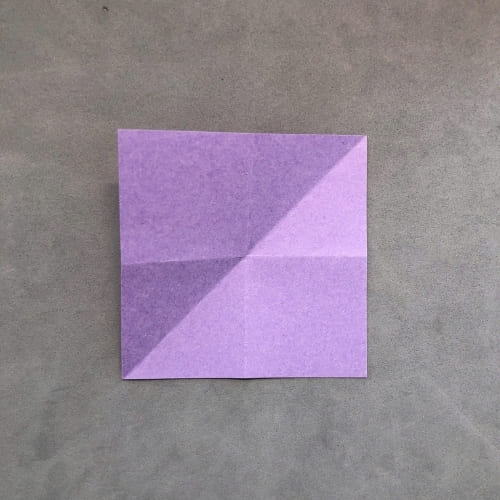
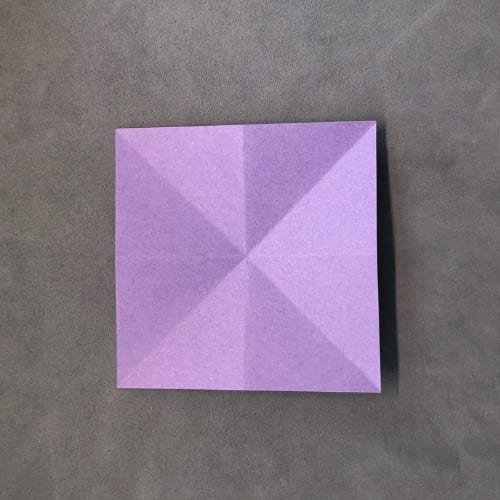
Now I’ve got a plus sign made out of creases!
Step 3—super simple. I just flip the paper over to the other side.

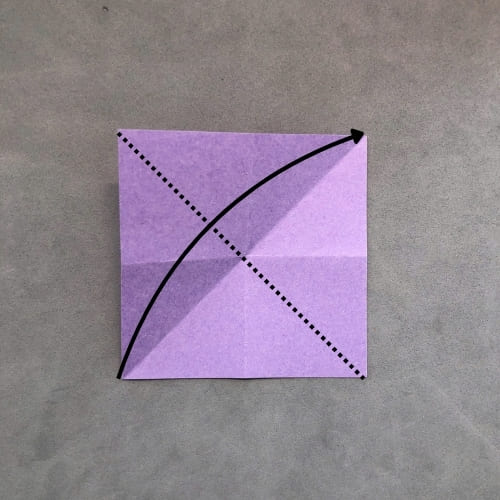
Step 4! I fold the paper diagonally—corner to corner—just like the picture shows.
Press that crease down real good, then unfold it again.
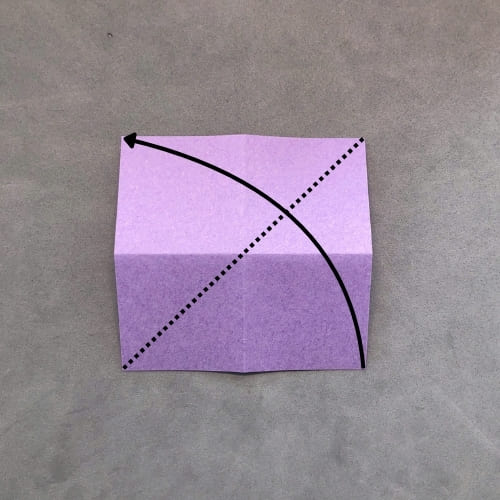
Step 5! I fold along the other diagonal now—so the opposite corners meet.
Same drill: crease it well, then unfold.
Now the paper’s got an “X” and a “+” crease—ready for the fun part next!
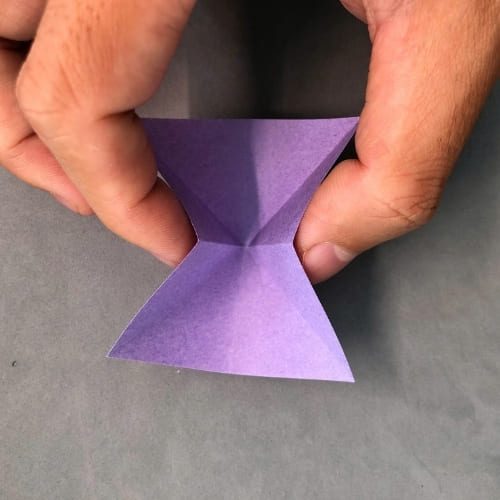
Step 6—this is where the magic happens! ✨
If I did all those creases right, the paper should just kinda collapse into shape on its own. But if the folds weren’t crisp… yeah, it’s gonna fight back 😅
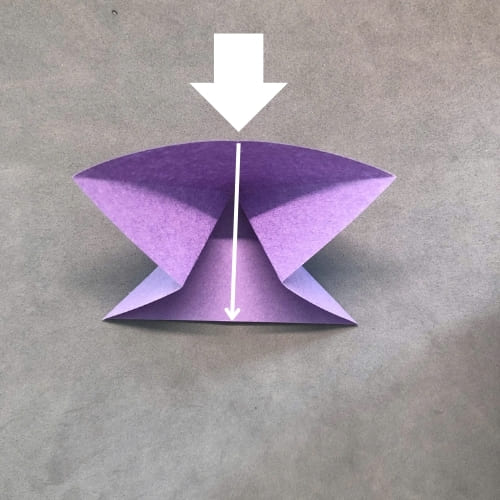
So I start gently pushing the sides in, just like the arrows show, and let the folds guide everything into place.

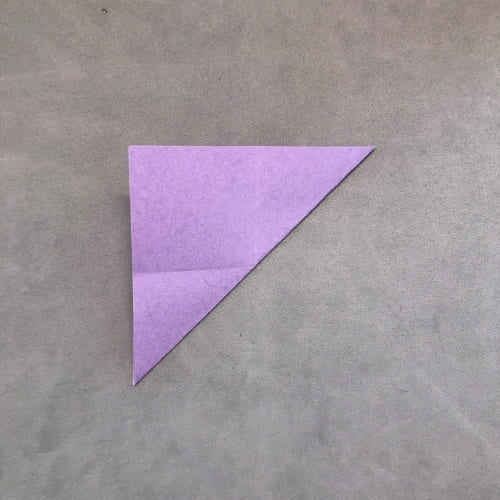
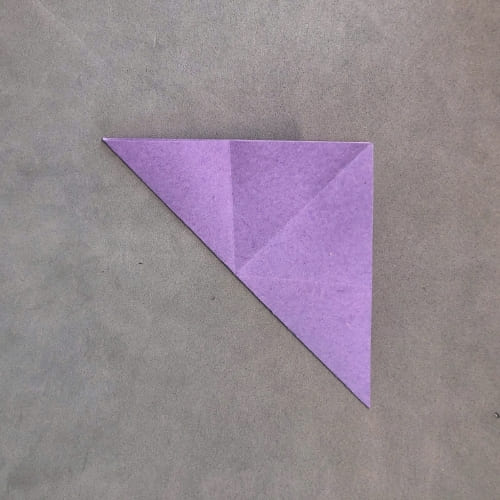
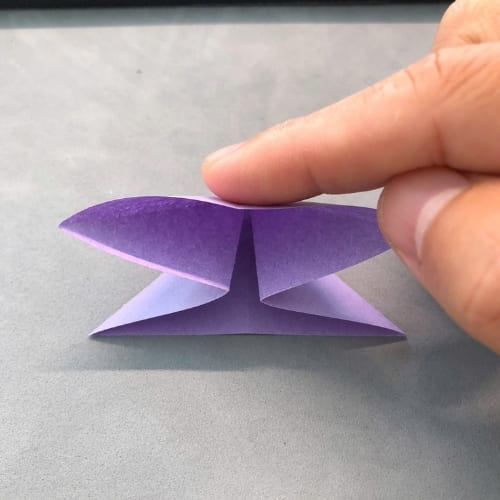
Step 7—almost there! As I push the sides in, I start to see that triangle shape form in the background. I hold it down gently with my fingers while I keep bringing both sides toward the center.
Once they meet in the middle, boom! The base is halfway done already. I just press everything down flat into a neat triangle—and that’s it!
Waterbomb base complete!