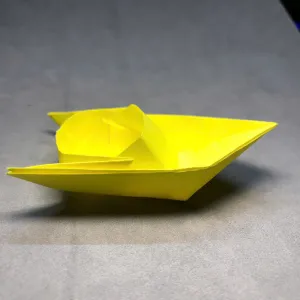
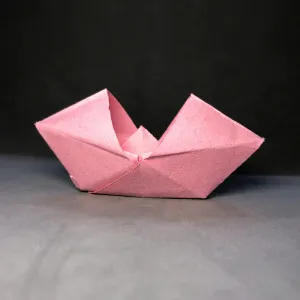
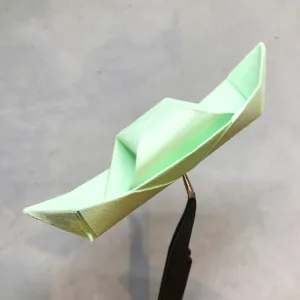
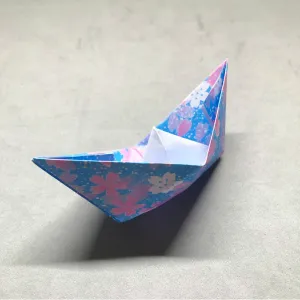
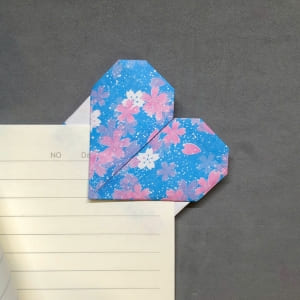
The origami square base is a really good starting point for lots of cool origami things, like a frog, ninja star, or even a star box. Some people also call it a “preliminary base” or just a preliminary fold.
It’s pretty easy to learn and make. You can fold the square base by watching the video or looking at the photos and steps down below.
Origami Square Base – Method 1
Step 1: Start with a square piece of paper. Fold diagonally from the bottom right to the top left.
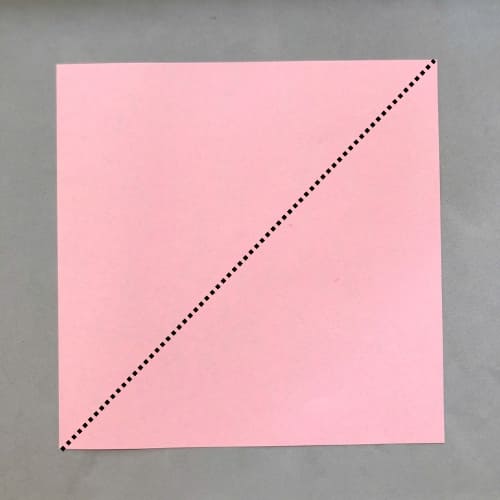
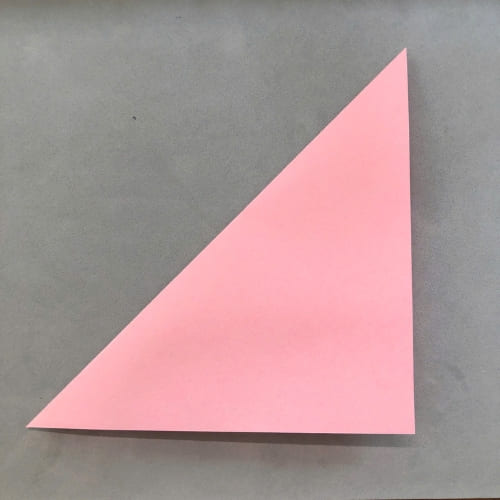
Then unfold the paper
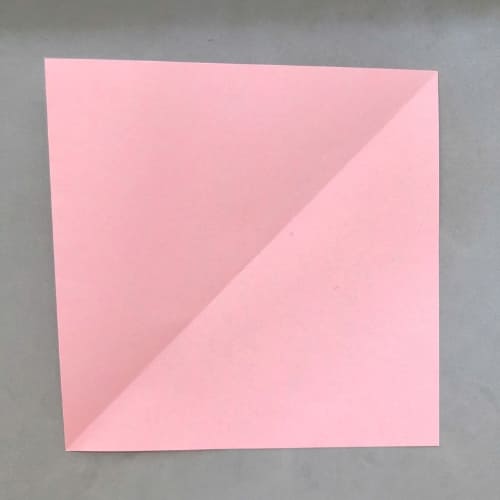
Step 2: Open the paper and fold the opposite side in the same way, from top right to bottom left.
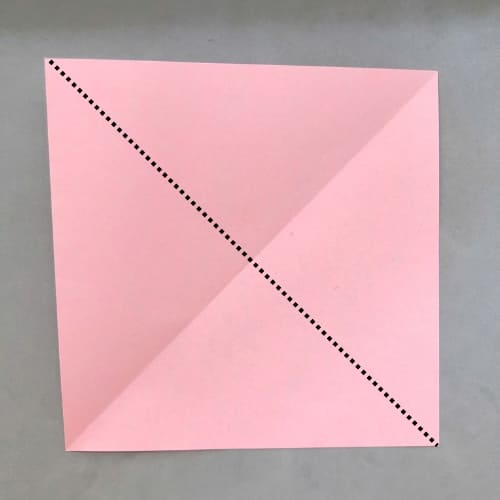


Step 3: After creating two diagonal lines, turn the paper upside down.

Step 4: Continue folding vertically from the left edge to the center. Make sure the outer edge of the paper coincides with the midpoint of the paper.
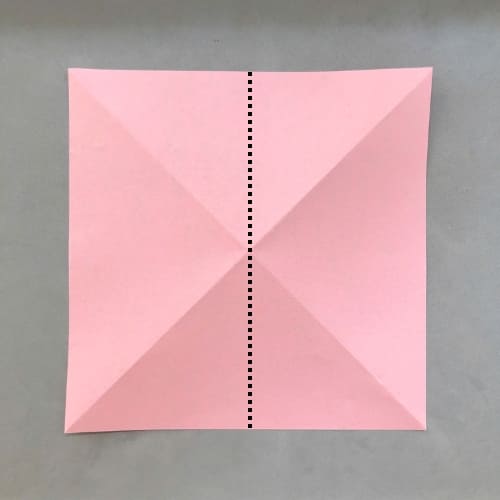
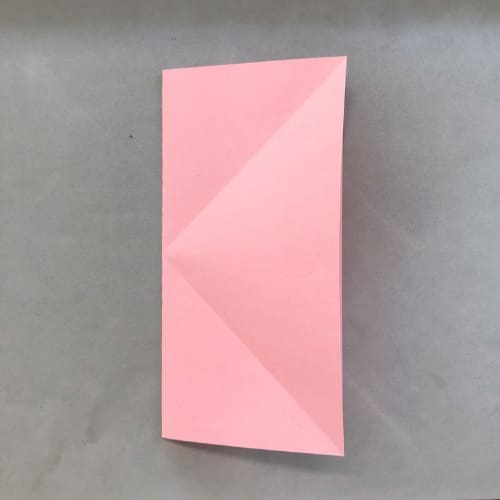
Then unfold the paper
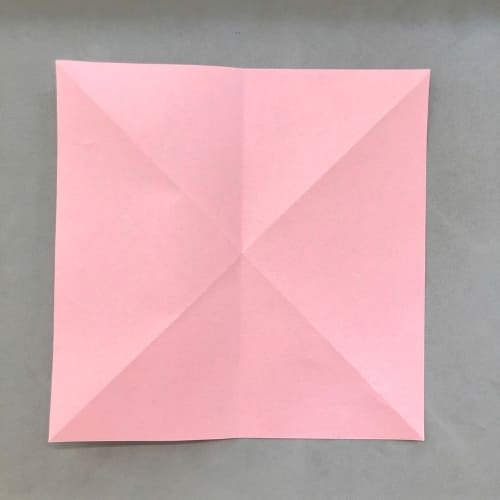
Step 5: Do the same as in step 4 but for the top edge of the paper.
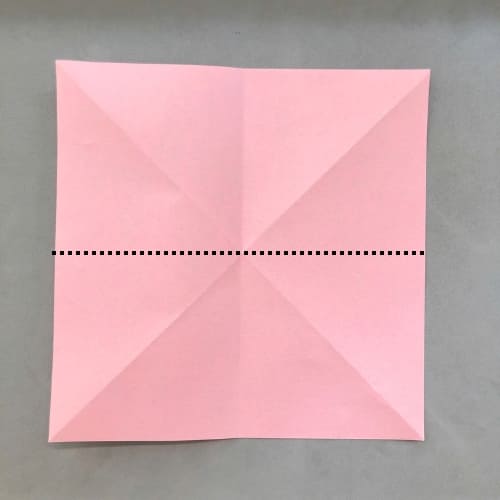
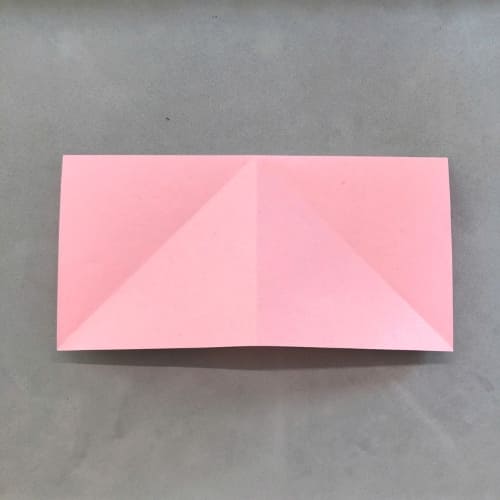

Step 6: After completing step 5, open the paper and turn it over.
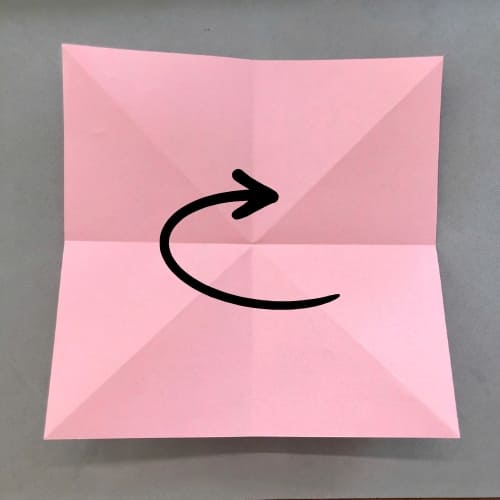
Step 7: After turning the paper upside down, rotate the paper clockwise at an angle of 45°.

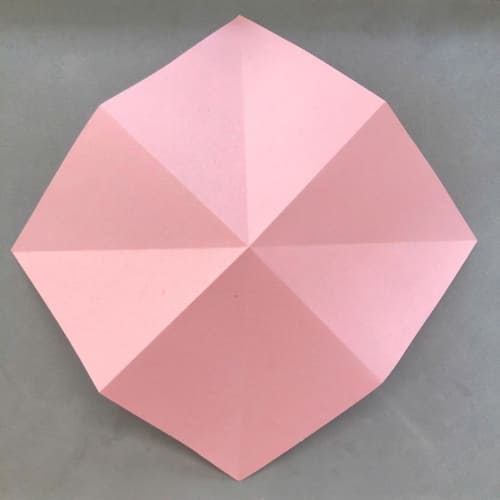
Step 8 (important action): Place both left and right hands at the same time as shown in the picture (the picture only shows the right side). Press the thumb, middle finger and index finger together.


And then, it gonna collapse down into a square shape of folded paper. That’s your square base right there!

Actually, there’s another way to make the square base, even though the way above is the official one and like, the traditional method.
Anyways, here’s method 2 for making the square base.
Origami Square Base – Method 2

Step 1: First, get a square origami paper. Now fold it across the diagonal, like the dashed line shows below. Press down hard so it sticks good.

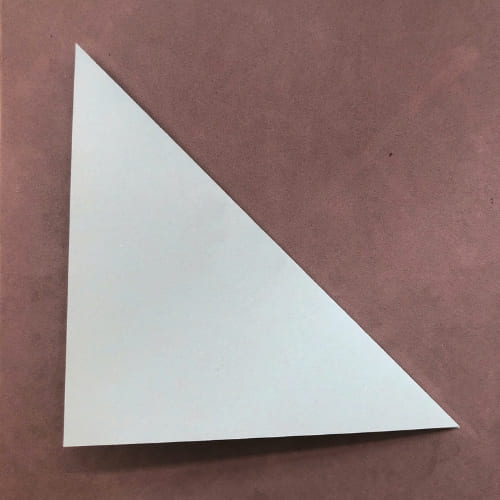
Step 2: Okay, now take your paper and fold it in half, like the dotted line in our illustration. Use your finger to press down on the fold so that it is neat and doesn’t come apart.
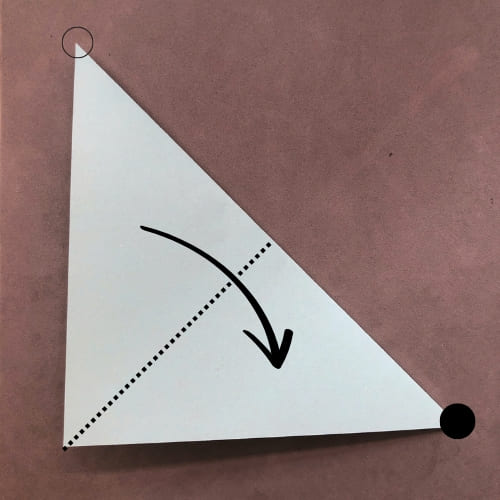
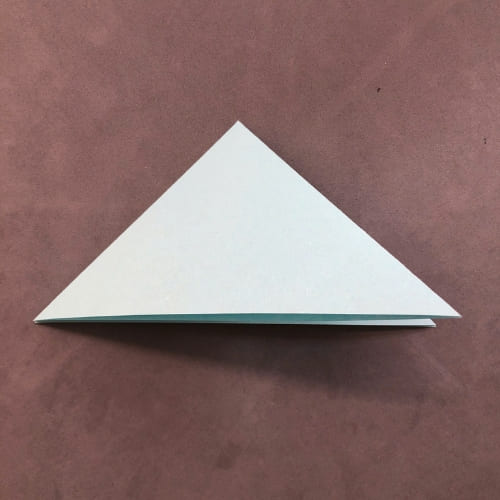

Step 3: Move 1 edge of the top right part to the left and press down.
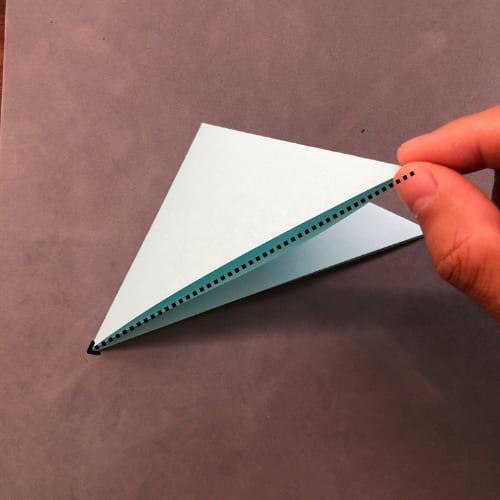
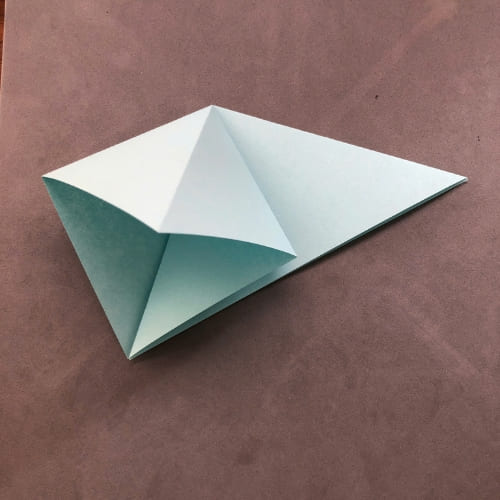
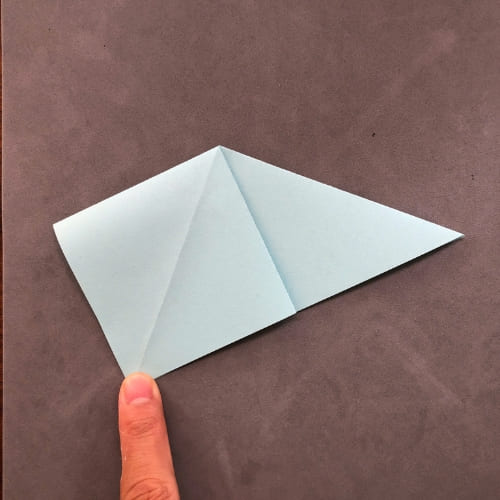
Step 4: Then, turn the paper over
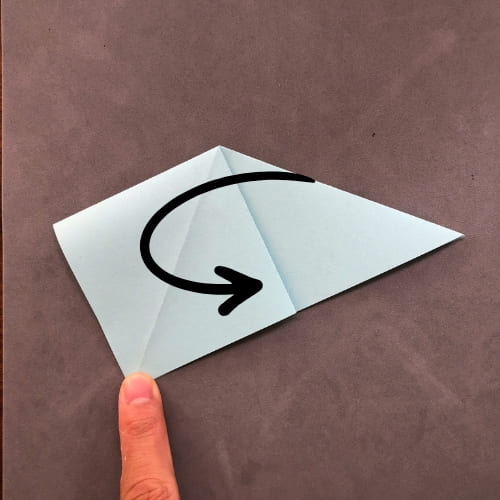
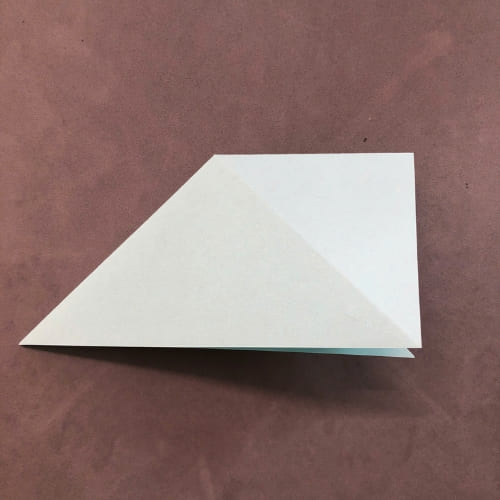
Step 5: Now do the same as step 3, open the left corner and gradually press it to the right. Make sure it matches the end point of the arrow in the illustration.

You still get the same result as Origami Square Base – Method 1 in the end.
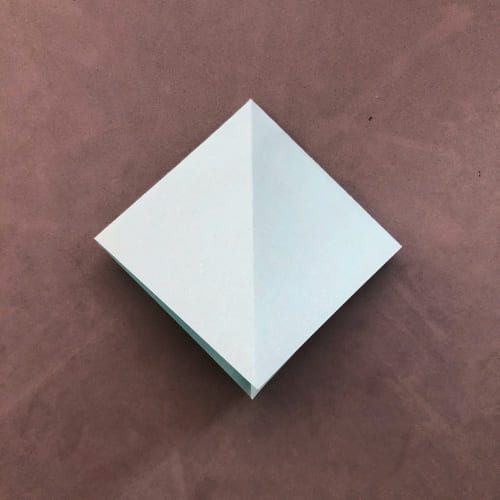
Personally, I still prefer the origami square base method 1. It’s easier to make and looks more perfect than method 2.
