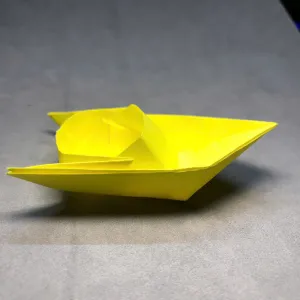
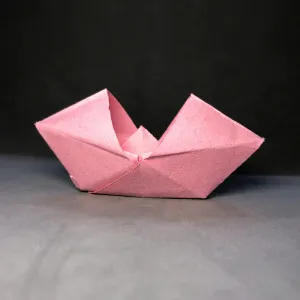
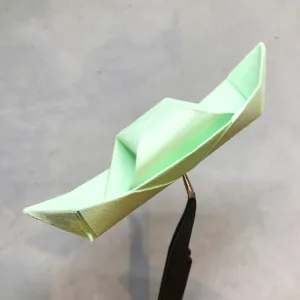
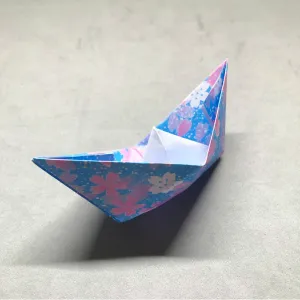
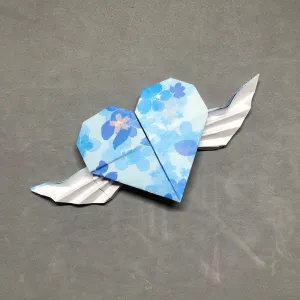
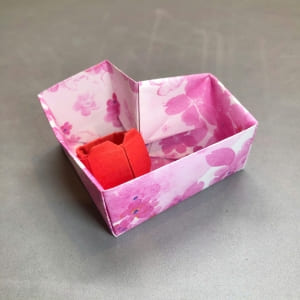
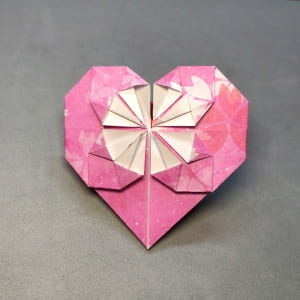
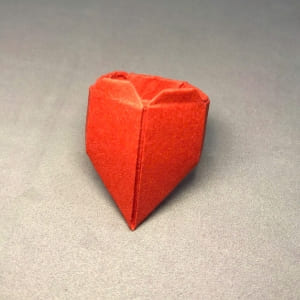
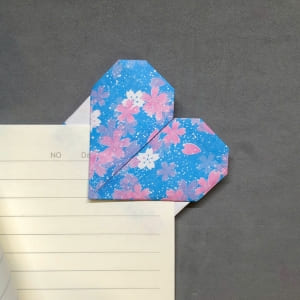
I just learned a really fun way to fold an origami pattern base. It’s easy to follow and only takes a few minutes. You don’t need any fancy tools, All you need is a square sheet of paper. Just focus and fold it step by step. Let me show you how I do it so you can try it too.
MATERIALS YOU NEED
| Material | How I Use It |
| Square paper | I always start with a square sheet and you can pick any color or even patterned paper to make it look more fun. If you don’t have square paper, you can cut a rectangle into a square. |
| Flat table or surface | I like to fold on a smooth, flat surface like a table. This keeps the paper steady and makes my folds straight and sharp. It’s harder to fold on a soft or bumpy surface. |
| Fingernail or ruler | I sometimes use my fingernail to press down on each fold to make it crisp. If you want even sharper edges, you can use the side of a ruler instead. |
| Patience | This is really important. I don’t rush because when I go slowly, the folds come out cleaner and the whole thing looks much better. Even if it takes a few tries, it’s worth it |
Step-by-step instructions
Before I start folding, I like to make sure I have everything ready and take a deep breath. This part is my favorite because I can really see the Origami Pattern Base take shape step by step. Just follow along with me, and you’ll see how easy and fun it is.
Step 1: I take a square paper and put it in front of me.
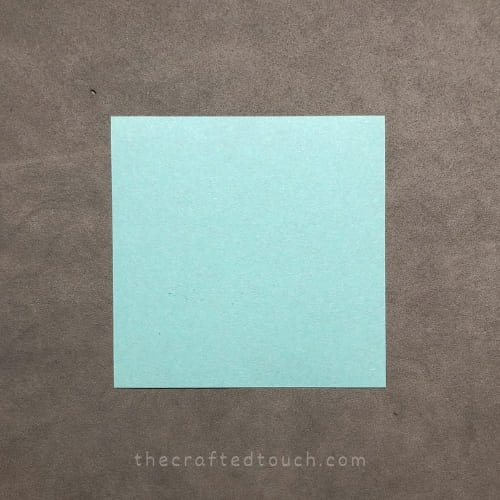
Step 2: That’s it, just a nice square. I fold the paper diagonally from corner to corner, then unfold. Then I fold the other diagonal and unfold. Now my paper has an X crease in the middle.
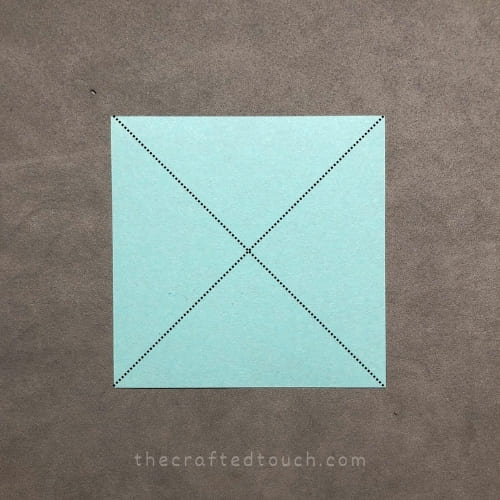
Step 3: I can clearly see the X lines on my paper now. Feels good!
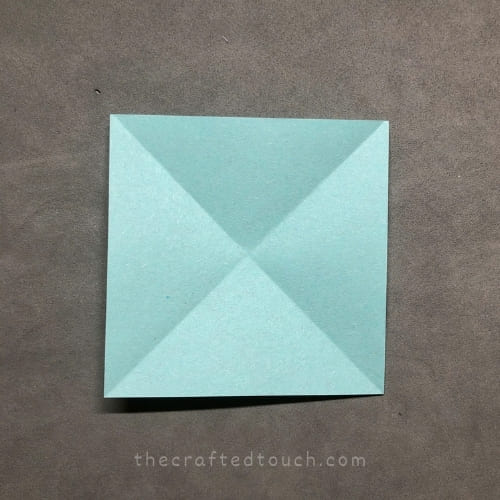
Step 4: Next, I fold the paper in half top to bottom and unfold. Then I fold left to right and unfold again. Now I have a big plus sign (+) and an X on my paper.
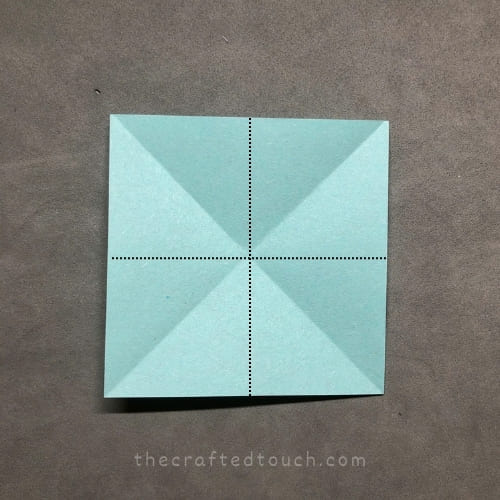
Step 5: Here, I just open it up and check. All the creases are there two diagonals and two straight lines.
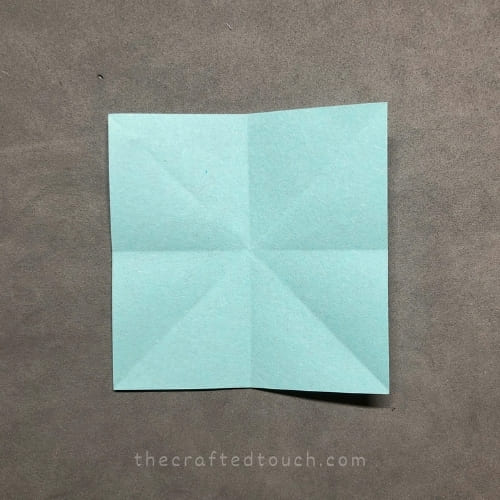
Step 6: I fold the left edge toward the middle line. Then I fold the right edge toward the middle too. It looks like a long skinny rectangle now.
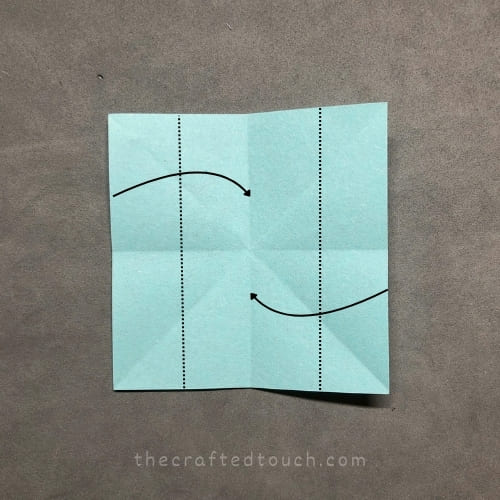
Step 7: After folding, my paper is tall and narrow. Pretty neat and even.
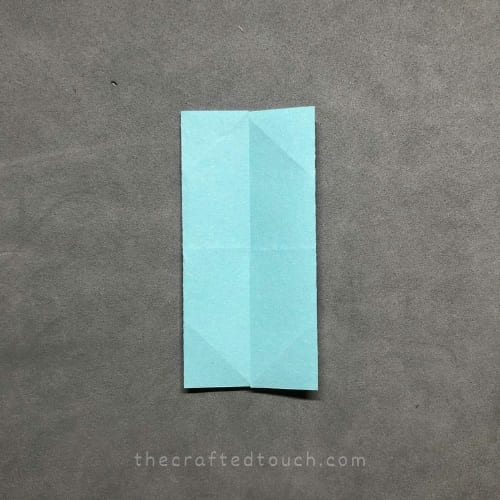
Step 8: Now I fold the top edge down to the middle line, and the bottom edge up to the middle line too.
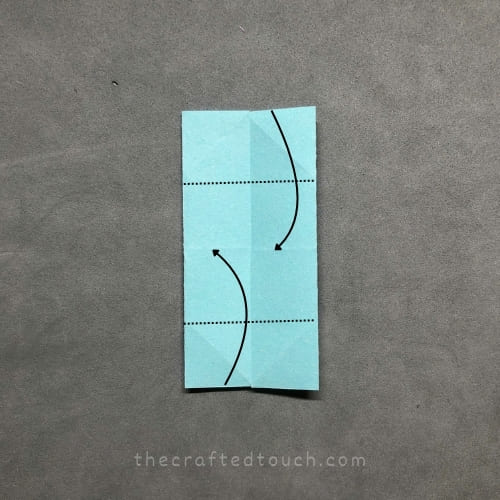
Step 9: I press down the folds firmly and It becomes a smaller square.
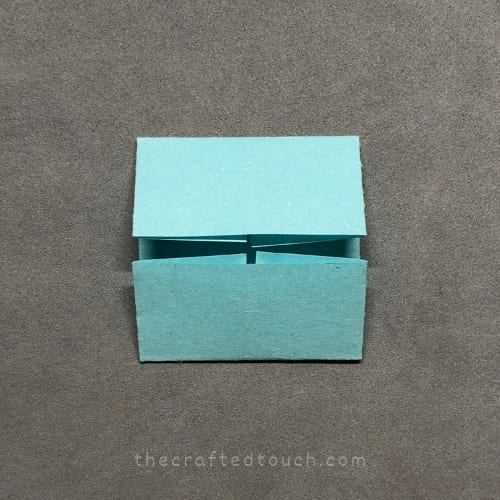
Step 10: I open the flaps a little, like opening a tiny door. The paper looks kind of like it has a roof and a floor now.
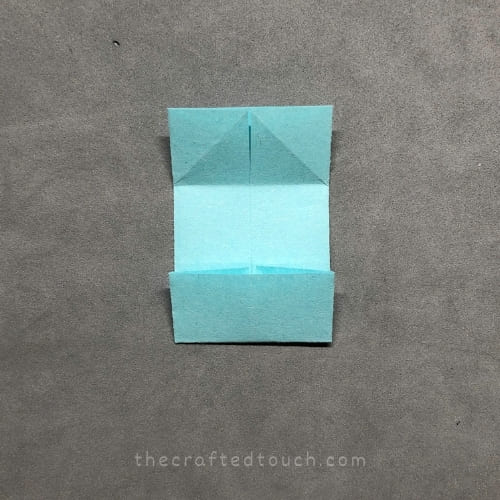
Step 11: I open it more. You can see the shape inside. It starts to look like a box or little gate. I make sure all the creases are sharp so it holds its shape. I fold the top corners down to meet at the middle to make a trapezoid at the top, and the bottom part will stay as a rectangle.
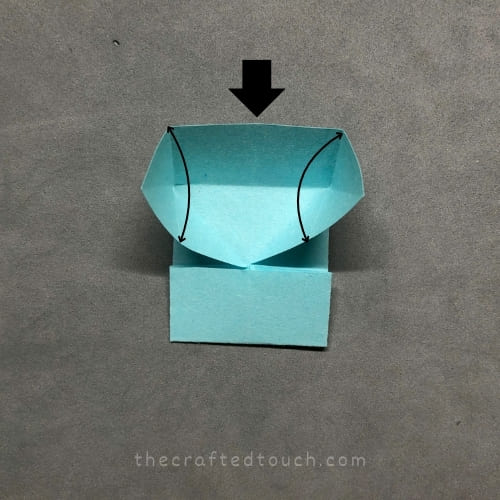
Step 12: I press it down firmly and now I have a trapezoid shape at the top. Now, I open the bottom part and get ready to do the same as the top.
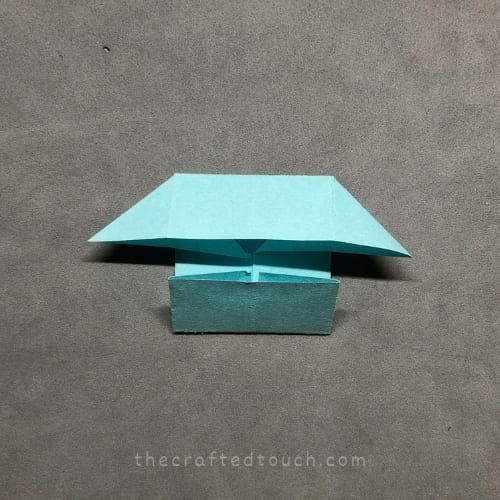
Step 13: Now, I flip the paper upside down and do the same with the other side.
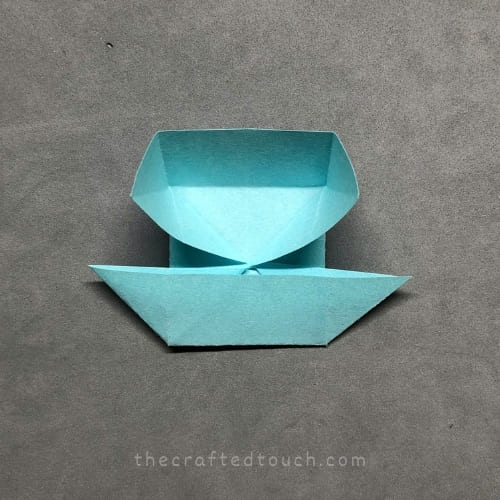
Step 14: Press it down firmly, and now I have two trapezoids on the top and bottom.
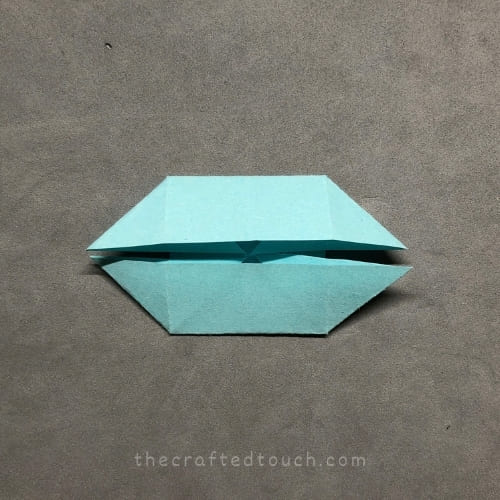
Step 15: Now, I will get ready to flip the two triangle parts on the left and right at the top up.
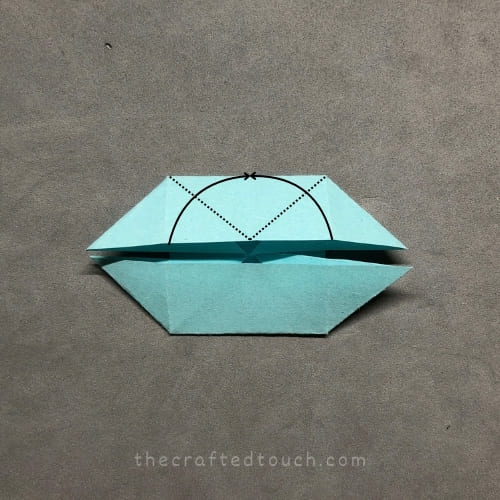
Step 16: I make sure to fold along the dotted lines at the top. This makes the top part curve outward, giving it a more defined shape.
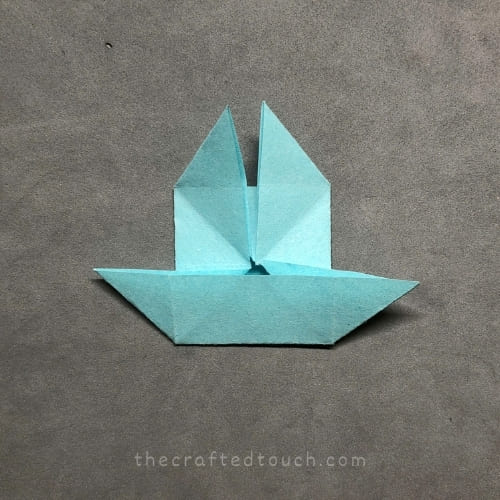
Step 17: Now, I start to fold the top triangle into two ‘petals’ that open out from the middle to get ready for the next step.
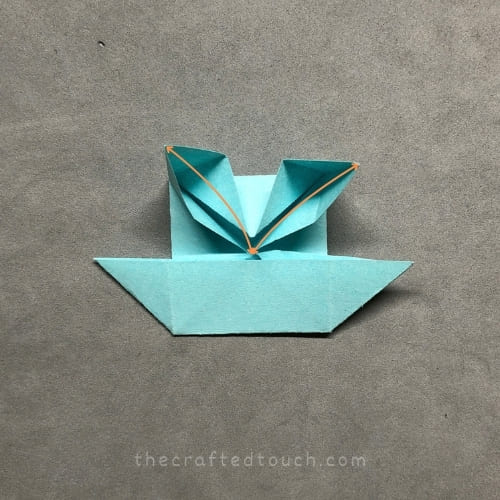
Step 18: For the triangle on the right, I will press it down along the existing folds and turn it into a square.
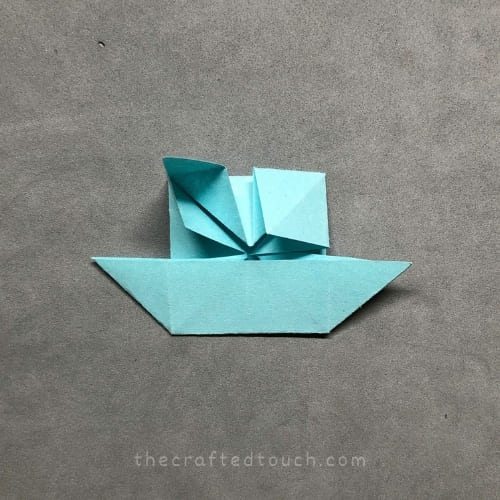
Step 19: Do the same with the triangle on the left, and now we have two squares at the top.
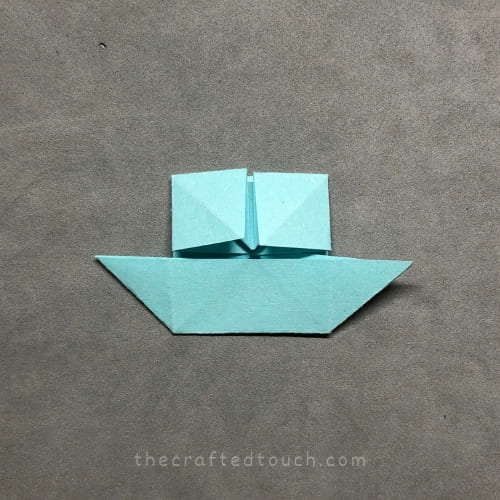
Step 20: For the two triangles at the bottom, I continue to flip them down.
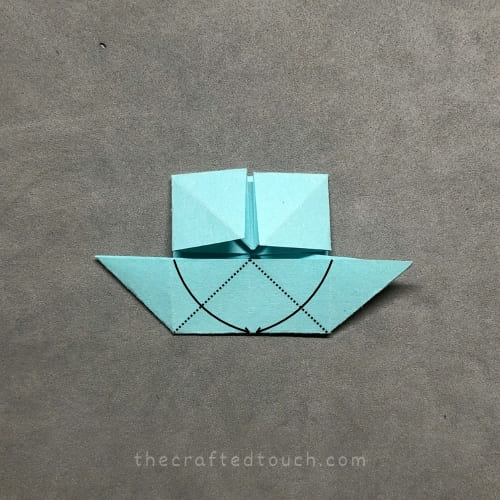
Step 21: Does the bottom look familiar? It’s exactly the same as what we did in step 16 above. Remember to press it down firmly to make the product look nicer.
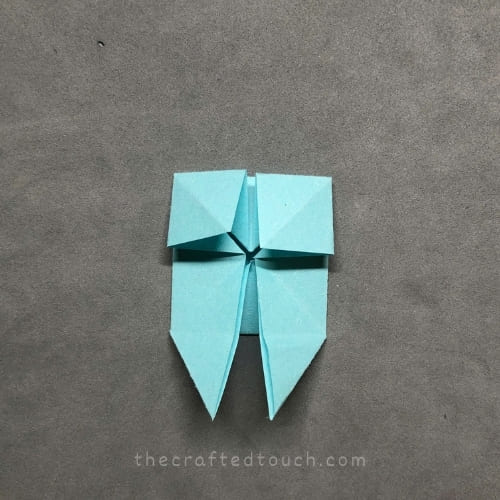
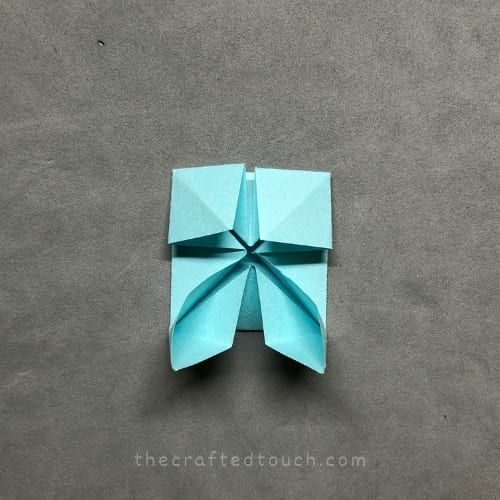
Step 22: Now, we continue to turn the two triangles at the bottom into squares, just like we did from step 17 onward.
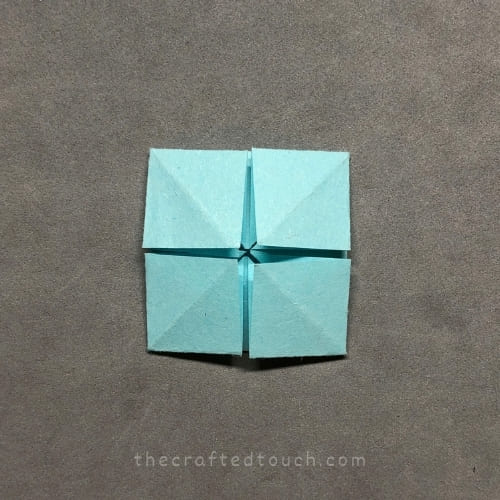
Step 23: After pressing it down firmly, we now have a complete pattern base, just like 4 squares placed next to each other.
| Tip | Description |
| Press folds firmly | I always press down each fold firmly because it makes the shape more stable. If the folds are weak, the base doesn’t hold well. I sometimes go over the creases twice just to make sure. |
| Take your time | I learned that rushing usually messes everything up. When I go slowly, my folds line up better and the final base looks cleaner and sharper. |
| Practice once or twice | The first time I tried, it didn’t look so good. But after a second or third try, I remembered the steps better and it started looking great. Practice really helps. |
| Try colorful or patterned paper | I noticed that using a bright or patterned paper makes the finished base more fun and interesting to look at. Plain white works too but it feels less exciting. |
| Use a hard, flat surface | Folding on a proper table or desk really helps keep the creases straight. If I try on my bed or carpet, the folds get crooked and uneven. |
| Check the corners carefully | Before pushing everything into the center, I make sure all four corners are lined up neatly. That way the final base looks even and balanced. |
PRO TIP
I used a lot of scrap paper. If my first try looks a bit messy, I just use another sheet and try again. After two or three times it starts looking really good.
CONCLUSION
That’s how I fold an Origami Pattern Base, easy for beginner, right? It’s simple, quick, and kind of satisfying when it’s done. You can use it as a starting point for many other origami shapes too. Have fun and don’t worry if it’s not perfect the first time.
