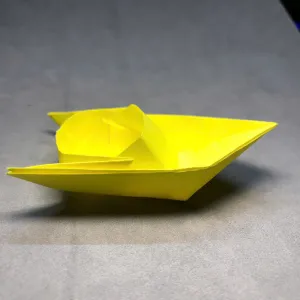
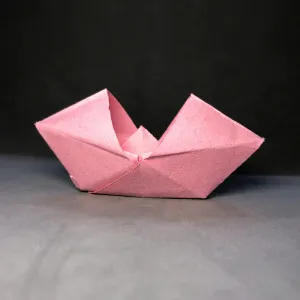
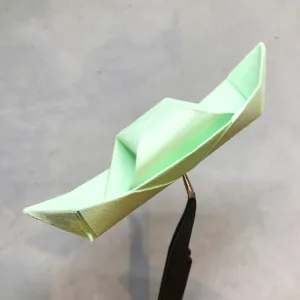
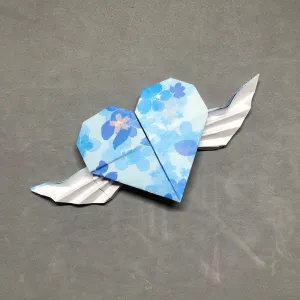
The organ base is where I begin when I wanna make something like an origami organ (yep, like a piano!) or even a crown. It’s one of the easier bases—super simple to fold, but still looks pretty cool.
Step 1! I grab a square sheet of origami paper—6 inches by 6 inches. That’s the size I usually go with to keep things easy and neat.

Step 2 now. I fold the paper in half—just bring the top edge down to meet the bottom edge. Simple move, but gotta line it up nice and clean.


Step 3! I fold the paper in half again, but this time from right to left.

I crease it well—gotta press down a bit—then unfold it. That center crease is gonna help with the next steps.


Step 4! I take the right side and fold it in to meet the center crease, then do the same with the left side.


Kinda like closing two doors. Make sure those edges line up nicely!

Step 5! Time for a squash fold on the right. First, I unfold that right flap I just made. Then I gently pry it open and get ready to squash it flat. It might look a little weird at first, but it’ll come together!

Now I just press it down flat—nice and smooth. That’s the squash fold!

Looks kinda like a triangle now.

Step 6 now! I do the same thing on the left side—pry the flap open gently, then squash it down flat.

Gotta make sure both sides match up nicely.

And just like that, I’ve got the organ base! 🎹👑

My origami organ base is all finished. Super easy, but it sets me up for some fun stuff like a piano or a crown.
