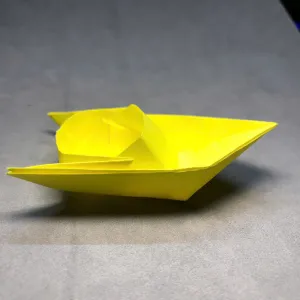
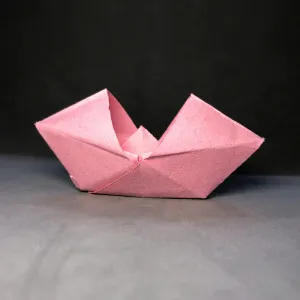
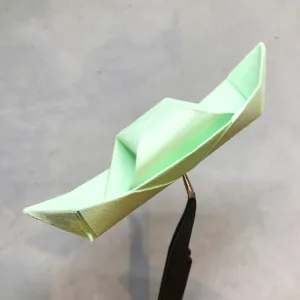
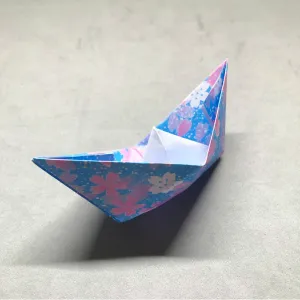
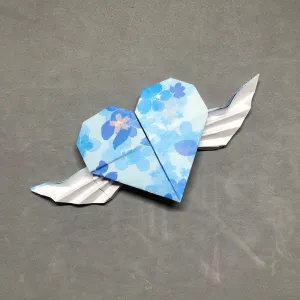
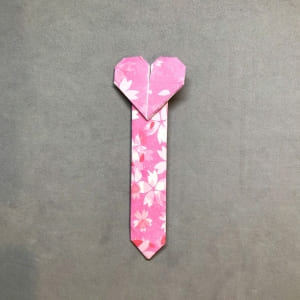
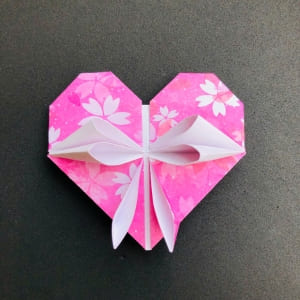
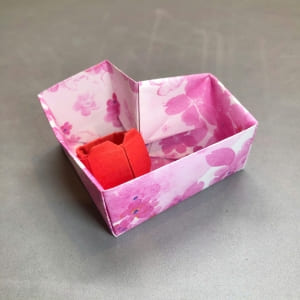
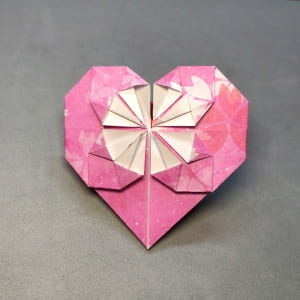
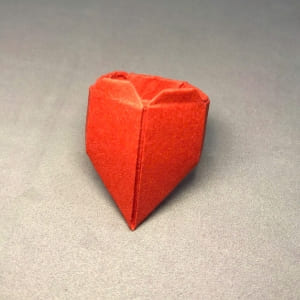
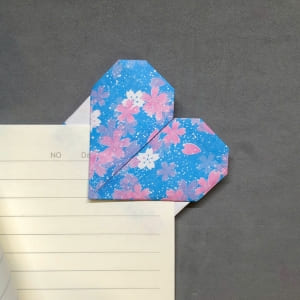
Whenever i want to send a sweet message or surprise someone in a heartfelt way, I fold an Origami Heart Envelope. It’s simple, charming, and made entirely from a single piece of paper. Let me show you how I do it.
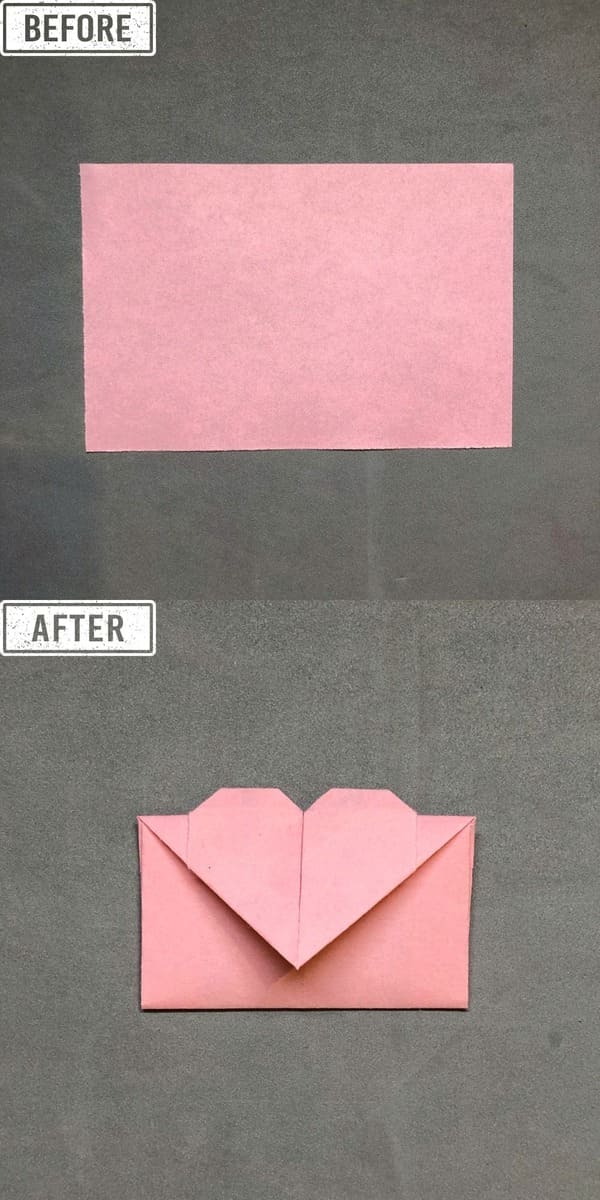
MATERIALS YOU NEED
| Material | How I Use It |
| Rectangle paper | When I use a normal sheet of paper. My paper is in a 2:3 shape. Like 4cm wide and 6cm long. You can make it bigger or smaller, just keep the same shape. |
| A Flat Surface | I like to fold on a hard, flat table. It helps my paper stay still so I can fold it nicely. If the table is soft or bumpy, the folds don’t turn out well. |
| Fingernail or ruler | Sometimes, I press on the folds with my fingernail to make them neat. If I want the fold to be even sharper, I use the side of a ruler. Both ways work. |
| Patience | I don’t rush when I fold. When I go slow, my folds look better and the heart turns out nicer. Even if I make a mistake, I just try again. That’s okay! |
Skill Level
★★☆☆☆ (Easy)
Easy folding steps
Now I’m going to show you how I fold my Origami Heart Envelope. Don’t worry if it’s your first time, just follow along with me, one step at a time. It’s fun, easy, and you don’t need anything fancy. Just a piece of paper and your hands.
Step 1
To make Origami Heart Envelope, I place my rectangle paper flat on the table.
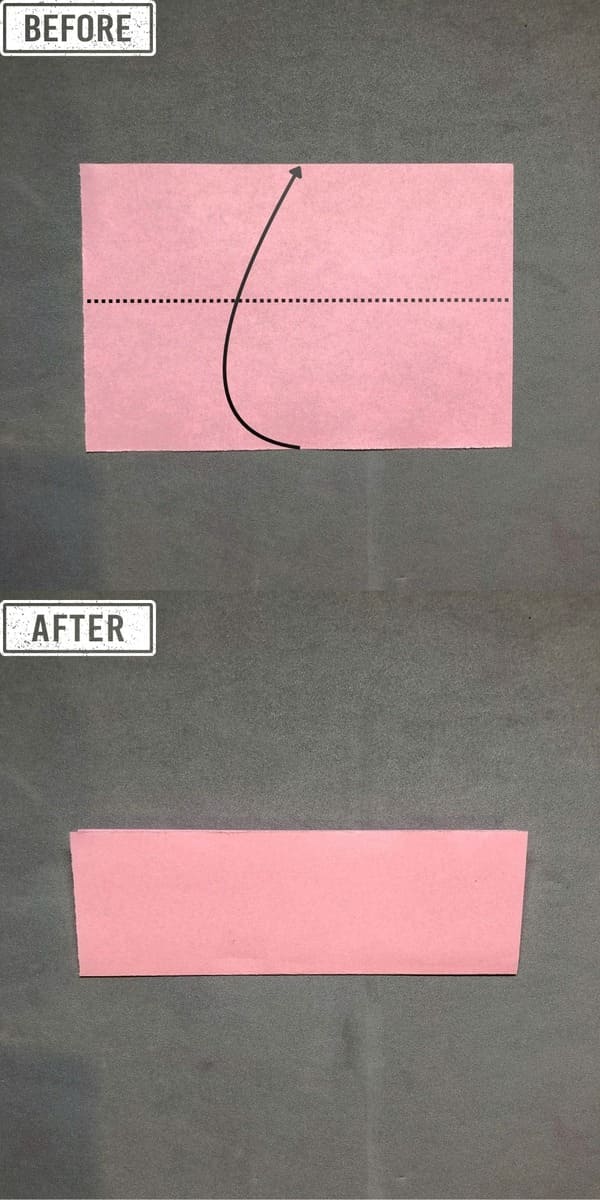
Step 2
I fold it in half from bottom to top. I press the fold tightly so I can use it later. Now I have a smaller rectangle
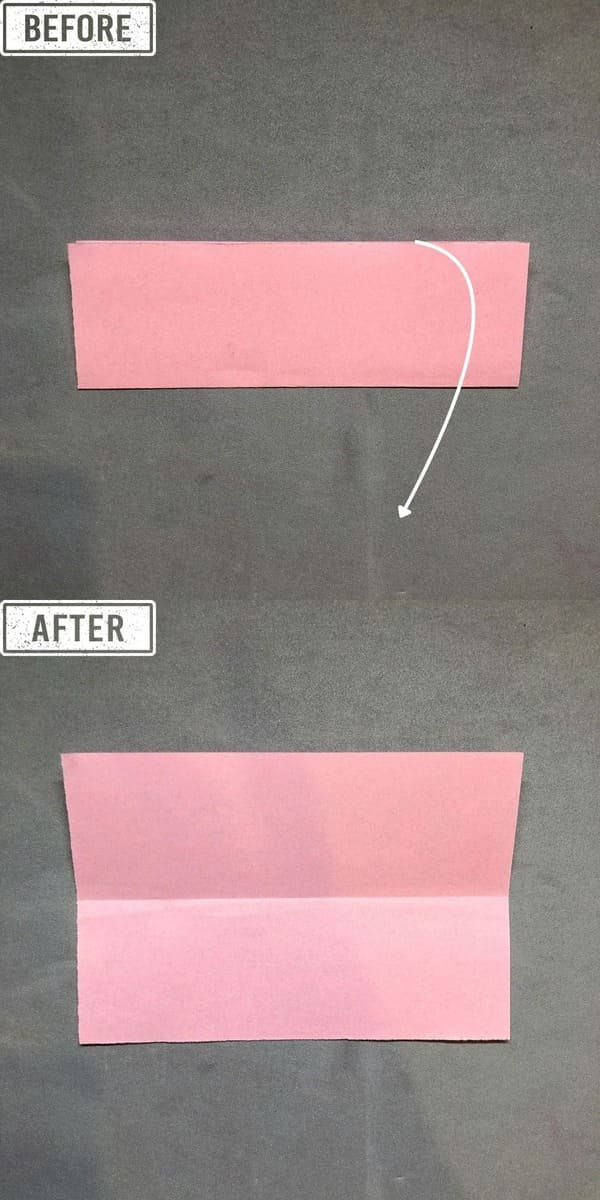
Step 3
Then i open it again. This gives me a nice center line.
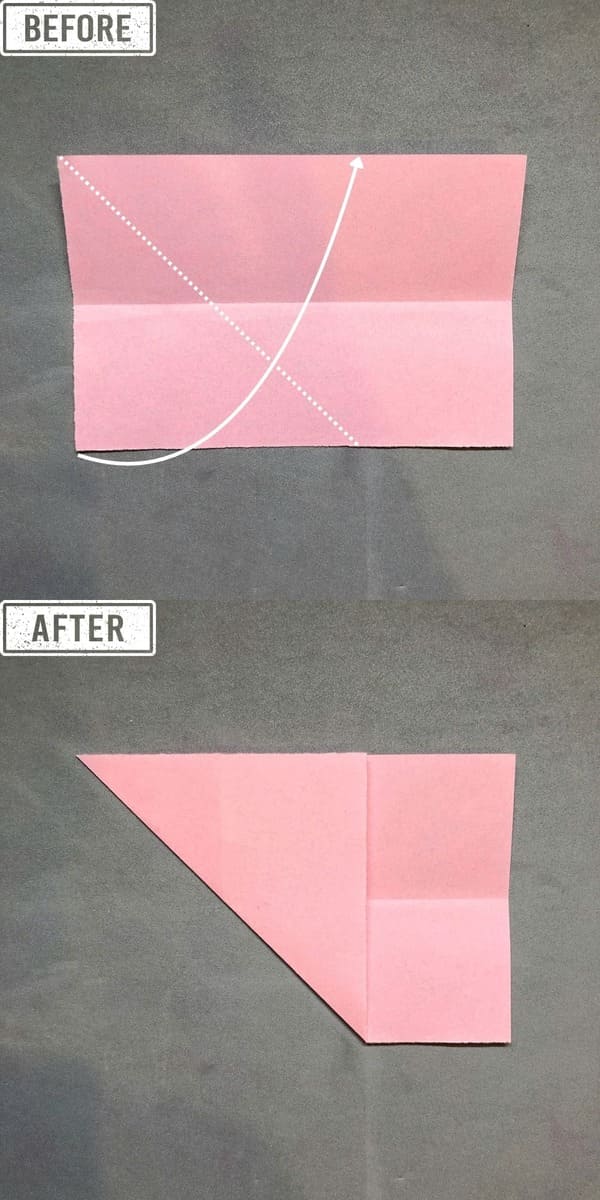
Step 4
I fold the bottom corners up to make a little triangle on the left and a rectangle on the right
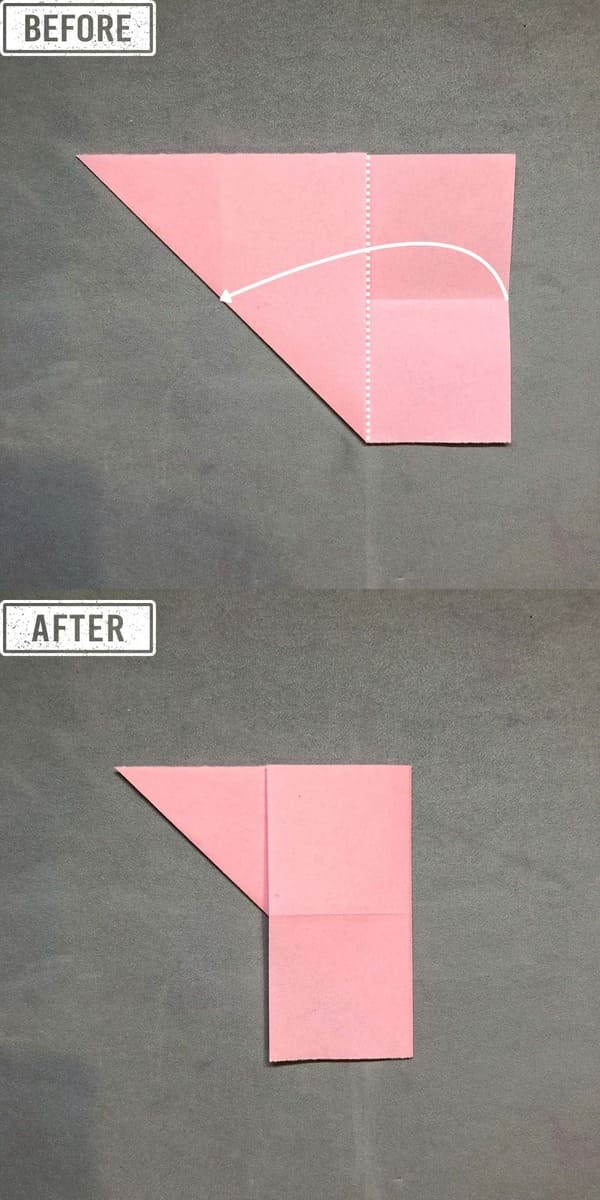
Step 5
Now, I fold the rectangle on the right part of the paper to match the edge of the triangle on the left. Press it down firmly to make a nice, clean fold.
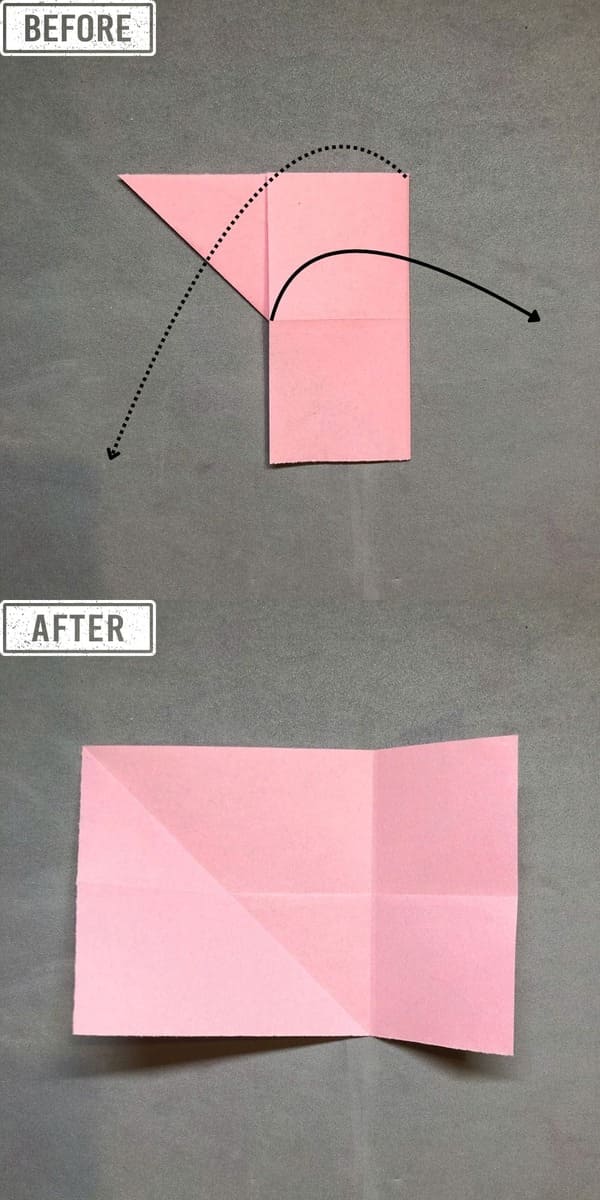
Step 6
Then I unfold all the parts, and the paper looks like a rectangle again
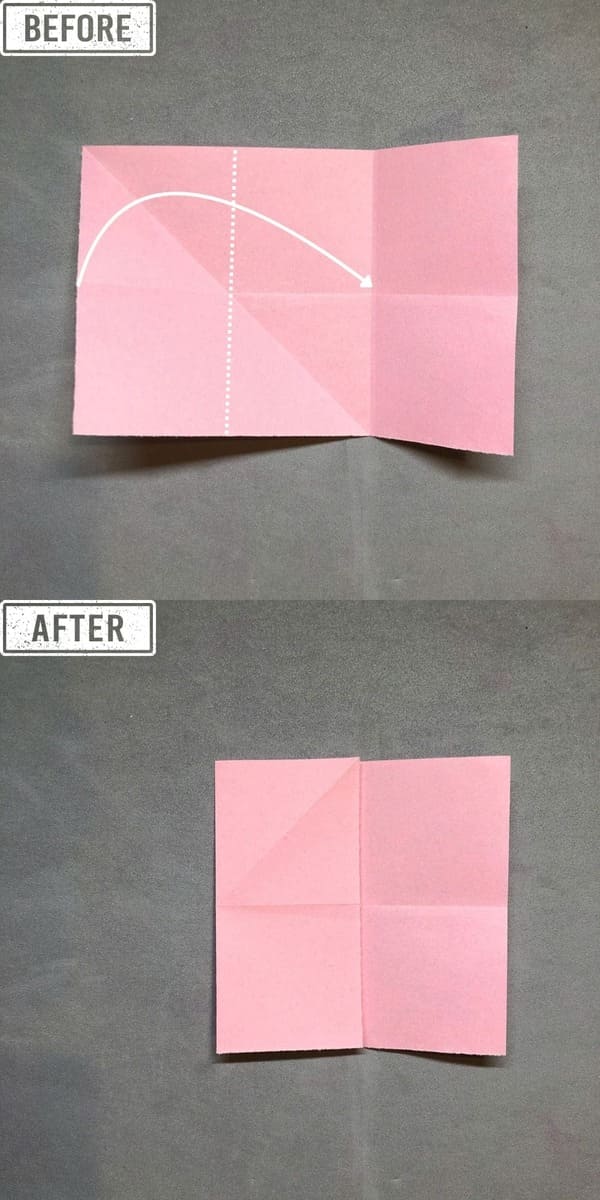
Step 7
After that, i fold the left side over to make a rectangle. I use the crease on the right to help make it straight and even.
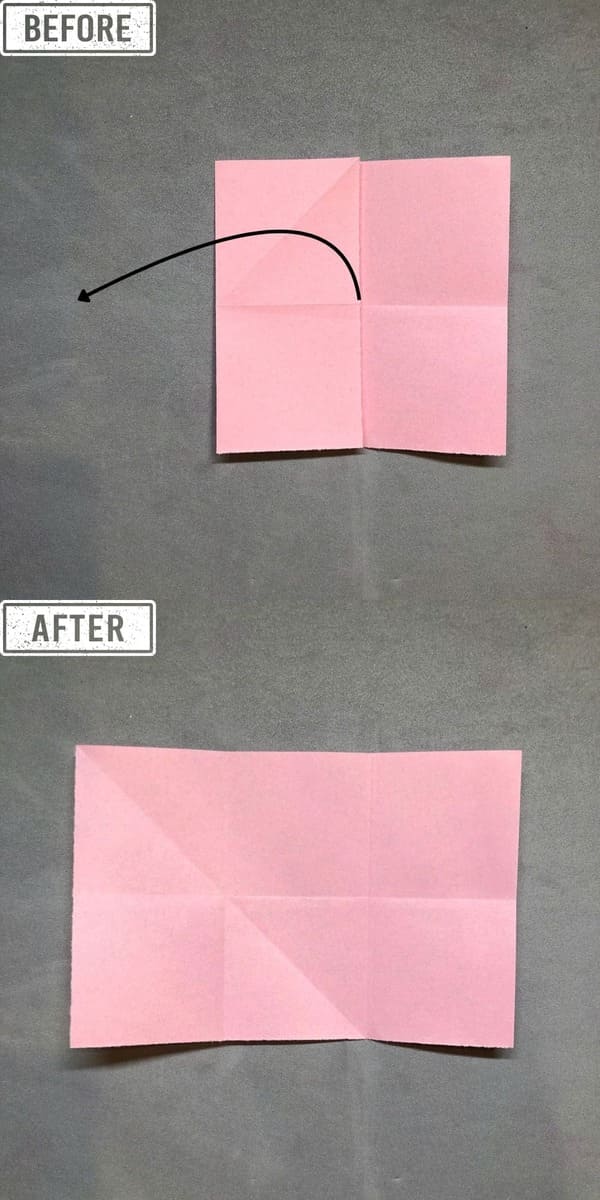
Step 8
Once the fold looks good, I unfold it again
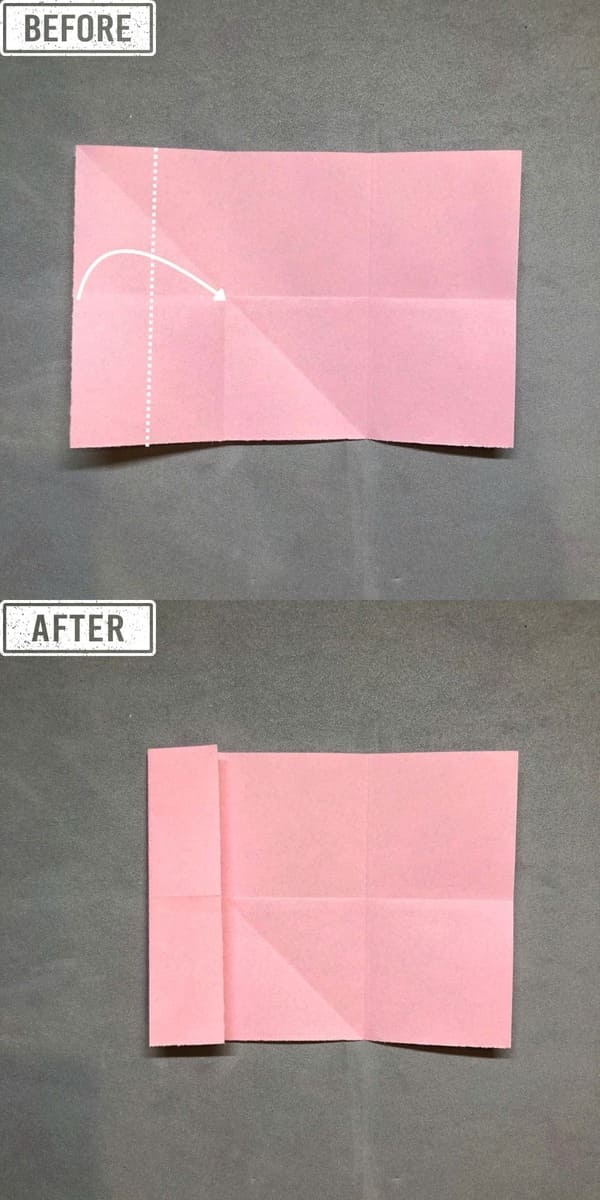
Step 9
Using the fold I just made, I fold the left side again to make an even smaller rectangle
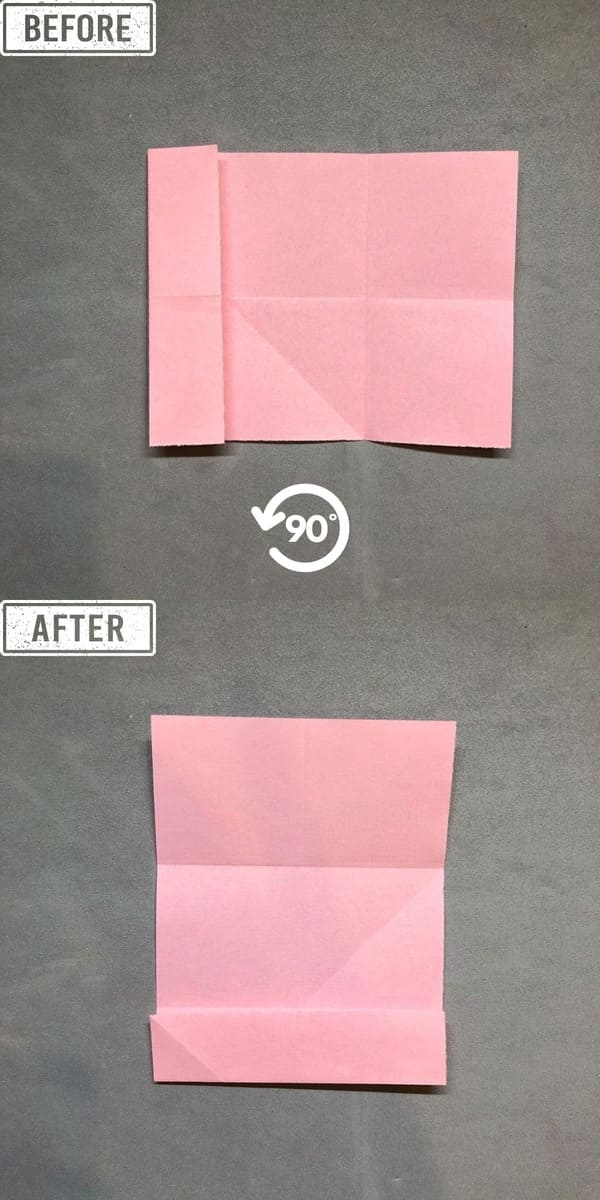
Step 10
Now I turn the paper 90 degrees to the left, so the small rectangle I just made is at the bottom
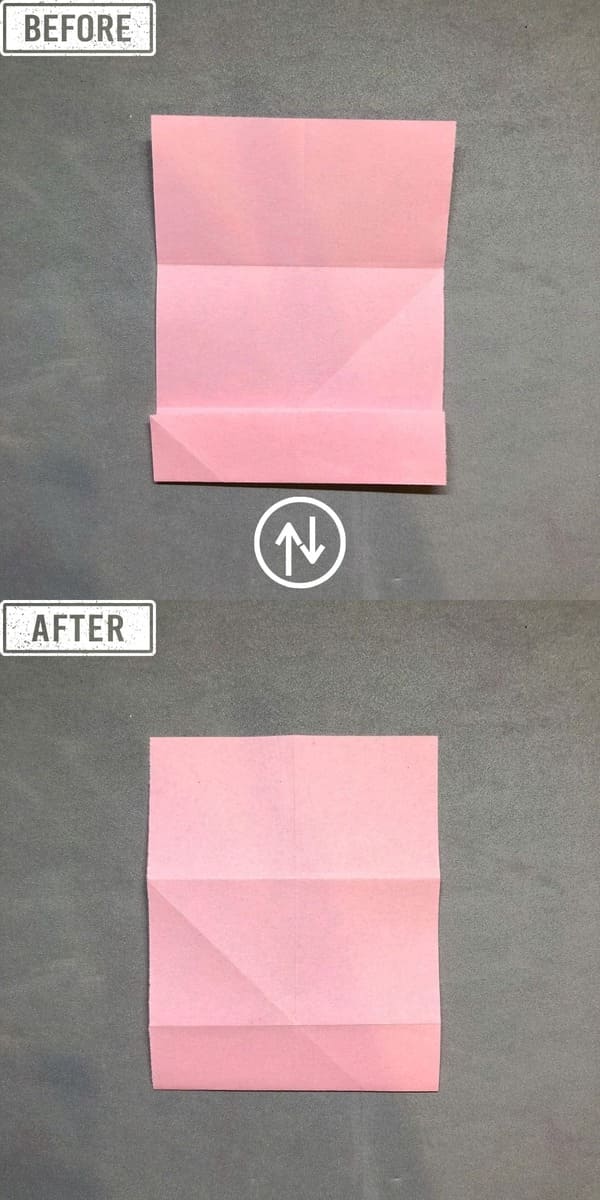
Step 11
Then I flip the paper over
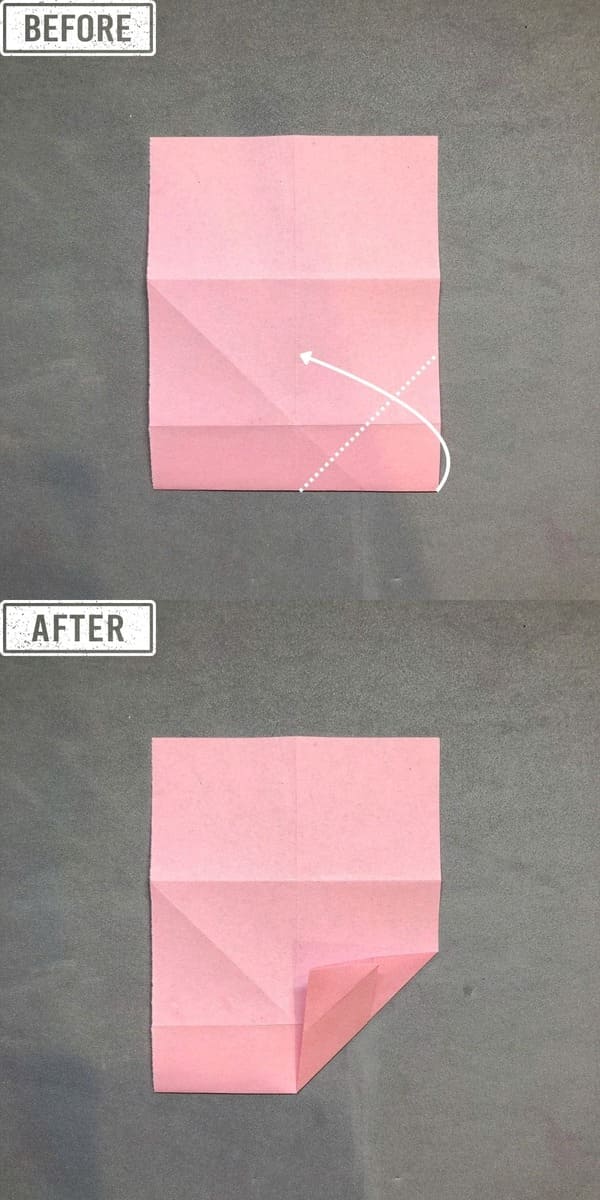
Step 12
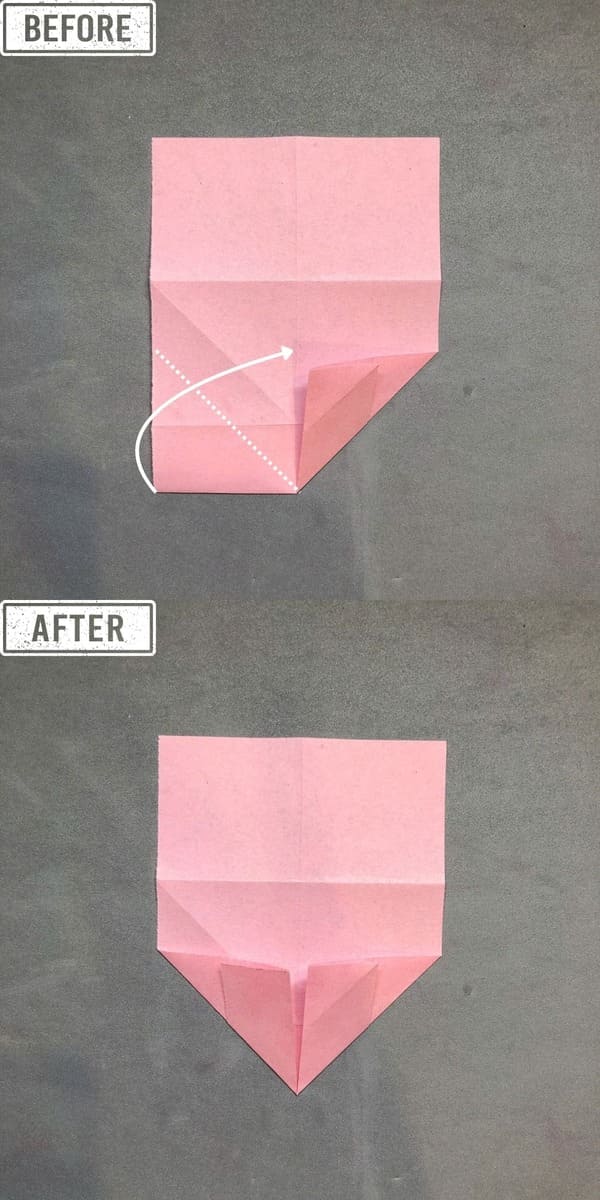
Using the center crease as a guide, I fold the bottom-right corner to make a small triangle.
Step 13
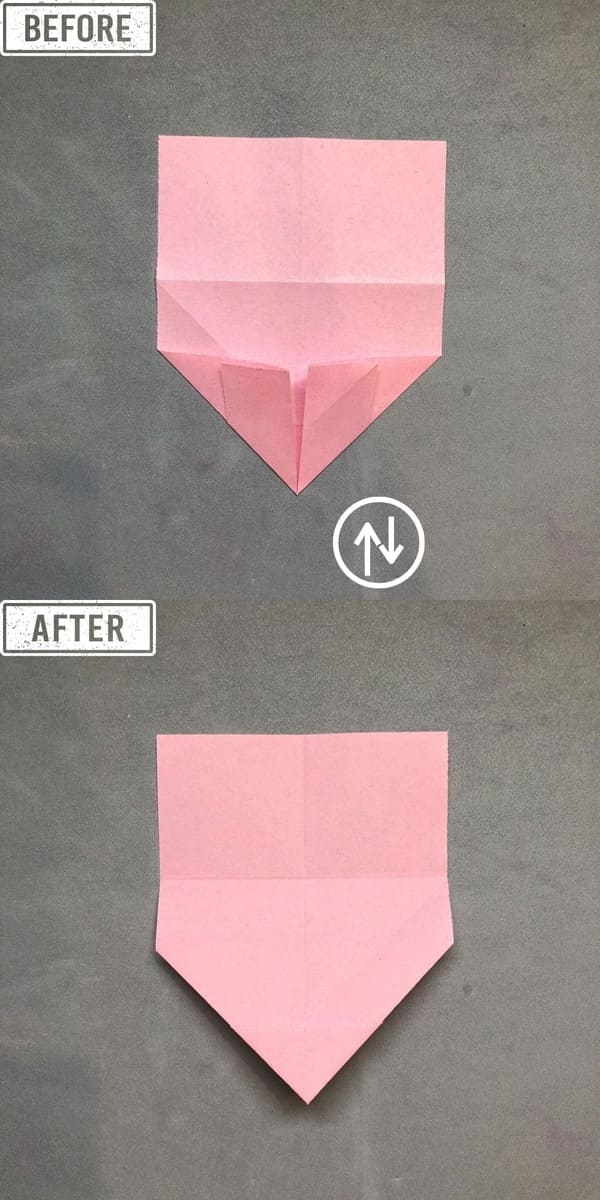
Then I do the same with the bottom-left corner to make another triangle. Now I have two small triangles at the bottom.
Step 14
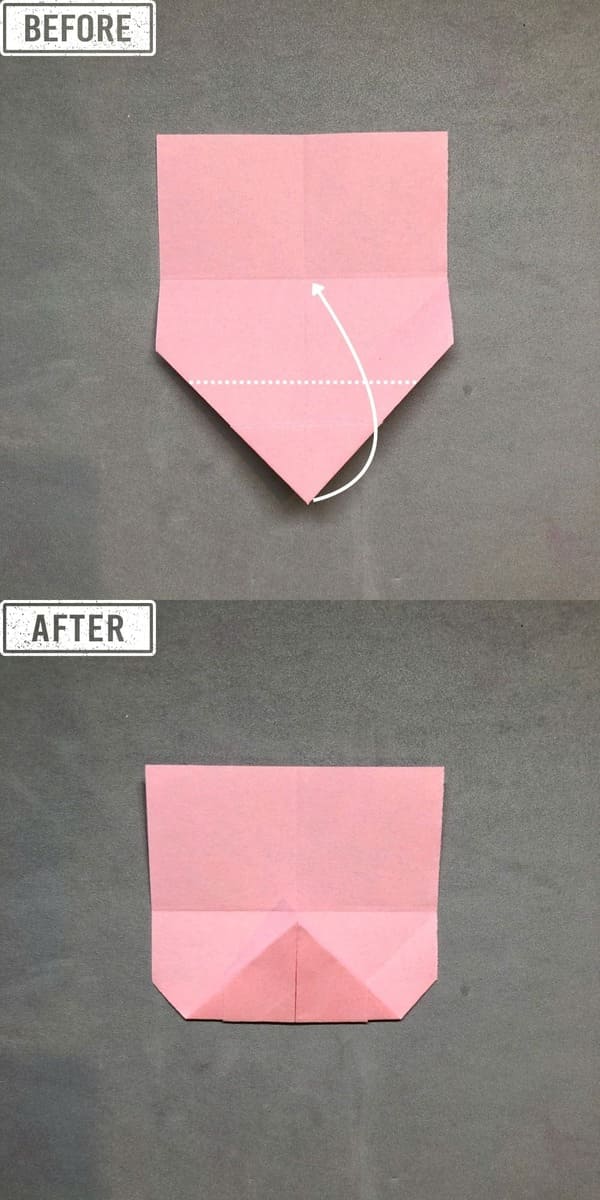
After I press the triangles to make them neat and even, I flip the paper over.
Step 15
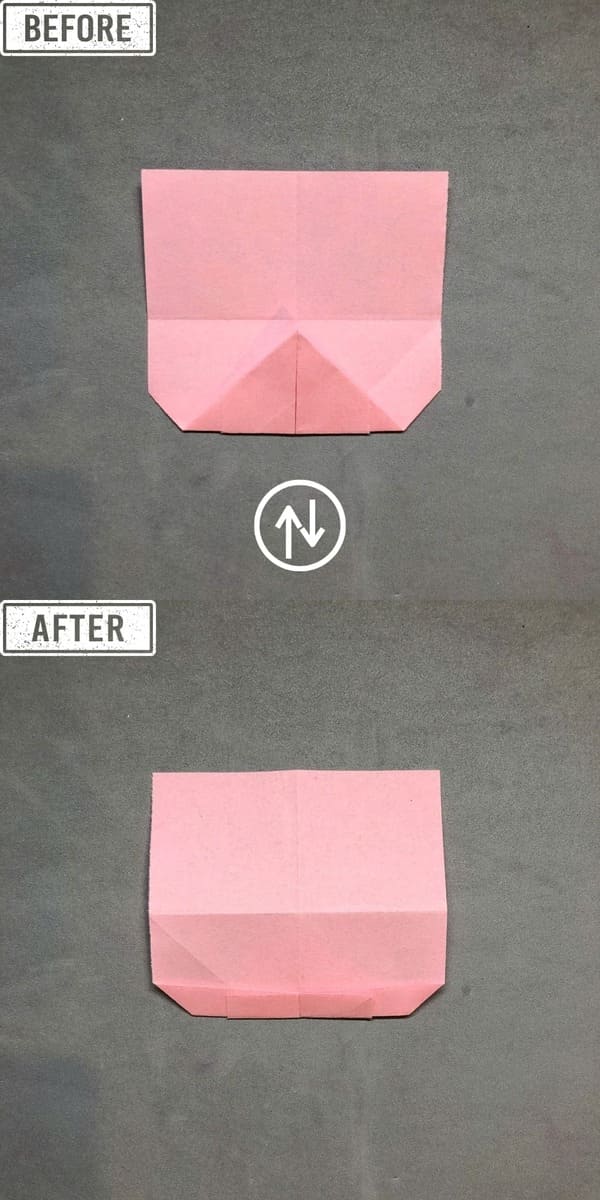
Now I have a triangle at the bottom. Now I fold the top point of the triangle up, so it touches the fold line of the rectangle I made earlier.
Step 16
After pressing the fold nicely, I flip the paper over. Can you see the two small rectangles at the bottom? I’m going to fold them now.
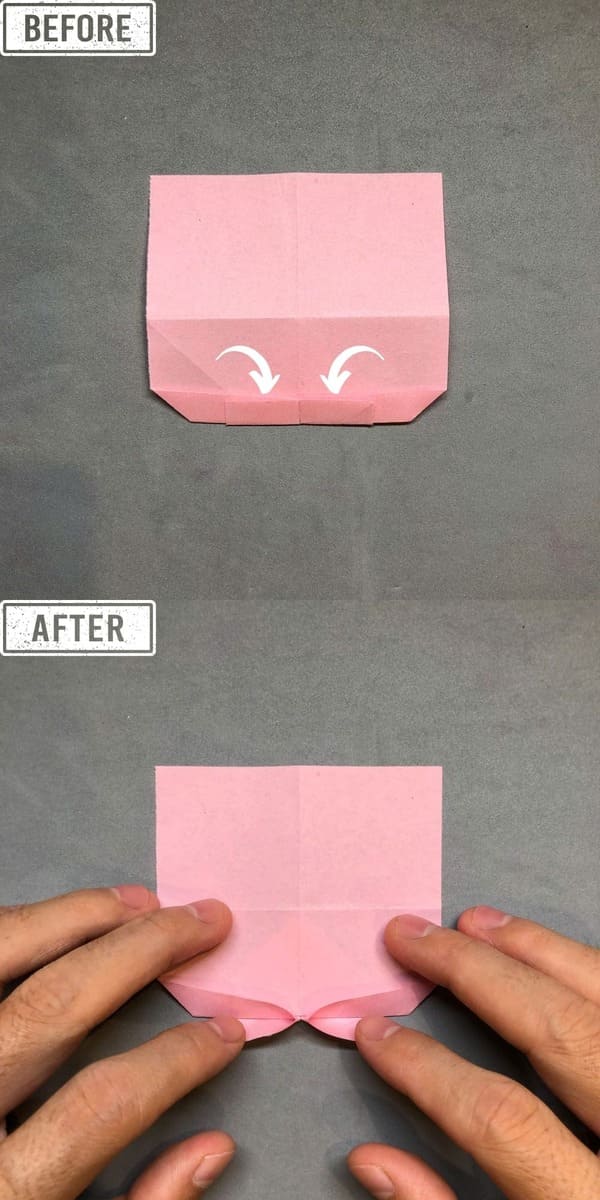
Step 17
I open the two little rectangles and fold them down.
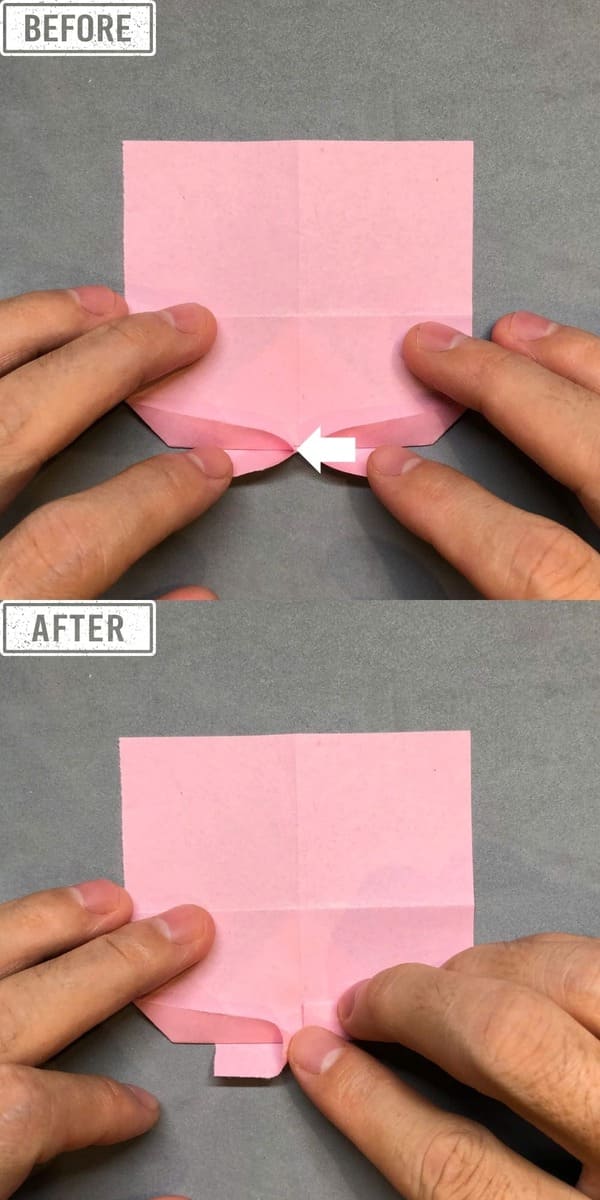
Step 18
On the left rectangle I just opened, I press it down like in the picture.
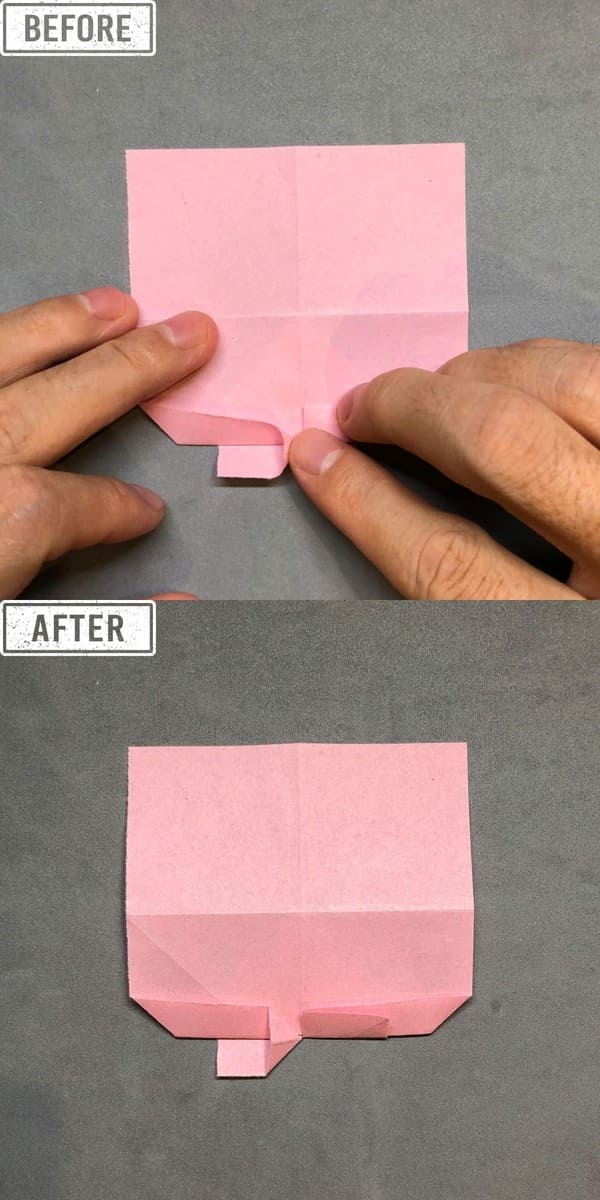
Step 19
After folding, I made a tiny triangle
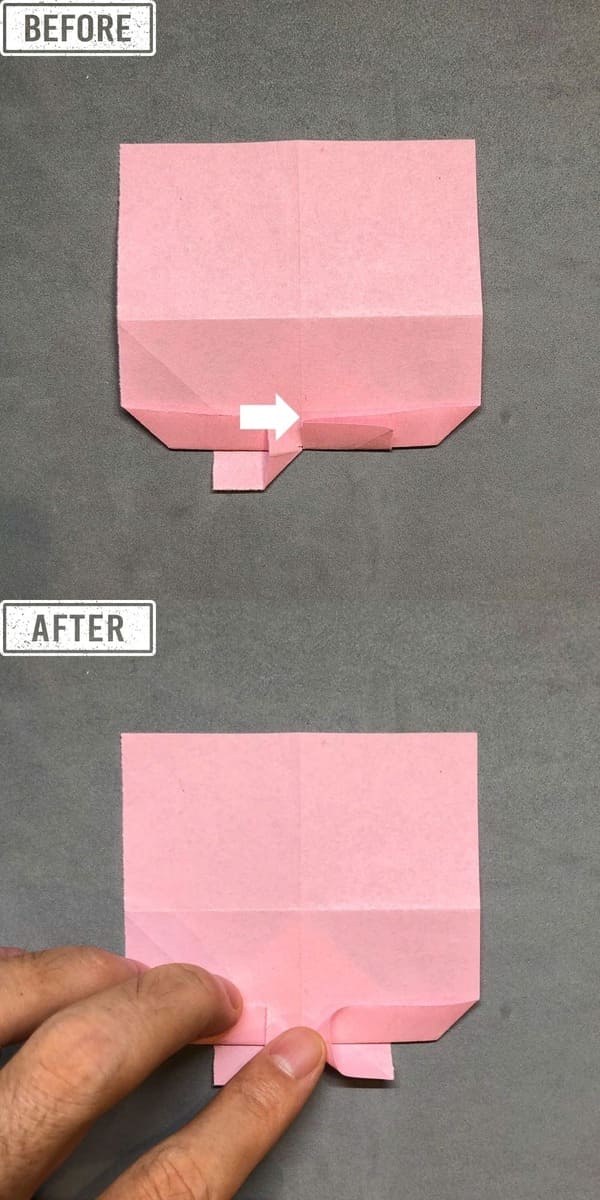
Step 20
Now I do the same with the rectangle on the right side
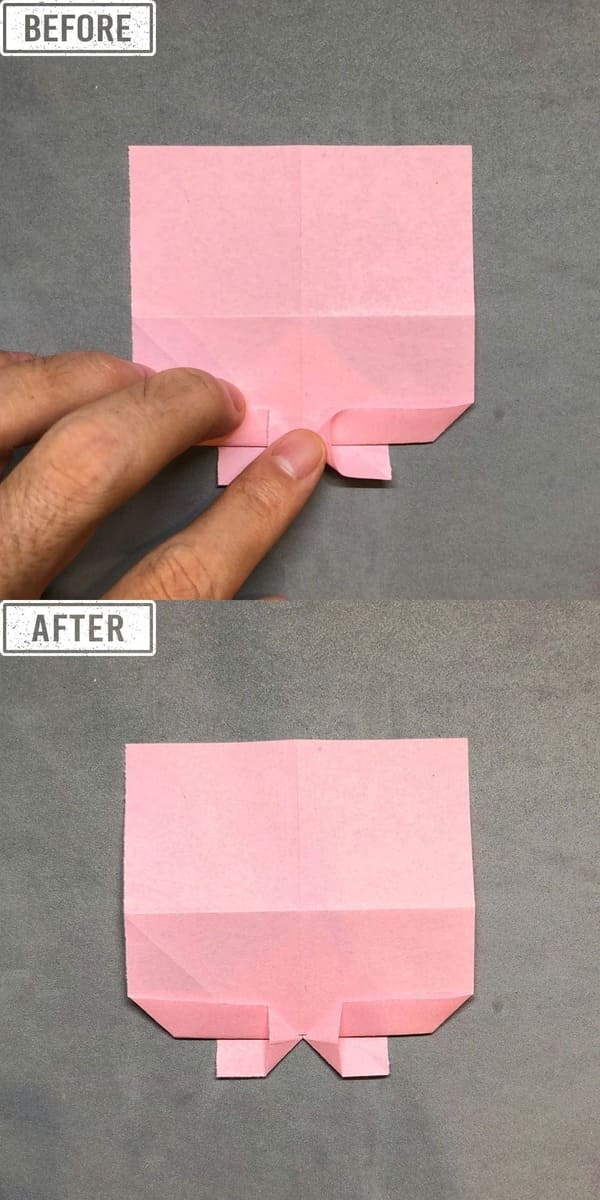
Step 21
I folded it the same way and made another tiny triangle on the other side. Can you see it?
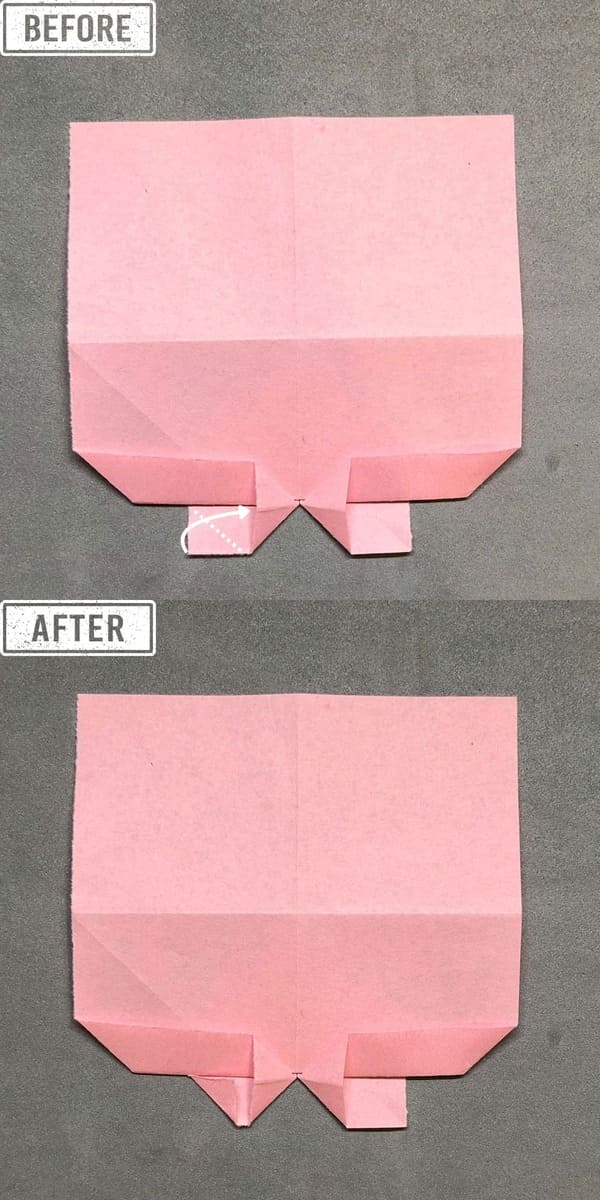
Step 22
Now I fold the little rectangle at the bottom left corner to make one more tiny triangle.
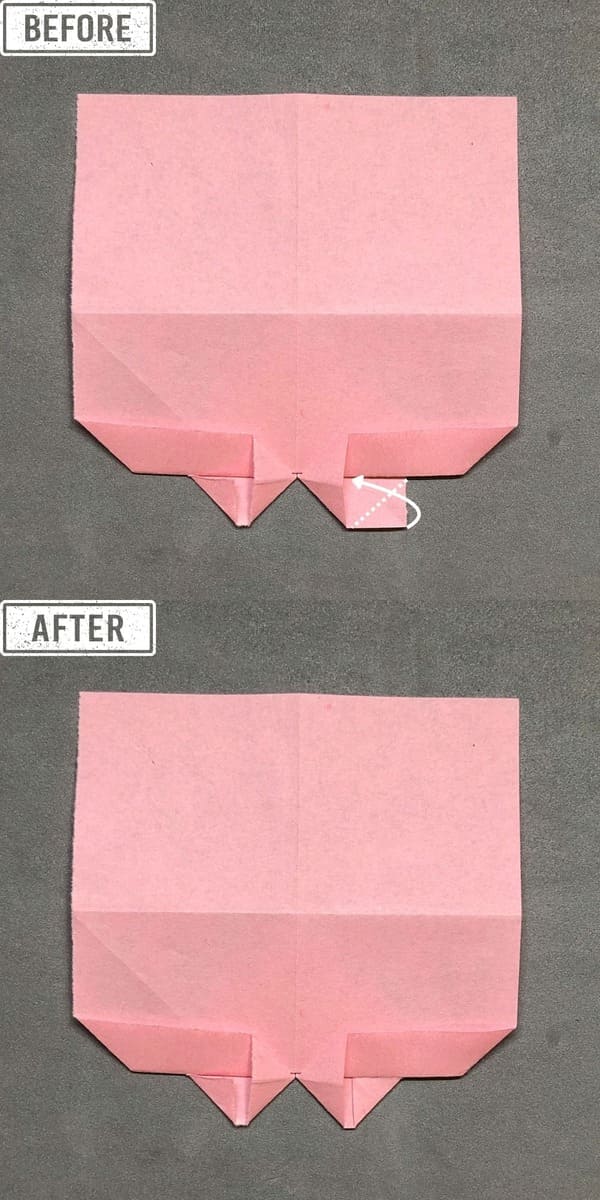
Step 23
Next, i fold the bottom right corner the same way. The top of the heart is almost ready
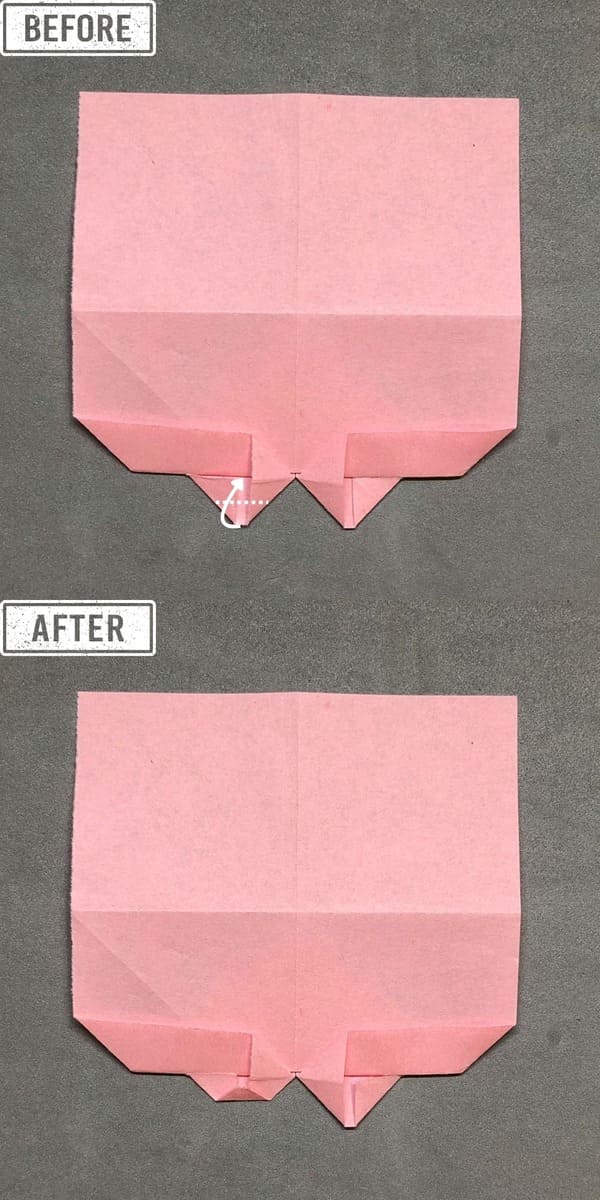
Step 24
Then i take the top of the little triangle on the left and fold it up.
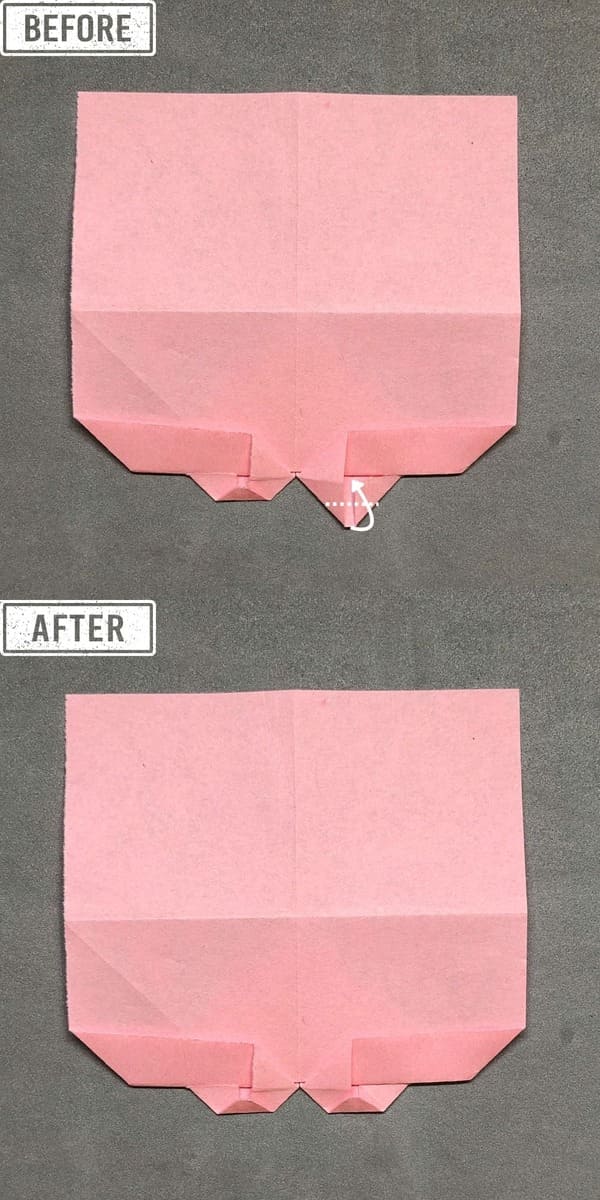
Step 25
And I do the same with the small triangle on the right.
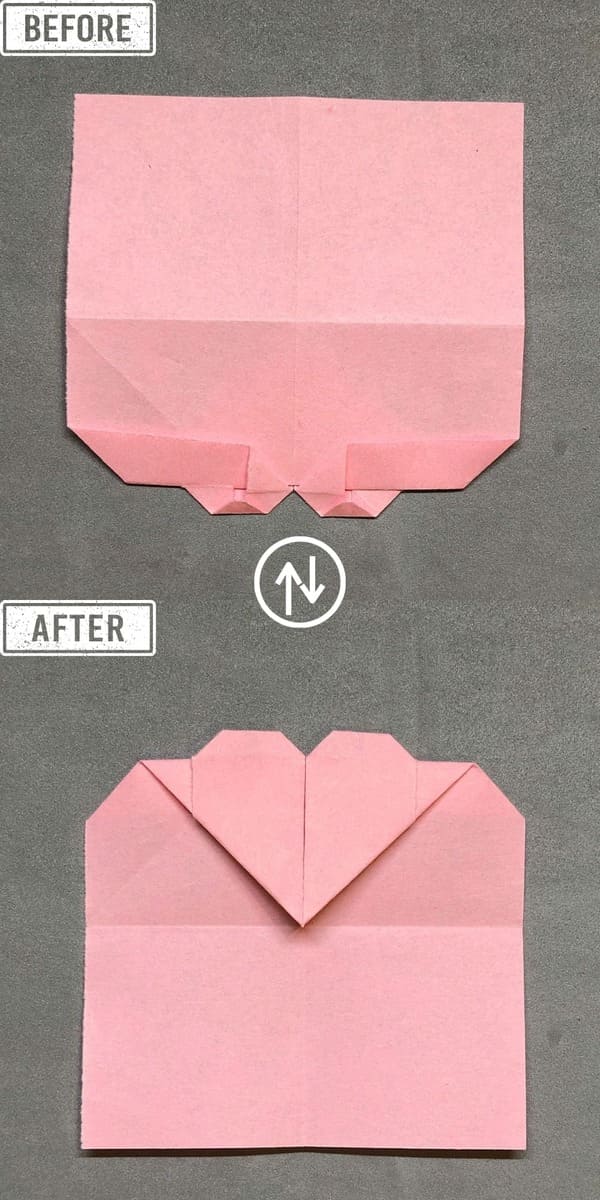
Step 26
Now I turn the paper over, and yay! The heart shape has appeared.
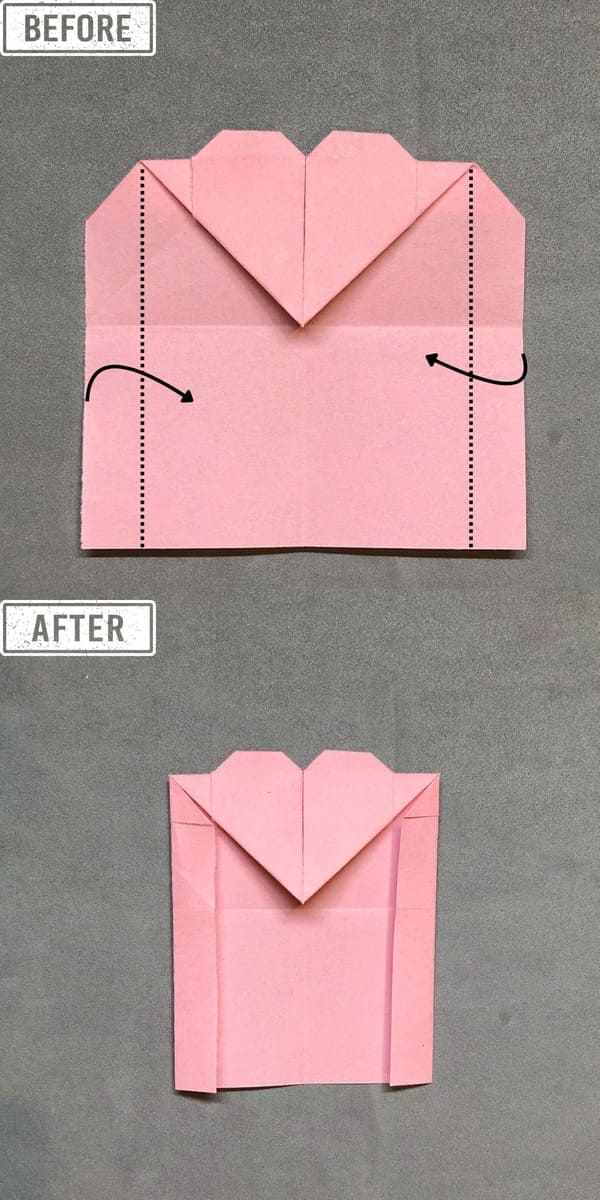
Step 27
Now I fold the edges on both sides so my heart looks nicer and cleaner. Now I have a rectangle under the heart.
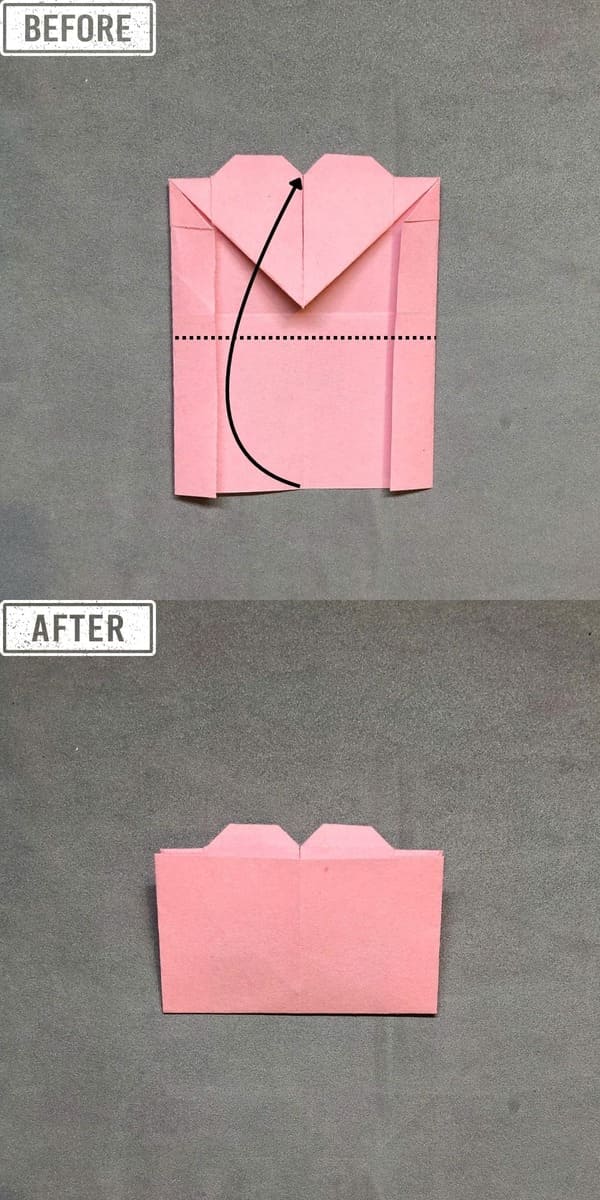
Step 28
I fold the rectangle in half from bottom to top and press it to make it neat and tidy.
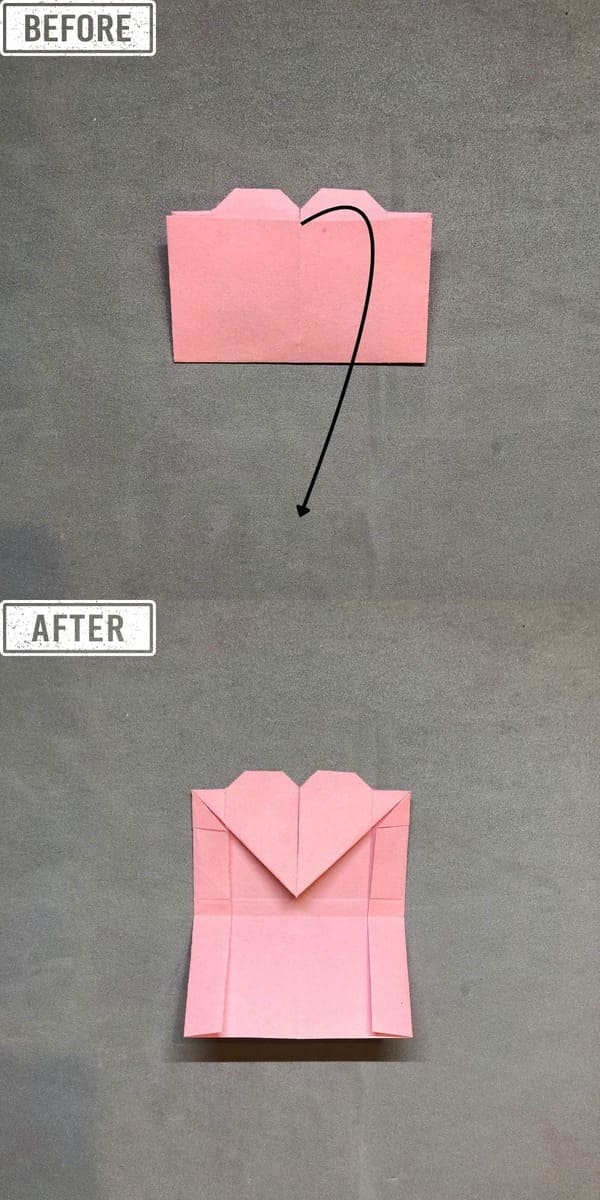
Step 29
Now I open the rectangle.
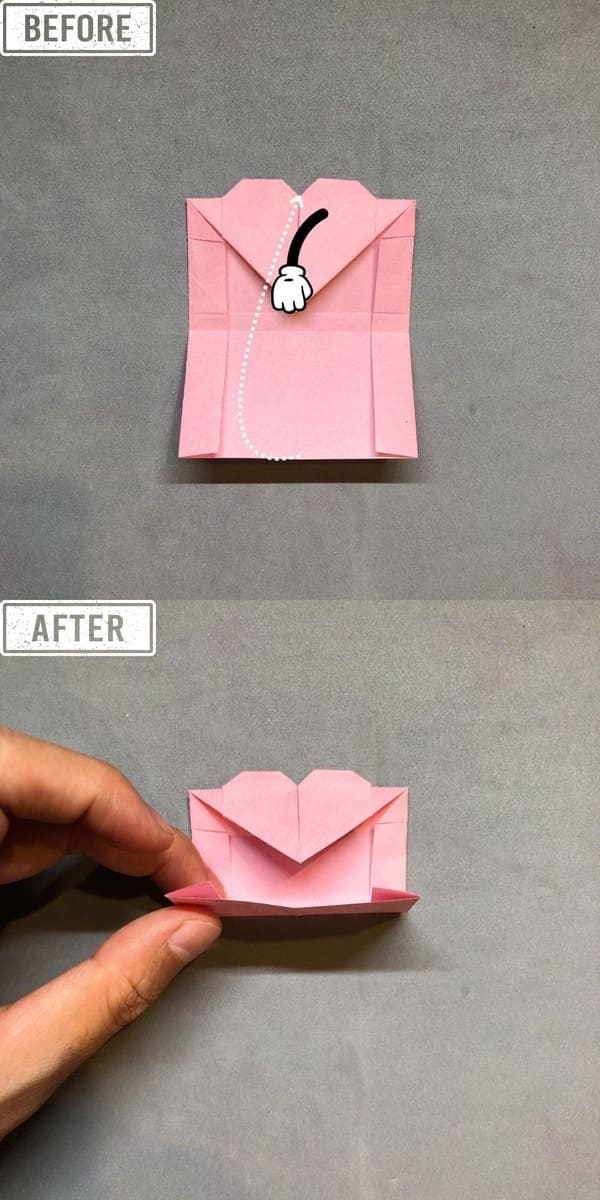
Step 30
Then I gently open the heart shape a little, so I can tuck the small rectangle under it.
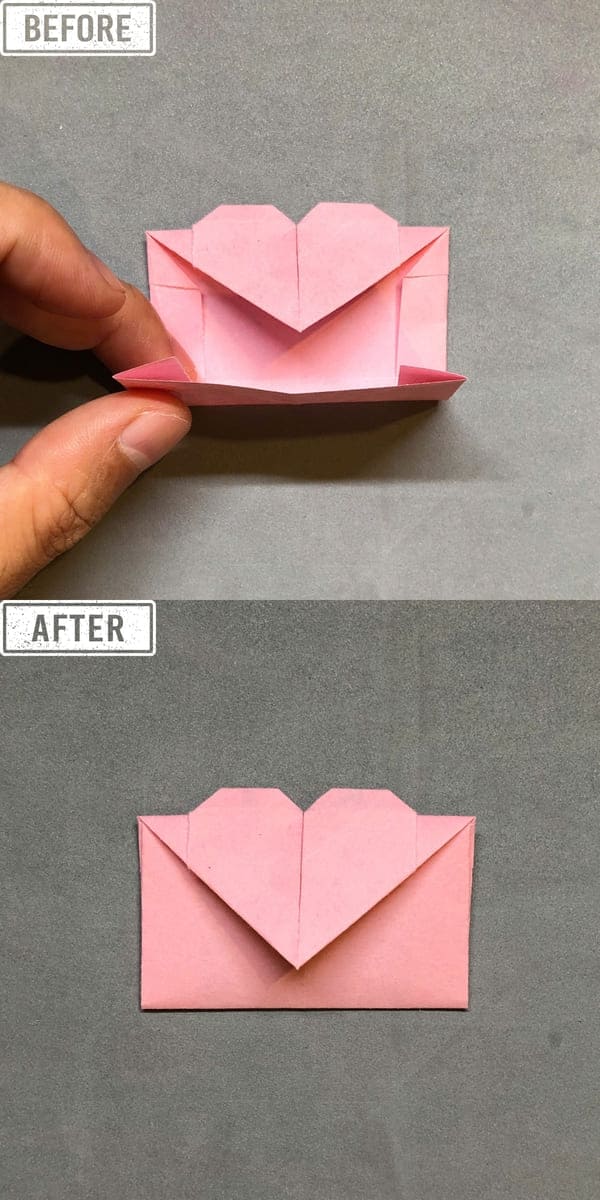
Step 31
After tucking the rectangle under the heart, finally I now have my Origami Heart Envelope!
| My Tips to Make It Look Nicer | Description |
| Use thin paper | I like to use thin paper because it’s easier to fold and the creases look cleaner. Thin paper doesn’t tear easily when I fold it many times, and it helps make the final shape look neat and tidy. |
| Play with colors and patterns | I have fun trying out different colors or fun patterns. Each heart looks a little different and that makes it special! |
| Add your own style | Sometimes, I put a cute sticker or draw a little picture to make my envelope more fun and just for me. |
A Sweet Little Ending
Making an origami heart envelope is one of my favorite crafts. It’s quick and fun, and it always makes me smile, especially when I give it to someone I care about. I hope you’ll love folding it too. Every time I make one, it feels like I’m giving a tiny piece of my heart.
