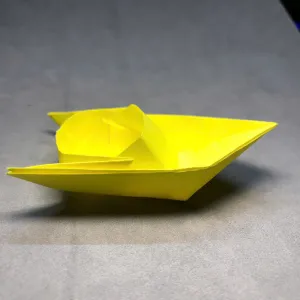
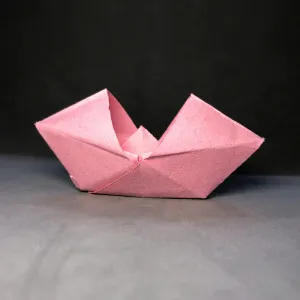
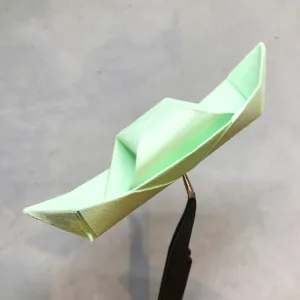
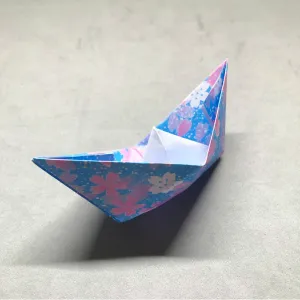
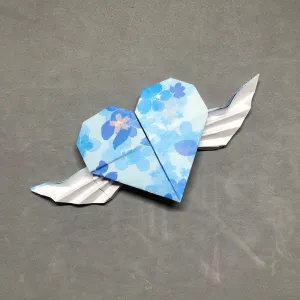
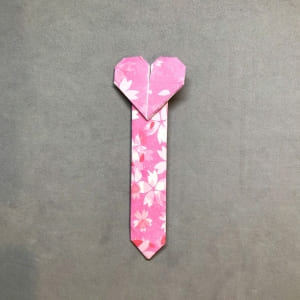
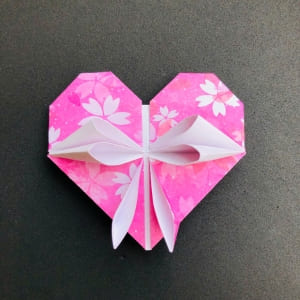
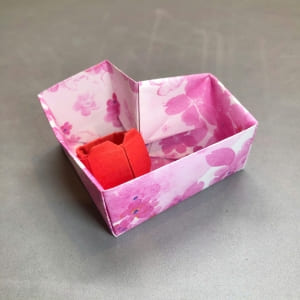
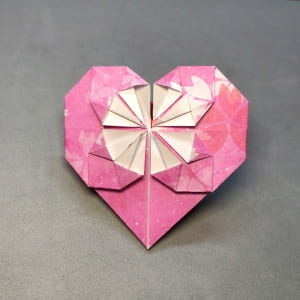
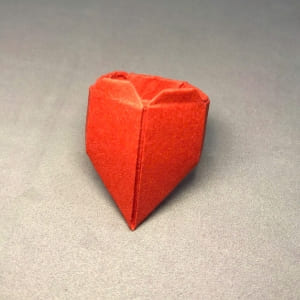
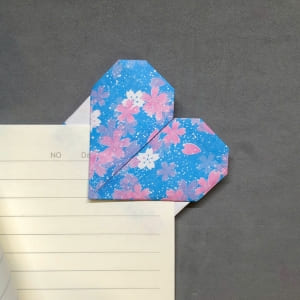
Looking for a sweet and personal way to gift a tiny treasure or note? I’ve got just the thing for you! Today, I’ll walk you through how I make a beautiful origami heart box using only one square piece of paper. It’s fun, relaxing, and always leaves me with something adorable to share or keep. Let’s fold it together!
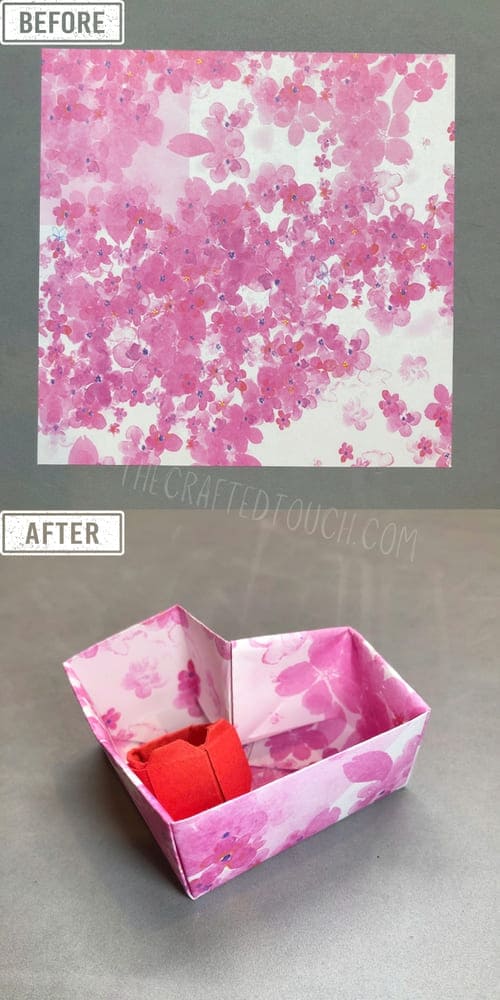
Step 1: Start with a Square Sheet of Paper
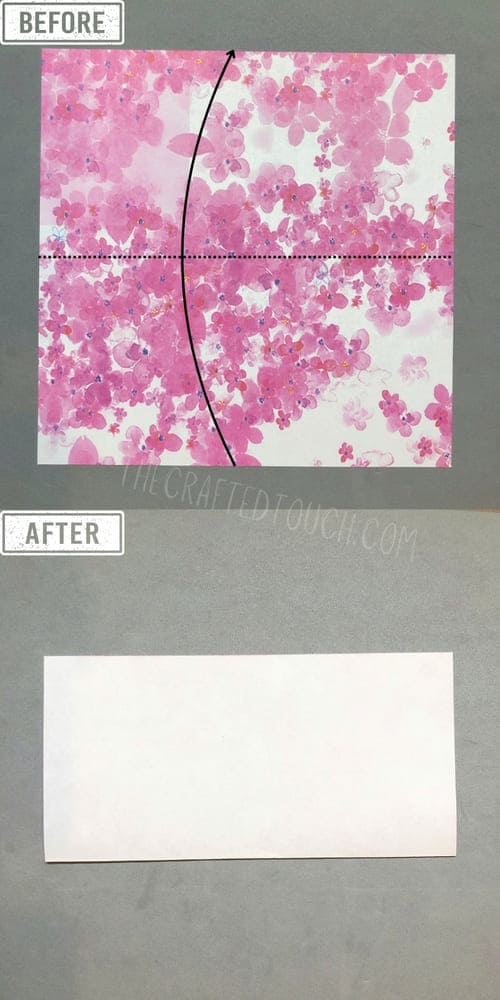
We begin by choosing a square piece of paper, 15×15 cm, which works best. Make sure the patterned or colored side faces up.
I fold the paper from bottom to top, making a clean horizontal crease. This sets the stage for all the folds that come after!
Step 2: Flip the Paper Over
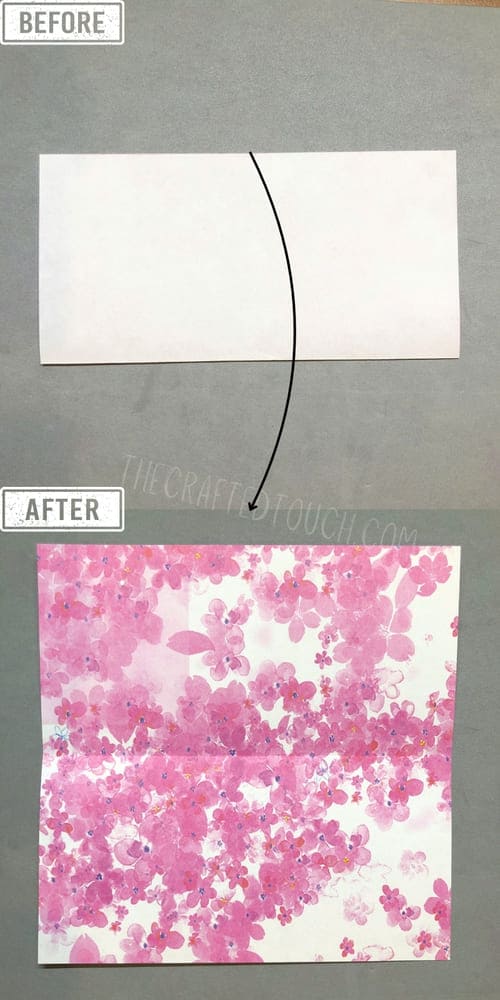
Next, I flip the paper over. Now, the plain white side is up. This flip helps prepare the surface for the next folds and lets us keep the patterned side hidden until the final reveal!
Step 3: Make a Vertical Fold
Let’s add a vertical guideline. I fold the paper from right to left, matching the edges neatly.
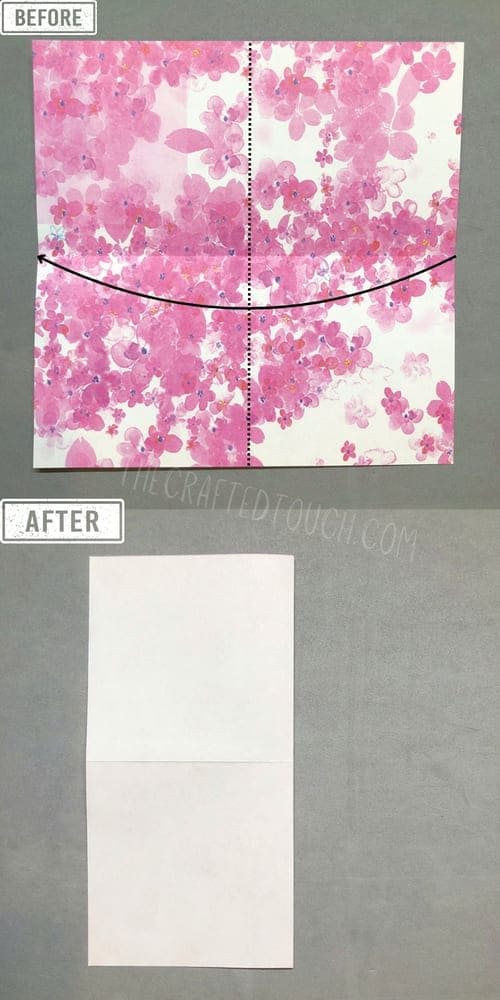
Then I unfold it. This line helps guide the upcoming diagonal folds. Isn’t it satisfying to see the creases forming clean lines?
Step 4: Flip the Paper Again
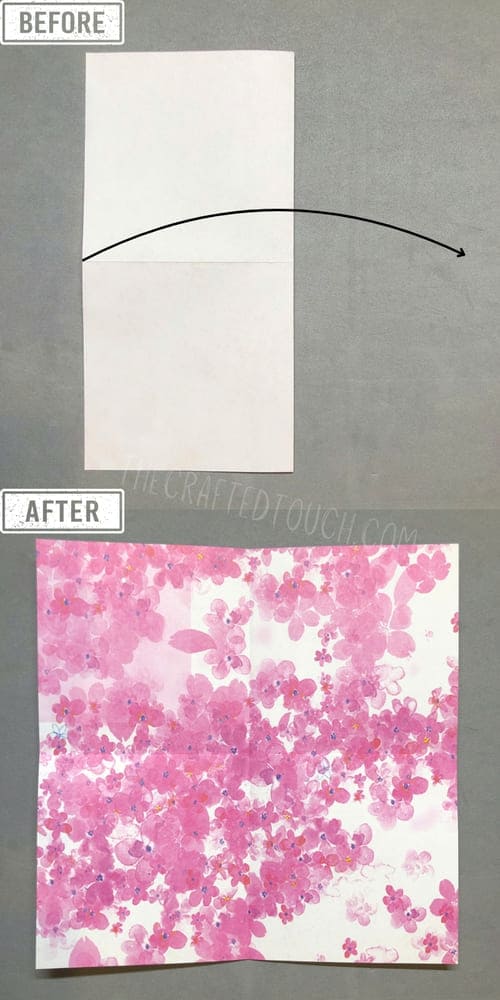
Time to flip again! I rotate the paper so the patterned side is now face down. The white side is up again. This side will be key for the next few folds.
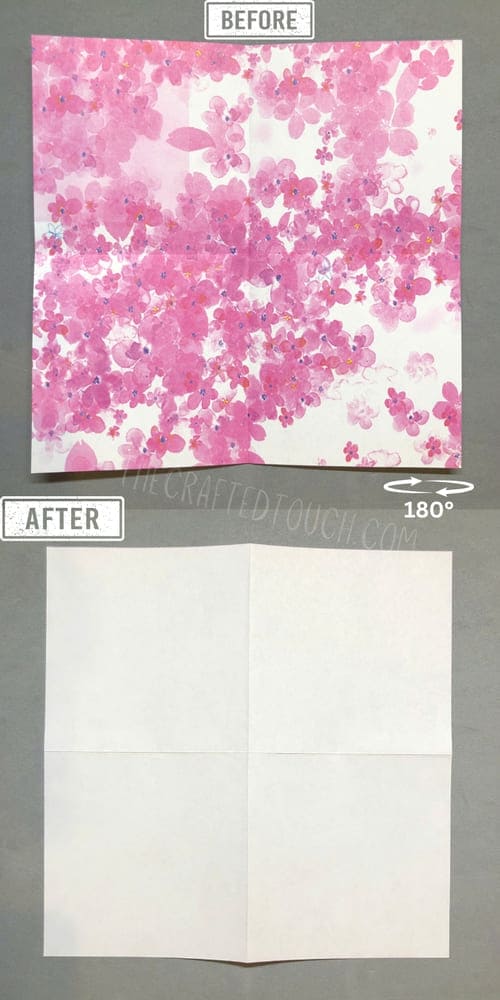
Step 5: Fold the Bottom-Left Diagonal
Now, I work on the bottom-left quarter of the square.
I fold a diagonal line from the bottom-left corner to the top-right corner of that section. It’s a small fold, but it’s the first of several that begin to shape the box.
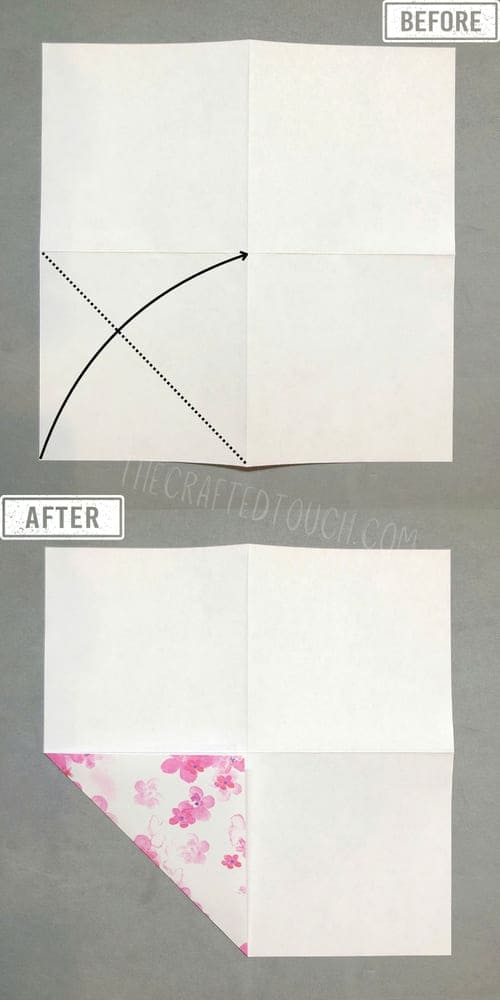
Step 6: Diagonal Fold on the Top-Right Quarter
Next up is the top-right quarter. I fold from bottom-right to top-left this time. Just like magic, the folds are starting to make a pattern appear!
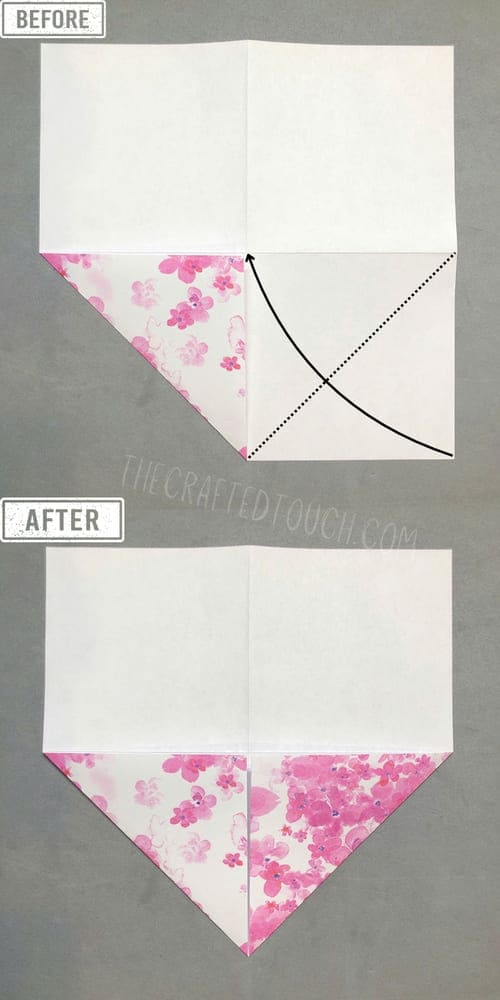
Step 7: Another Diagonal on the Top-Right
Yes, I fold again in the top-right quarter, but now from the top-right to the bottom-left. These overlapping folds help strengthen the final shape.
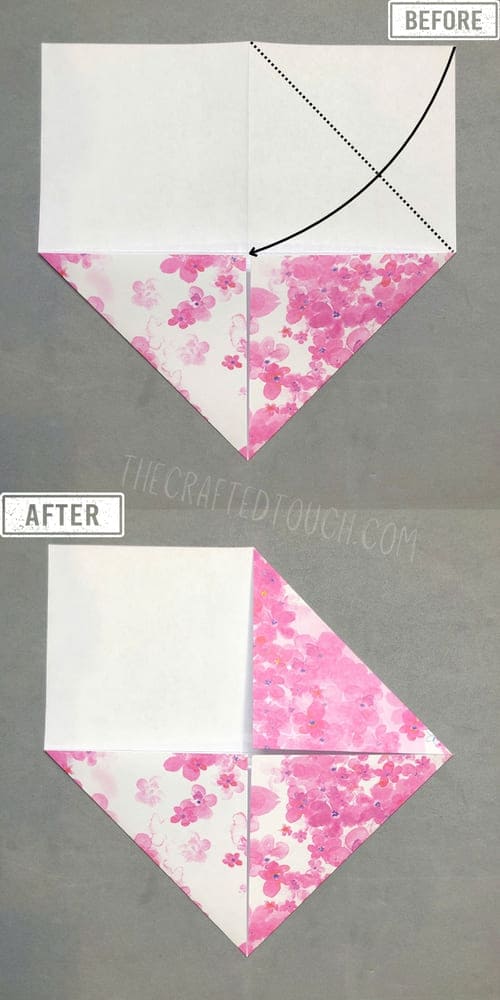
Step 8: Diagonal Fold on the Top-Left
Now, I move to the top-left quarter and fold diagonally from top-left to bottom-right. These are the final diagonals for now. Whew! The creases look like a geometric puzzle — so cool!
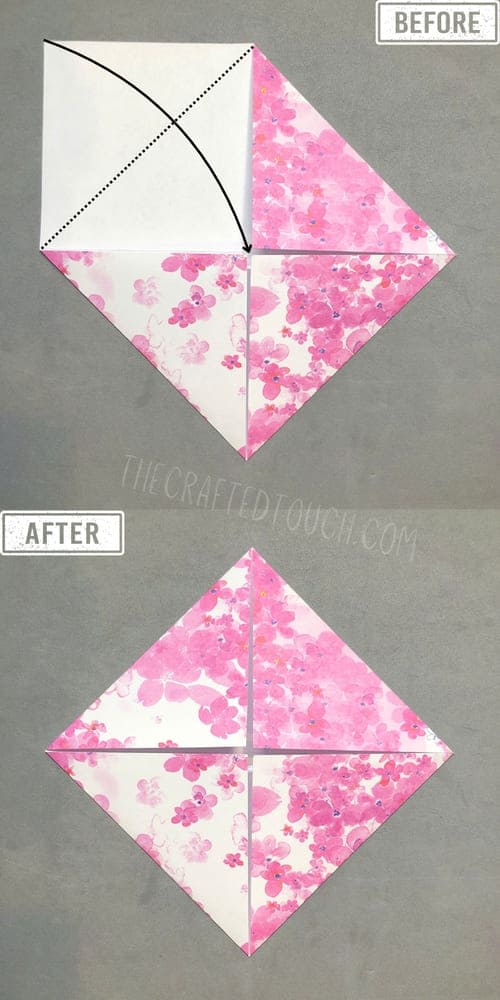
Step 9: Rotate the Paper
It’s time for a turn! I rotate the whole paper 45 degrees counterclockwise. Now, it looks like a diamond. This helps realign our view of box-building.
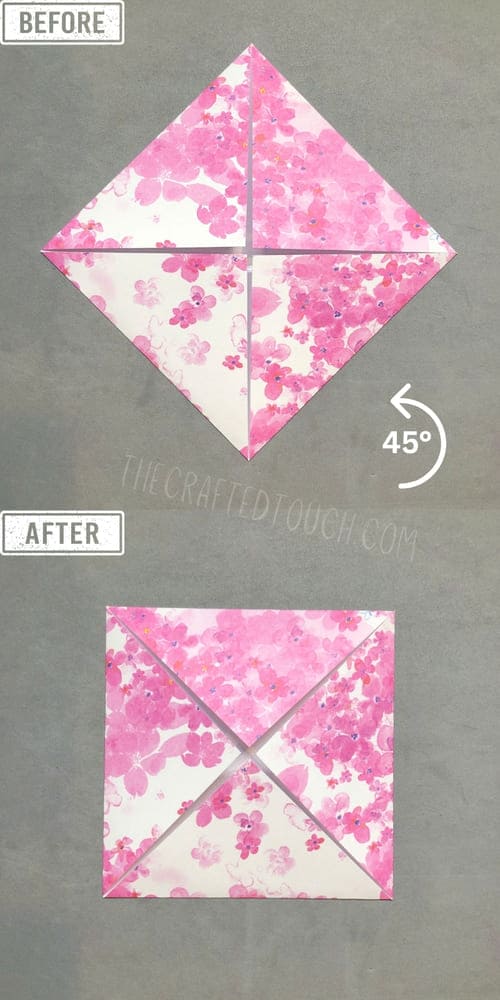
Step 10: Fold the Bottom Point Upward
With the diamond in front of me, I fold the bottom point upward until its edge touches the center of the square. This begins to fold the base of our Origami heart box.
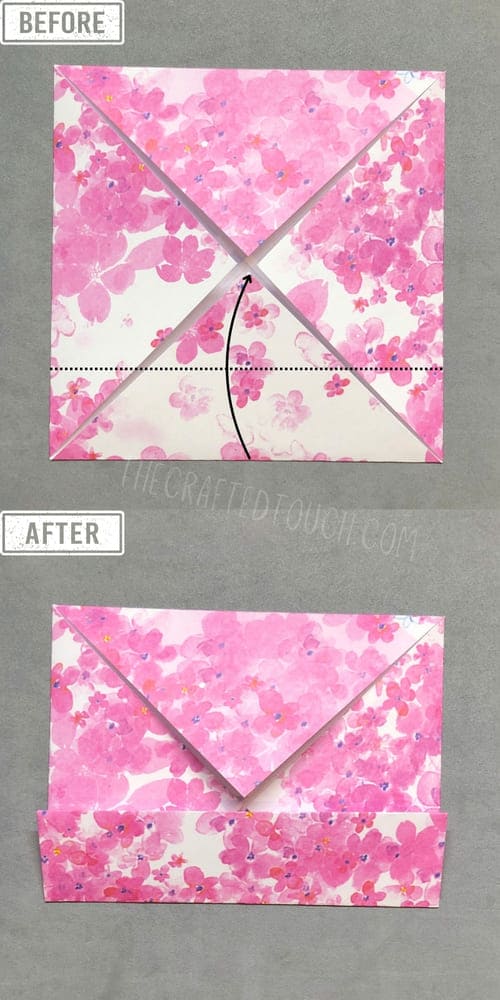
Step 11: Fold the Top Point Downward
Now, I fold the top point downward, again bringing the edge to the center. The box base is getting more structured with every move.
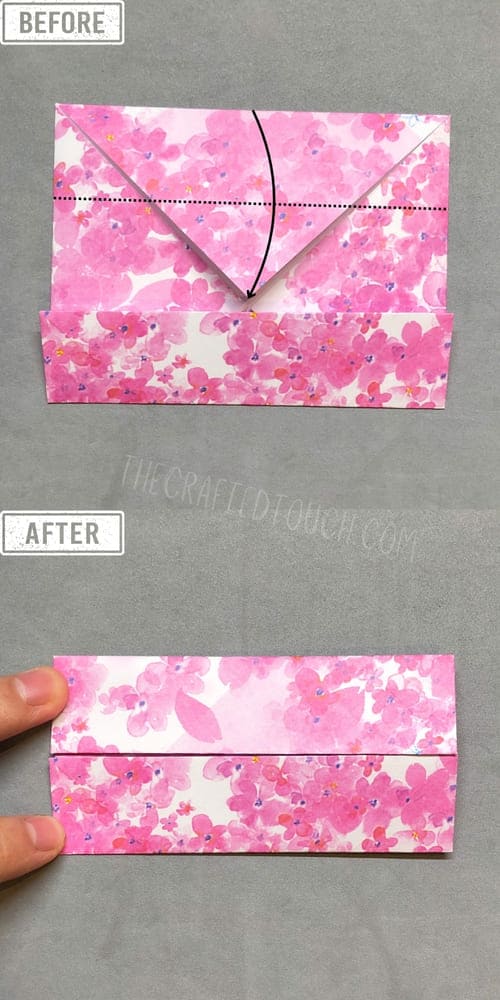
Step 12: Unfold Both Top and Bottom Folds
Once I’ve made those creases, I unfold both of them. These lines will help when we fold the sides.
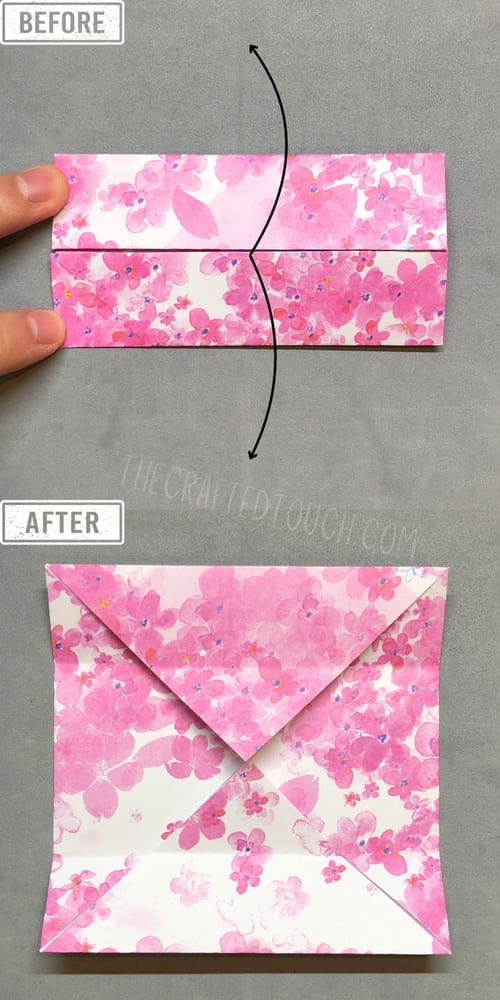
Step 13: Fold the Right Edge Inward
Next, I fold the right edge inward so the outer edge lines up with the center line.
This fold shapes the right side of the box.
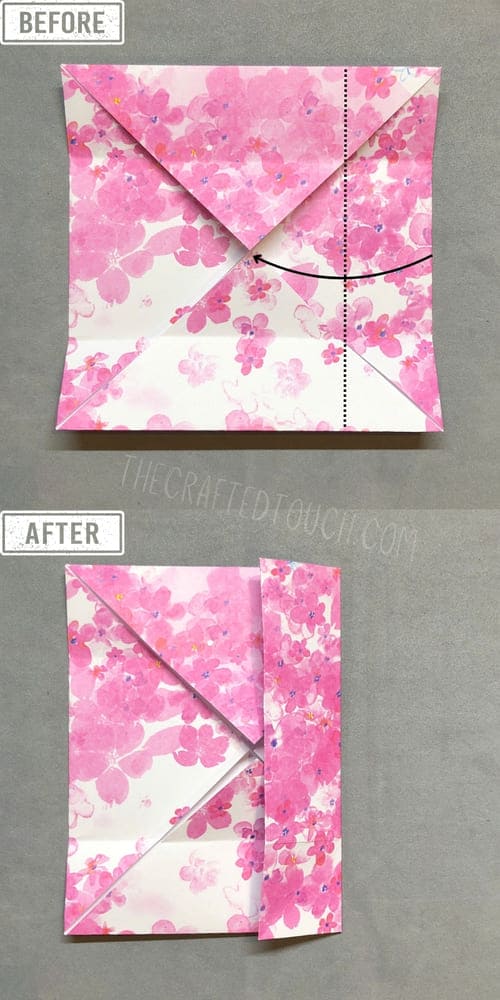
Step 14: Fold the Left Edge Inward
Now, I do the same with the left edge — fold it in so it touches the center line.
It’s so satisfying to see everything line up neatly.
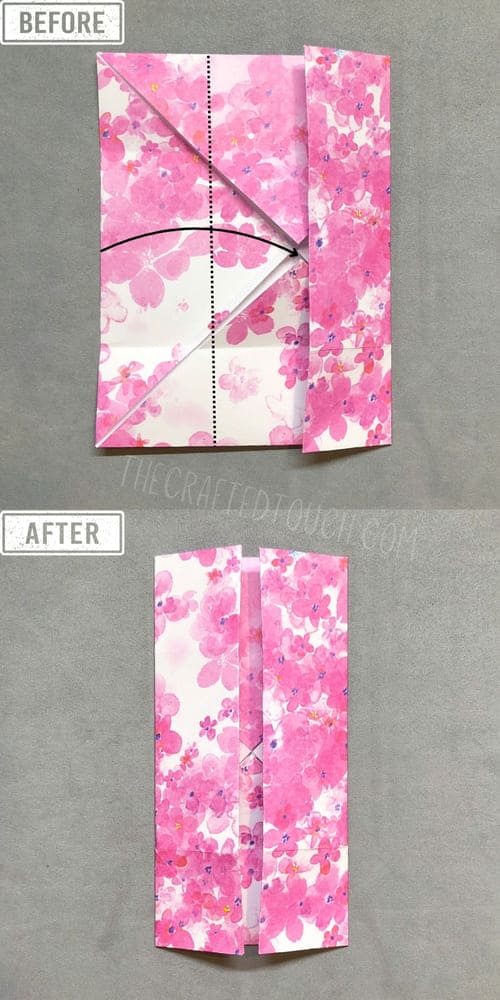
Step 15: Unfold the Side Folds
Once both sides are creased, I unfold them again. These marks guide the next part of the structure.
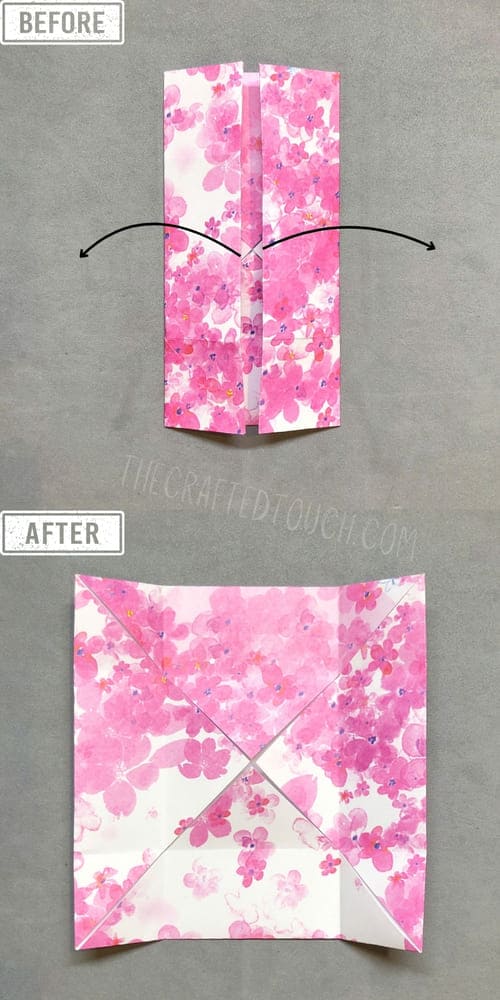
Step 16: Open the Left Triangle
Let’s bring the folds to life! I open up the triangular section on the left side. This part begins shaping the 3D walls.
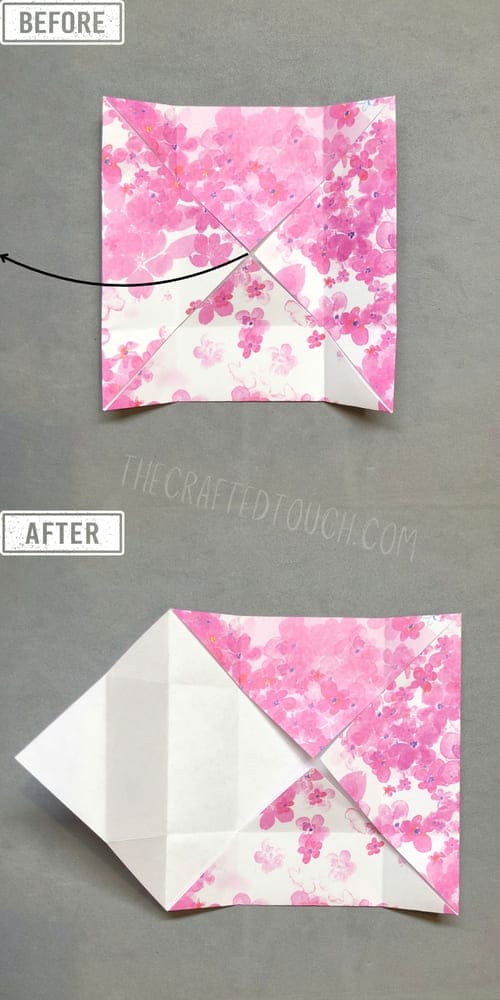
Step 17: Open the Right Triangle
Now, I open up the triangular section on the right side. I love watching the flat shape start to rise into a real box.
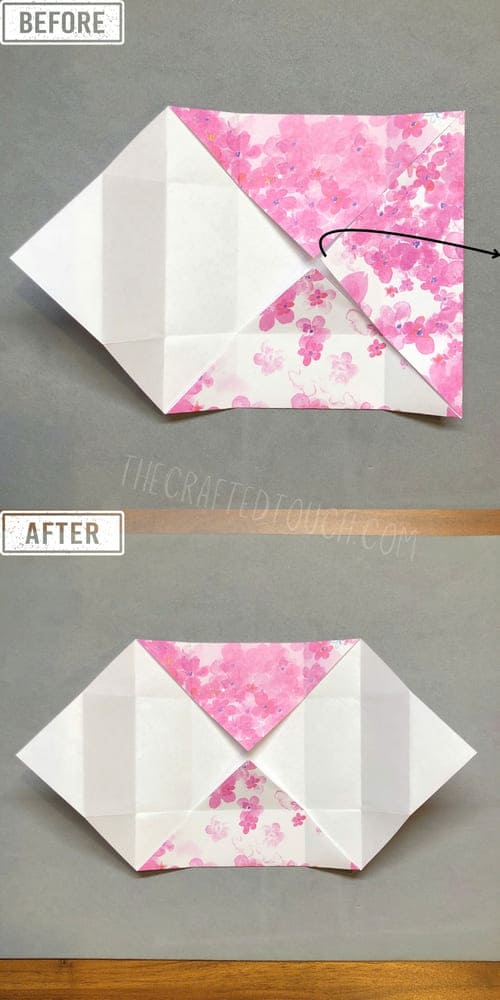
Step 18: Fold the Top Edge Downward
Next, I fold the top edge downward until it touches the center, then release it. This crease is another guide — the folds are prepping themselves to stand.
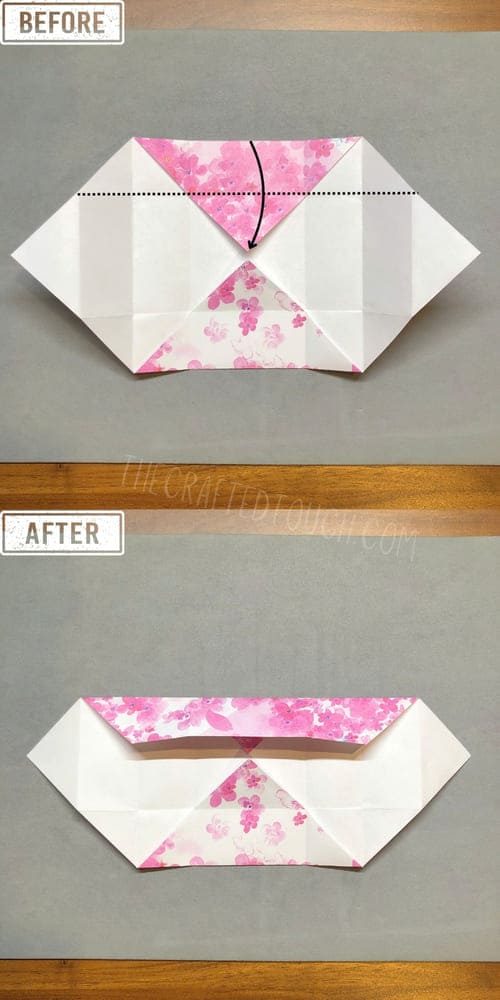
Step 19: Fold the Bottom Edge Upward
Now, I fold the bottom edge upward to meet the center and then release it. More standing folds are on the way!
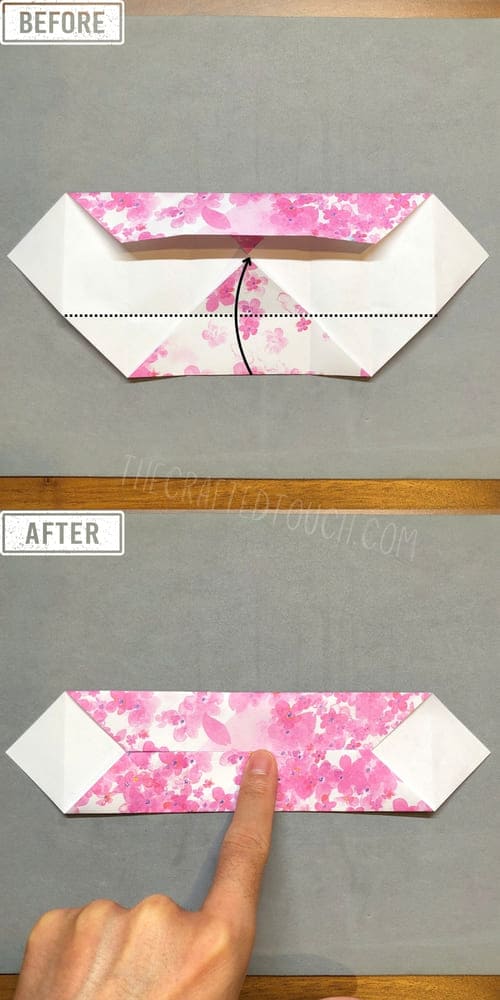
Step 20: Lift Top and Bottom Creases Vertically
Time to go 3D! I gently lift the top and bottom creases so they stand up at a 90-degree angle.
It’s like watching the box walls rise. I get excited every time I see this part come together!
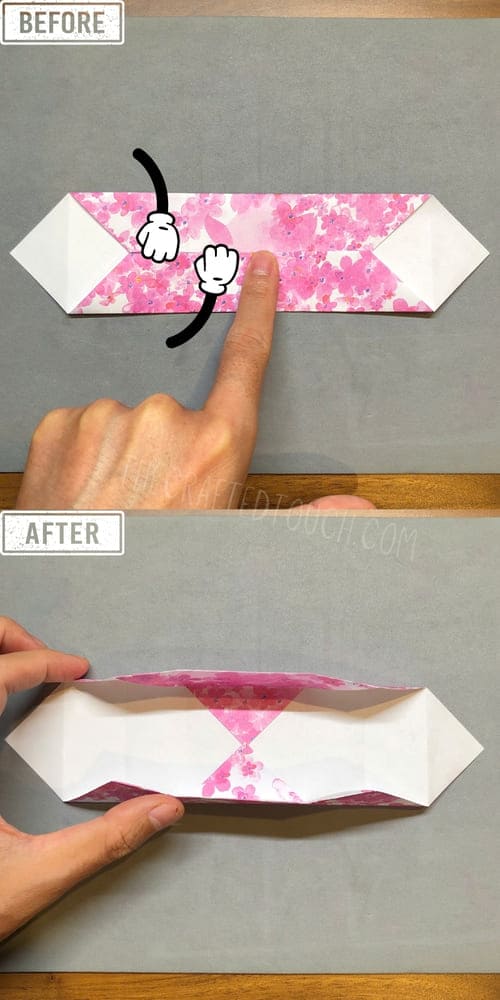
Step 21: Shape the Right Wall
Here’s the fun part! On the right side, I use my index finger and thumb to press the top and bottom edges inward.
At the same time, I pull the outer-left sharp corner to the right. This clever movement helps shape the wall.
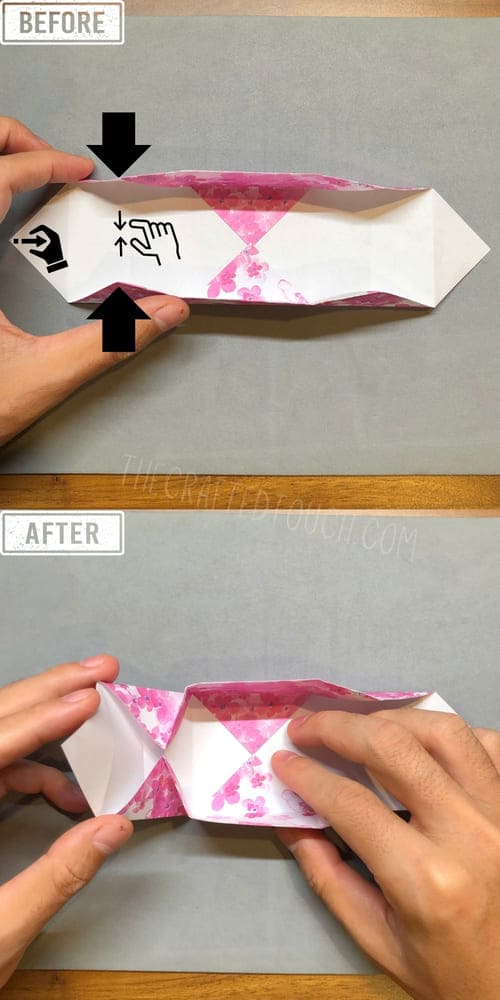
Step 22: Lift the Right Side Up
Now, I pull the entire right side upward, letting it stand straight at a 90-degree angle. It looks like a real wall now!
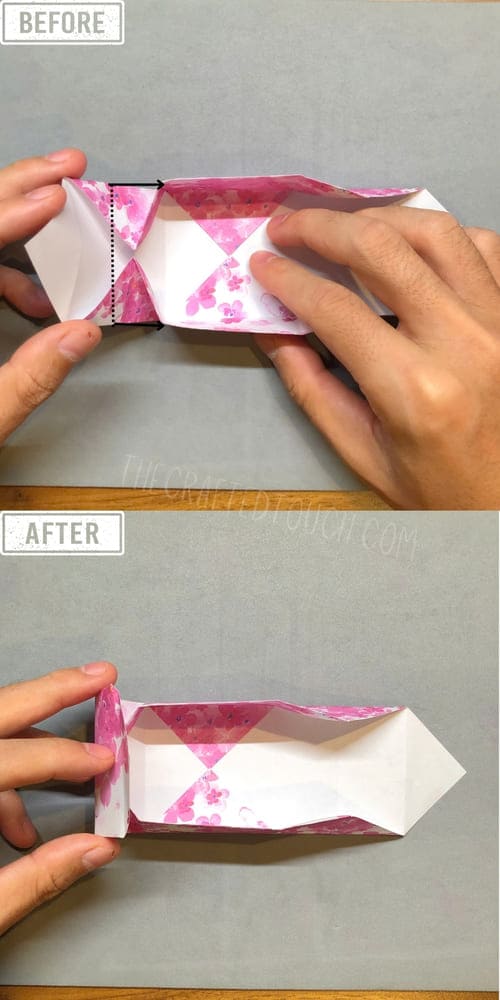
Step 23: Tuck the Top Flap Into the Box
Next, I push the excess flap at the top of the right wall downward, tucking it into the box.
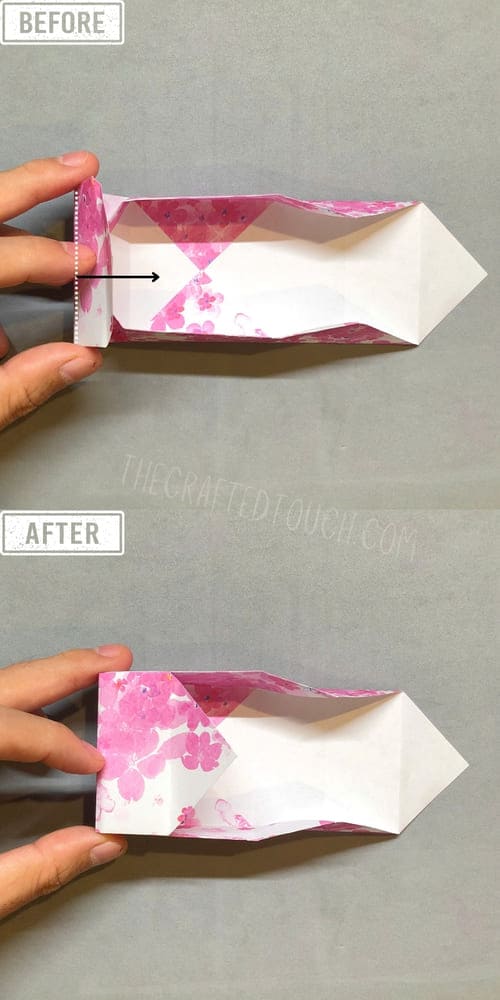
Step 24: Press It All the Way to the Bottom
I keep pressing it down until it reaches the base of the box. It holds everything together perfectly.
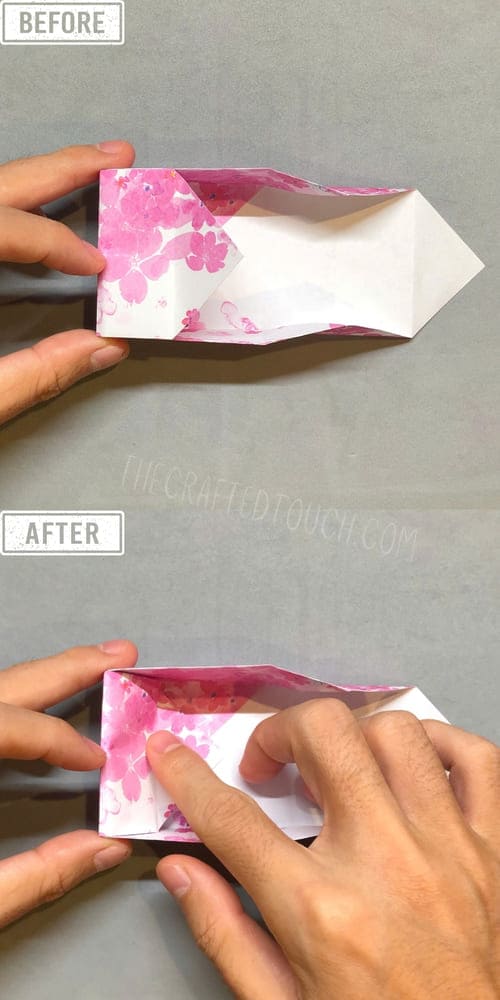
Step 25: Align the Folded Edge
Then, I gently press it so its folded edge lines up with the base edge. That clean edge makes the box look polished.
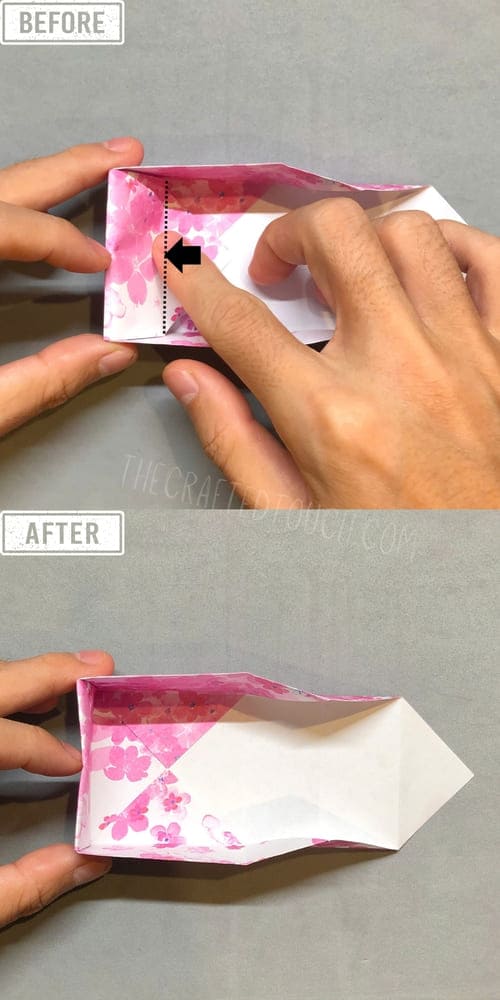
Step 26: Repeat on the Right Side
Let’s do the same on the right side now! I press the edges inward while pulling the right triangle flap toward the center.
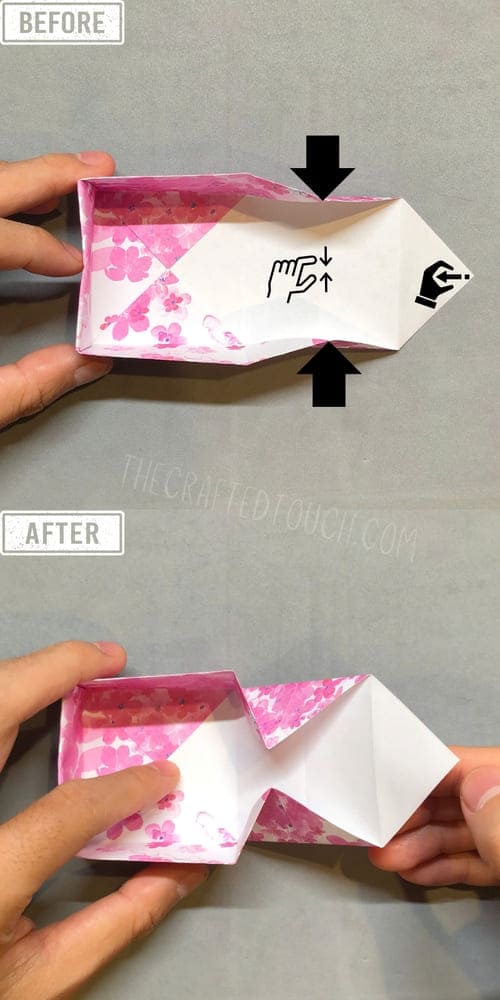
Step 27: Lift the Left Side Up
Like before, I lift the left section so it also stands at a 90-degree angle.
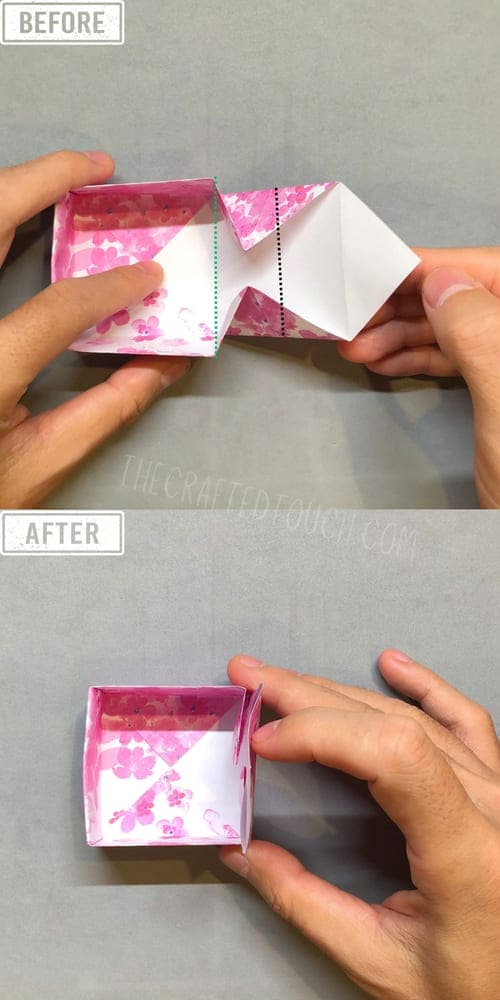
Step 28: Tuck the Flap In
I tuck this flap down into the box, too — the symmetry is so satisfying!
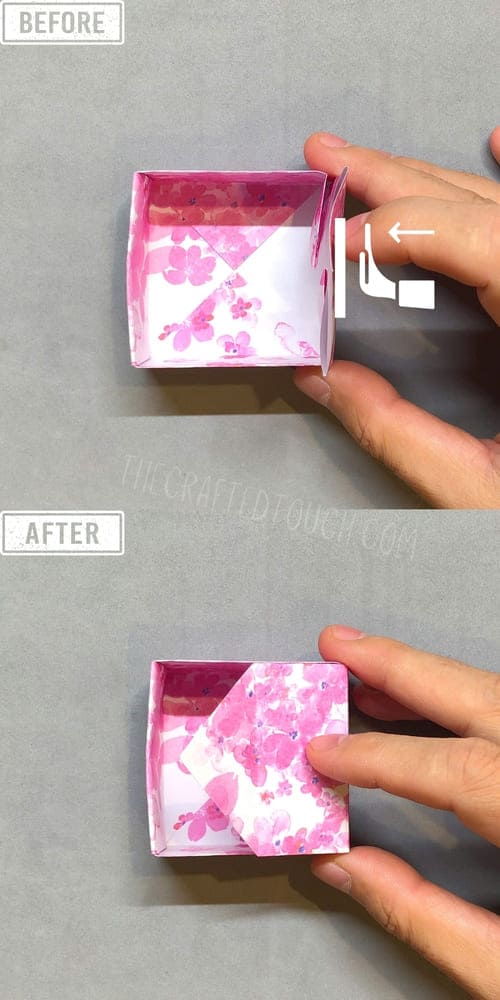
Step 29: Rotate the Model
I rotate the model slightly and admire my square box. We’re almost done!
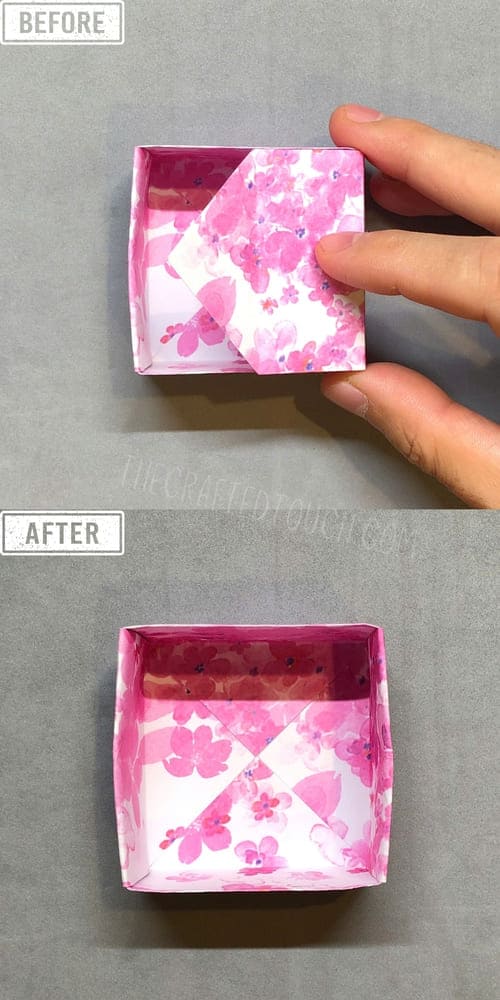
Step 30: Rotate and Flip
I now rotate it 45 degrees counterclockwise and flip it upside down. This gets us ready to create the heart shape.
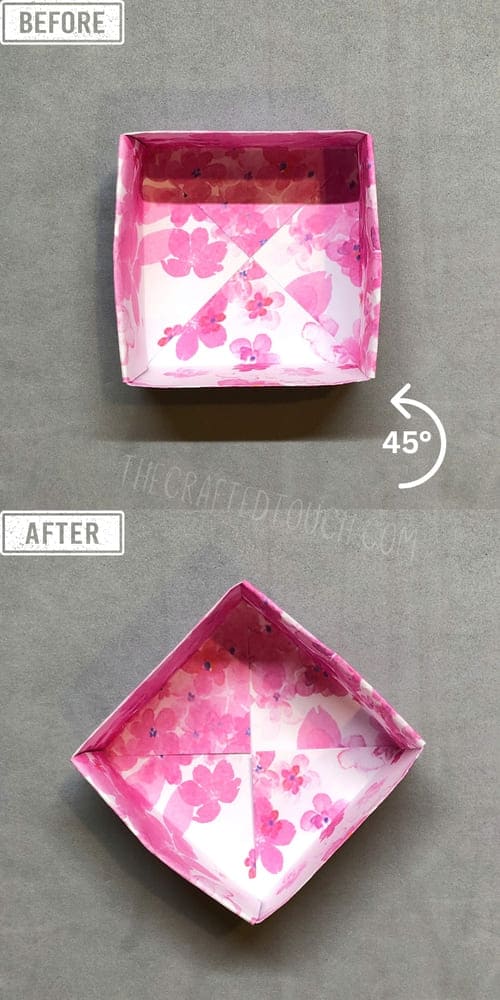
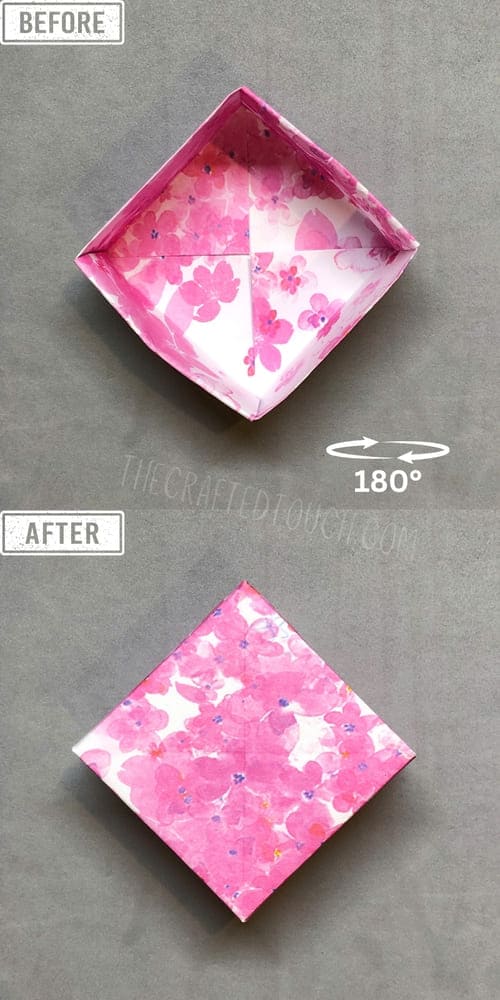
Step 31: Fold the Top Corner Inward
I fold the top corner inward so it touches the center of the base.
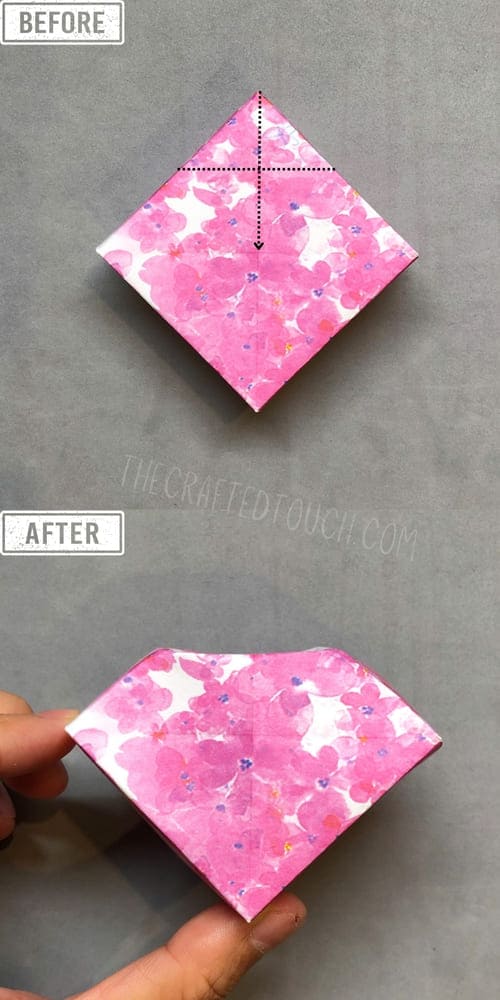
Step 32: Fold the Flap Again
Then I fold that flap inward again, tucking it in tighter.
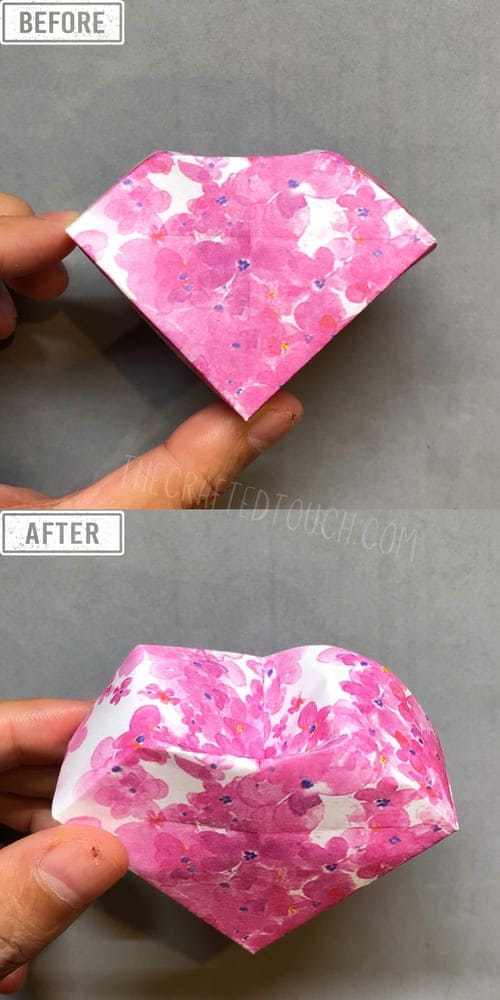
Step 33: Fold the Remaining Corners
Finally, I fold the remaining three corners inward, one by one.
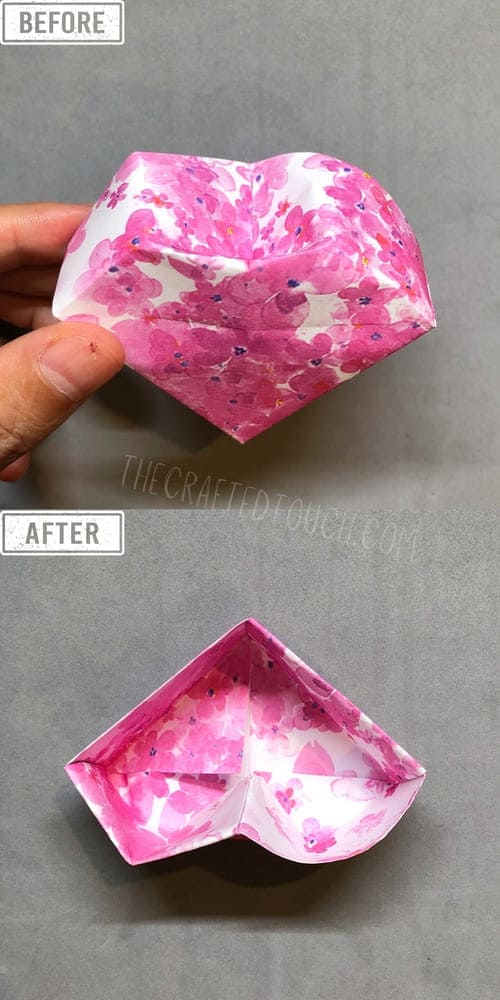
All corners should meet in the center.
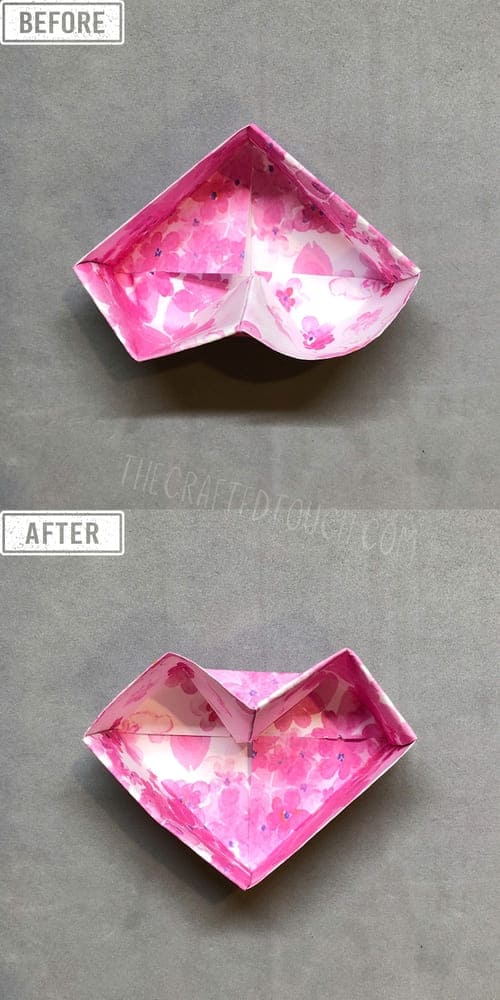
After all folds are completed, adjust the origami heart shape to make a perfect dip in the middle.
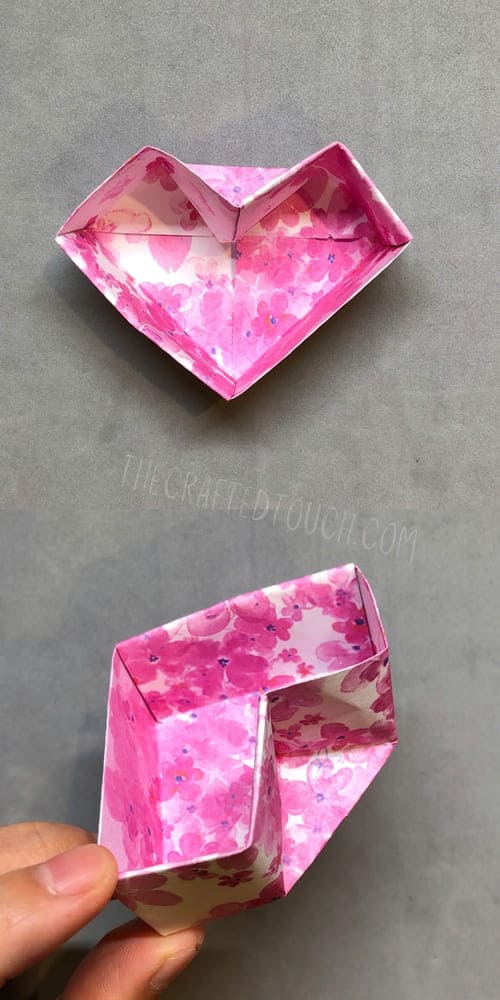
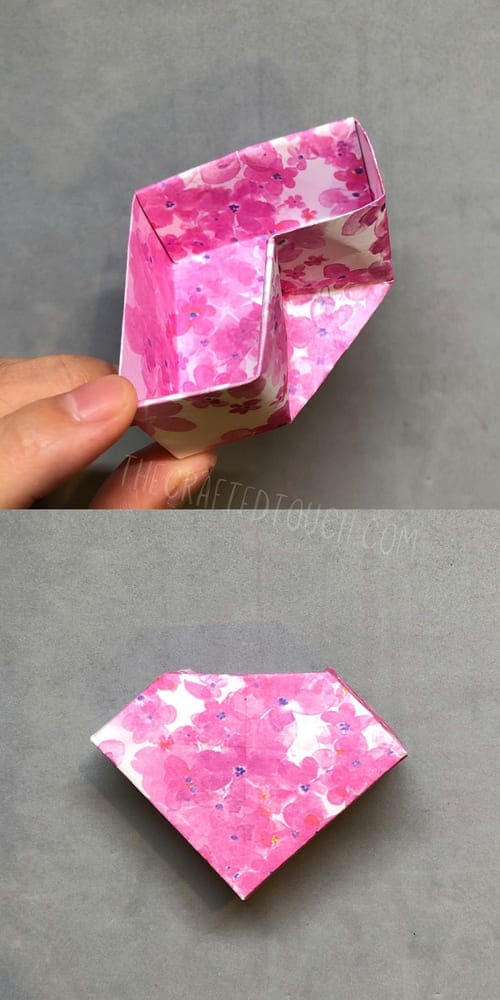
And just like that, my Origami heart box is complete!
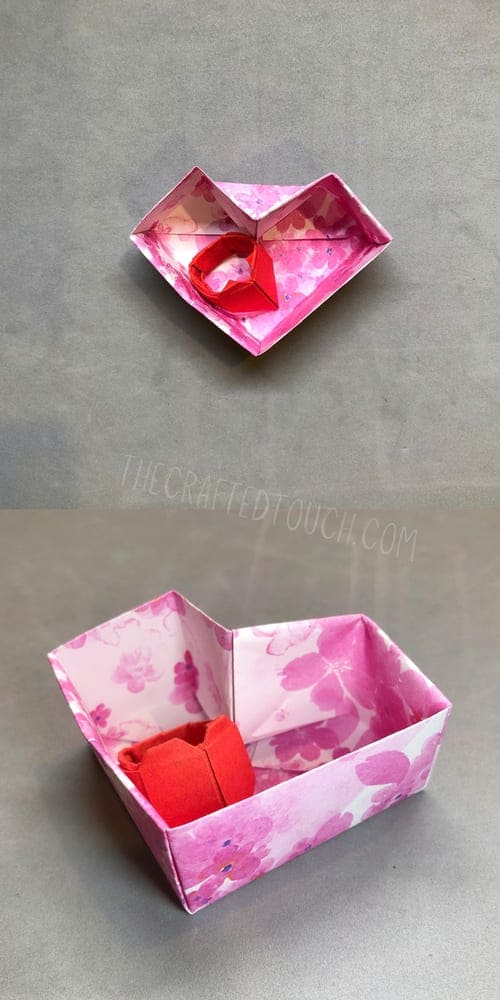
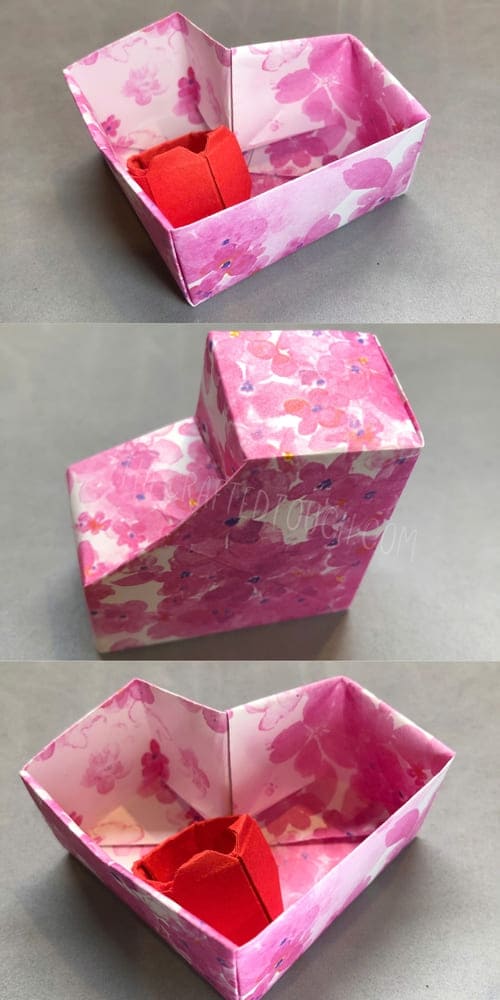
Final Thoughts
Isn’t it amazing how one piece of paper can become something so lovely? I absolutely love making the Origami heart box, and I hope you do, too. Try it with different paper patterns and sizes! Share your creation with someone special, or use it as a keepsake. Ready to fold another one?
