The frog base is where I always start when I wanna fold that classic origami frog. It’s like the main setup—you can’t really skip it if you want the frog to come out right.
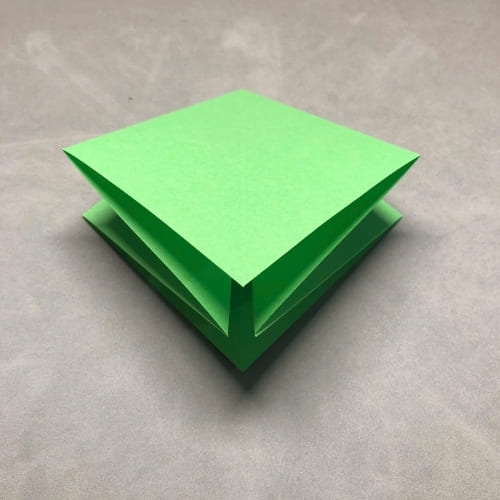
Step 1 for the frog base! I begin by folding the origami square base—same as usual. Once I’ve got that, I’m all set to start. It should look like this at the beginning.
Step 2 now. I fold the right edge over so it lines up with the center. Then I press the crease real good—don’t wanna skip that part. After that, I just unfold it again.


Step 3’s a bit tricky but fun. I gently pry open the paper and bring that top layer from the right side over to the center. Then I do a squash fold—just press it all flat like I’m smushing it into place. Looks kinda cool when it’s done right!


Step 4 now. I just take that top layer on the right and fold it over to the left. Simple move, but it sets things up for what’s next!


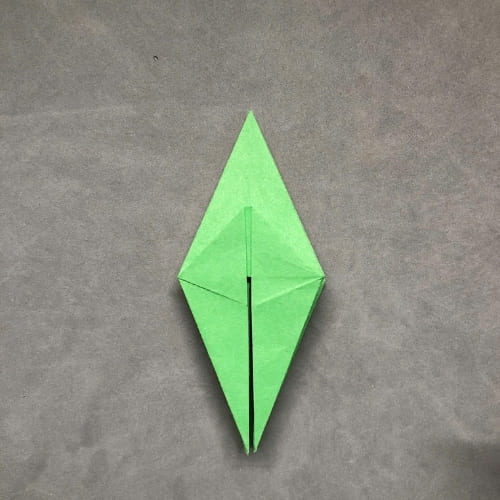
Step 5 again! So I go ahead and repeat Steps 2 to 4 three more times—one for each of the other sides. Gotta take it slow so everything lines up nice.


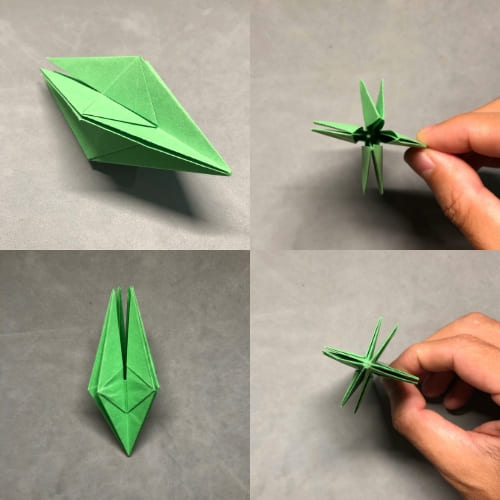
Once I’m done, all four sides should look the same—just like in the picture.
Step 6 now. I fold both sides in toward the center line—nice and straight. Then I crease them really well (yes, again 😅) and unfold. These creases are gonna help with the next move, so can’t skip ‘em!

Step 7! Now I do a horizontal valley fold—just fold the bottom up to the top. Gotta crease it well (yep, again 😅), then unfold it.

Step 8—time for that petal fold! I gently pry the paper open, then bring both sides in toward the center.

It all kinda folds into place if my creases were good. Just press it flat, and boom—petal fold done!

Step 9 now—almost there! I just repeat Steps 6 to 8 on the other three sides. My frog base is complete.
Feels pretty satisfying seeing it all come together! 🐸✨