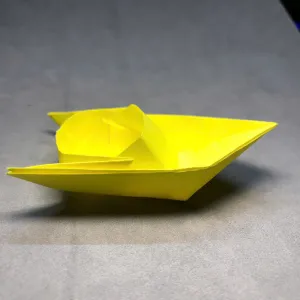
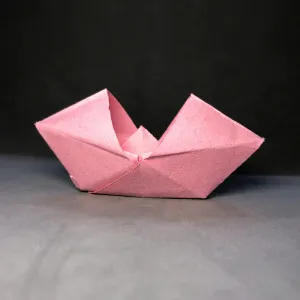
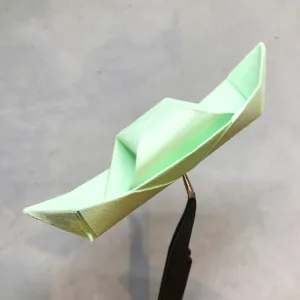
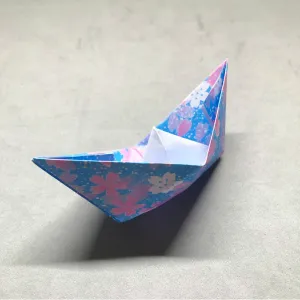
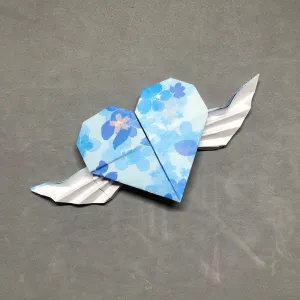
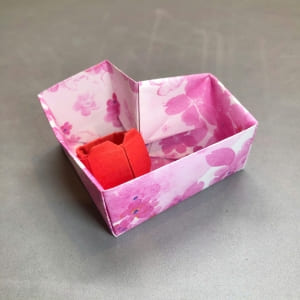
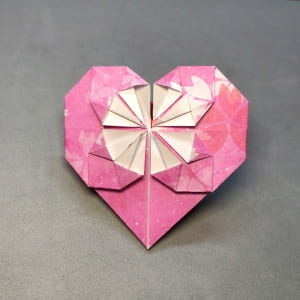
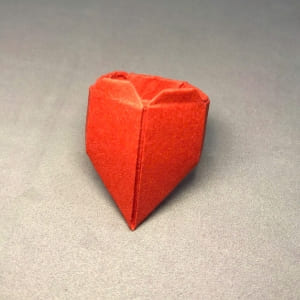
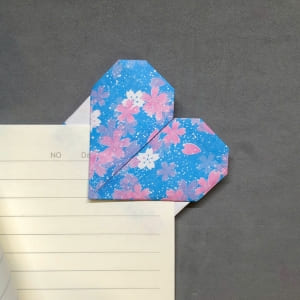
Folding paper into a little envelope is one of my favorite things to do when I want to send someone a special note or just have fun. It doesn’t take much, just a square piece of paper and a bit of patience. I’ll show you exactly how I did it, step by step, so you can follow along and make your own.
What i needed
| Material | How I Use It |
| A Square Sheet of Paper | I picked a paper that’s the same length on all sides. Mine was colorful, but you can use any kind you like as long as it’s square. |
| A Flat Surface | I folded my paper on a table so everything stayed neat and didn’t slide around. |
| Clean Hands | I made sure my hands were clean so the paper wouldn’t get dirty. |
Skill Level
★★☆☆☆ (Easy)
Step-by-step folding guide
Before we start folding, let me tell you something. Making an origami envelope is really fun and doesn’t take much time. I only needed one square piece of paper and a little focus. If you’re ready like I was, then let’s begin step by step.
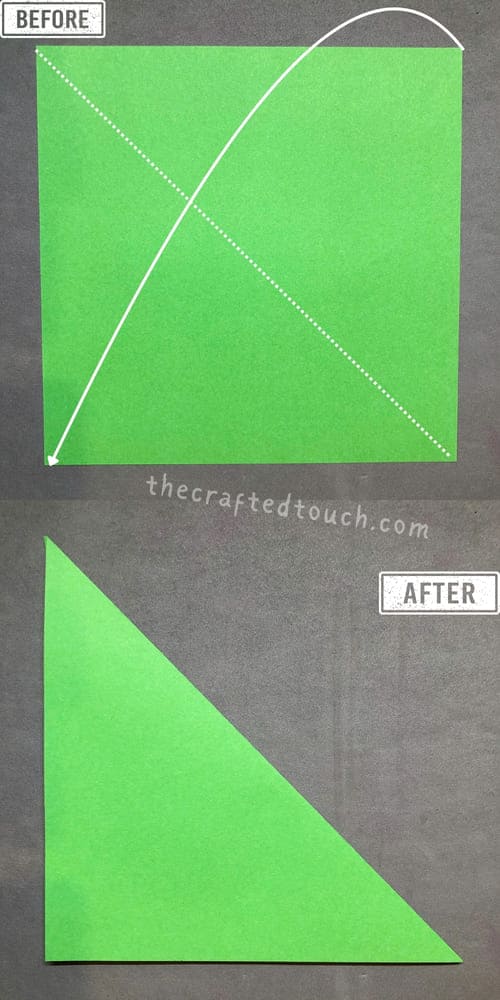
Step 1: I started with a square piece of paper and placed it flat on the table. Then I folded it in half by bringing the top right corner down to the bottom left to make a triangle. To make a smaller triangle
Step 2
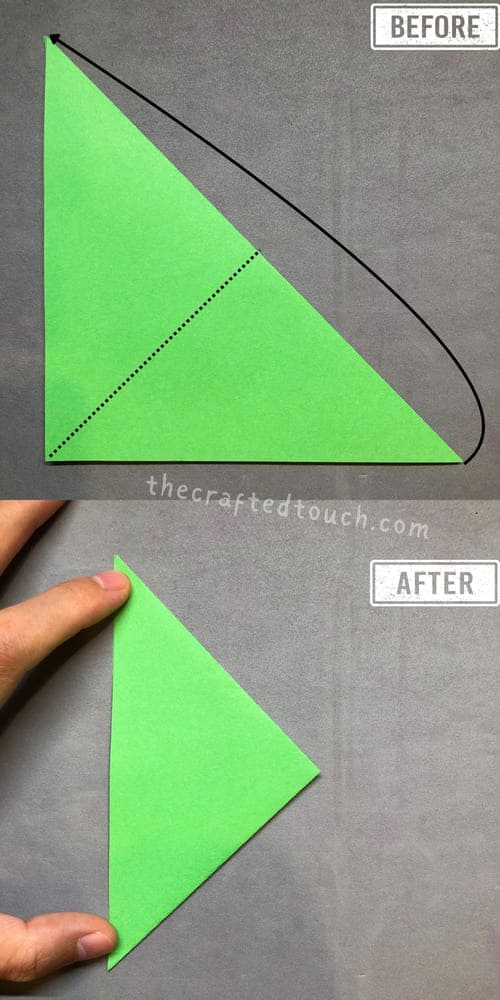
Now I folded the triangle in half by bringing the bottom right corner up to the top.
Step 3
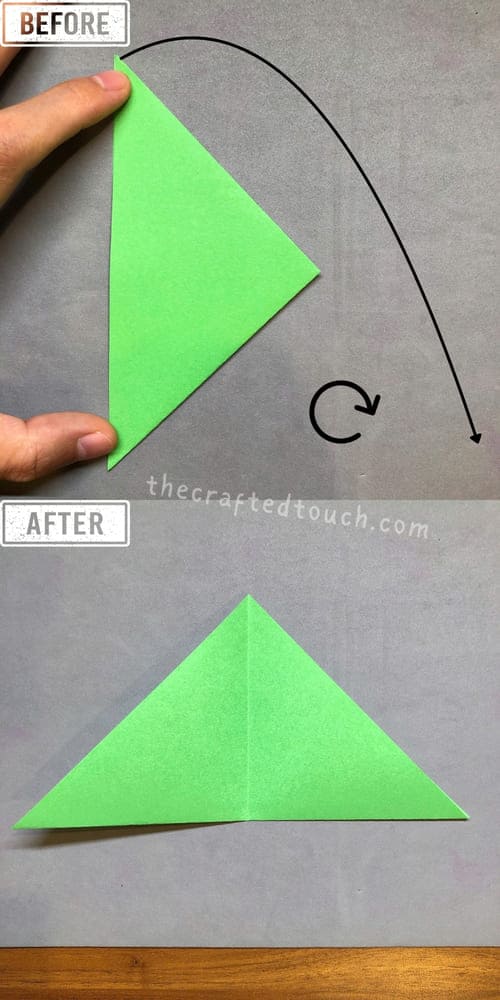
I opened the folded shape and turned it so the triangle points upward
Step 4
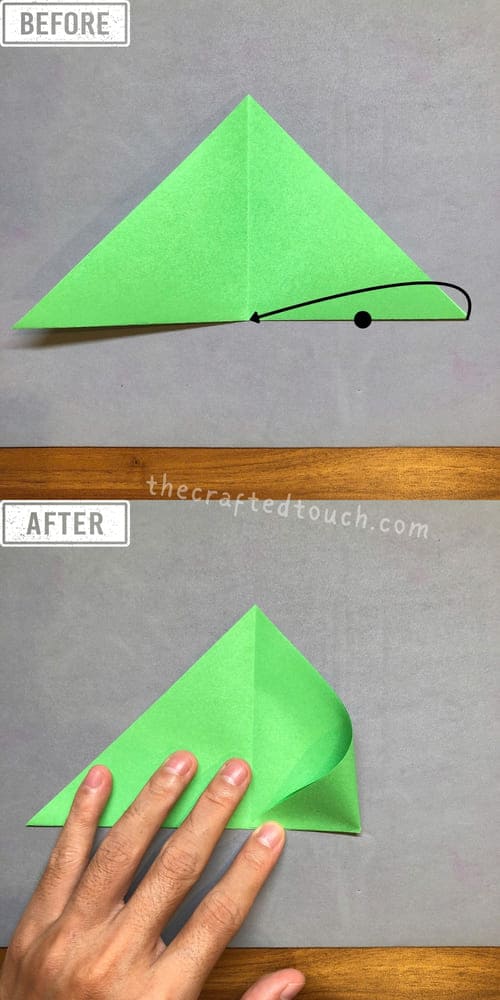
Then I gently folded the outer right corner toward the center to make a small crease as a guide at the middle of the bottom edge on the right side.
Step 5
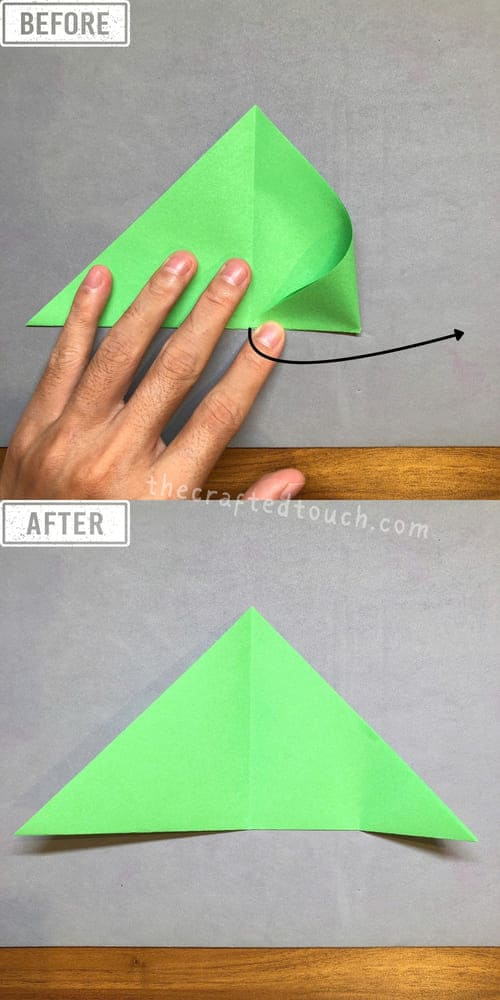
After that I folded the bottom left corner up to the crease I just made to form a triangle.
Step 6
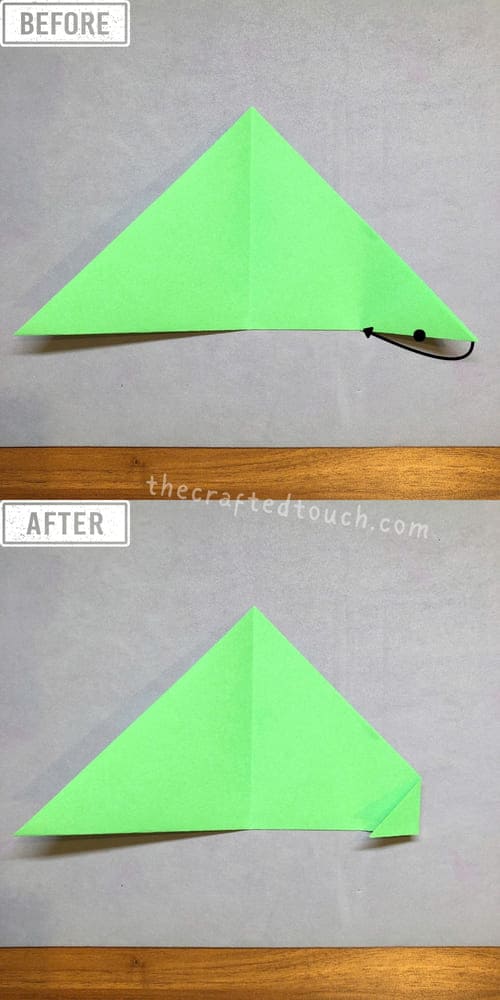
I gently folded the left corner to the center to make a tiny line, so I know where the middle is.
Step 7
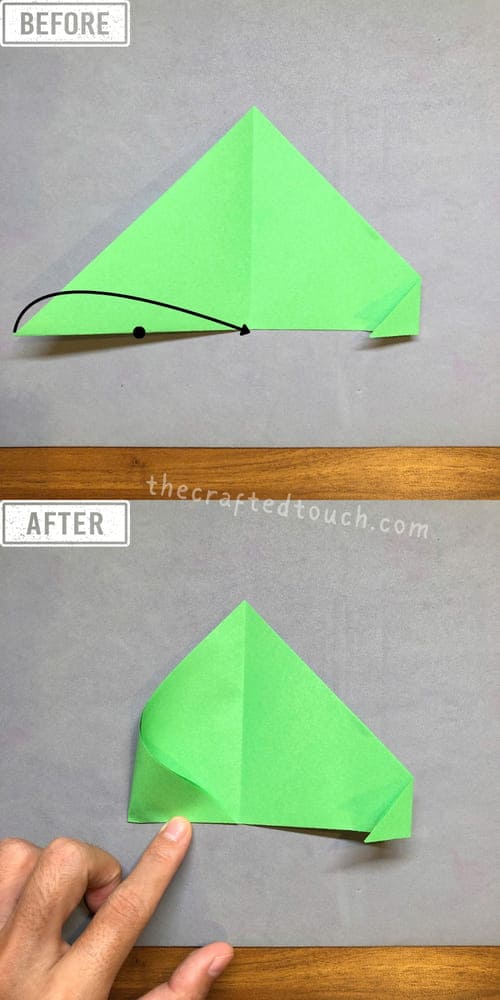
Then I opened it back up and folded the tip of the left corner into the little mark I made. Now I have two small triangles at the bottom corners of the paper.
Step 8
Now I lift the top flap of the paper and fold it down to make a big triangle in the front.
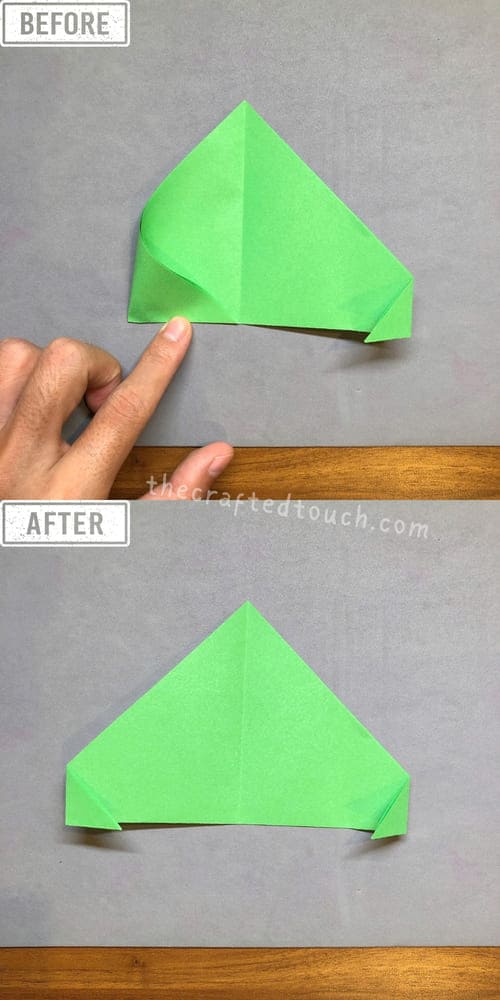
Step 9
Then I fold the right side of the paper along the dotted line.
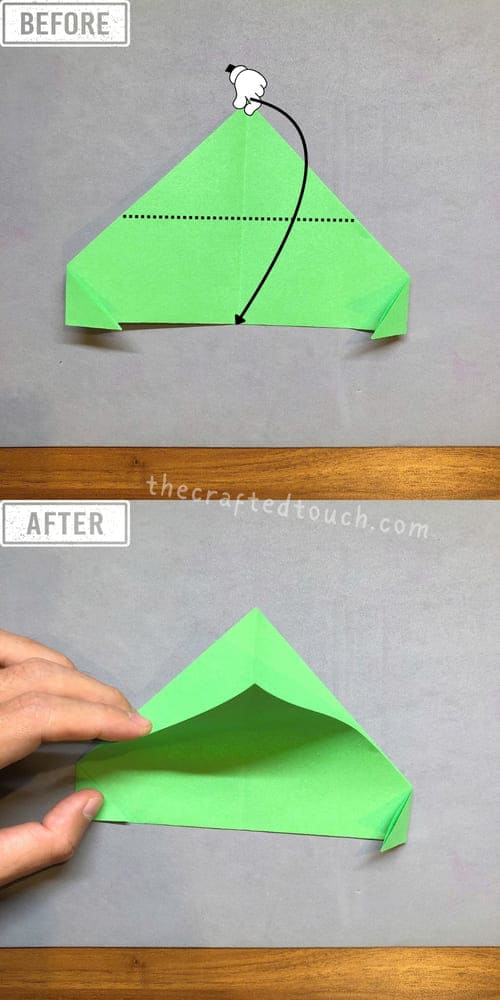
Step 10
Now I gently open the folded right side a little so I can pull out the small triangle.
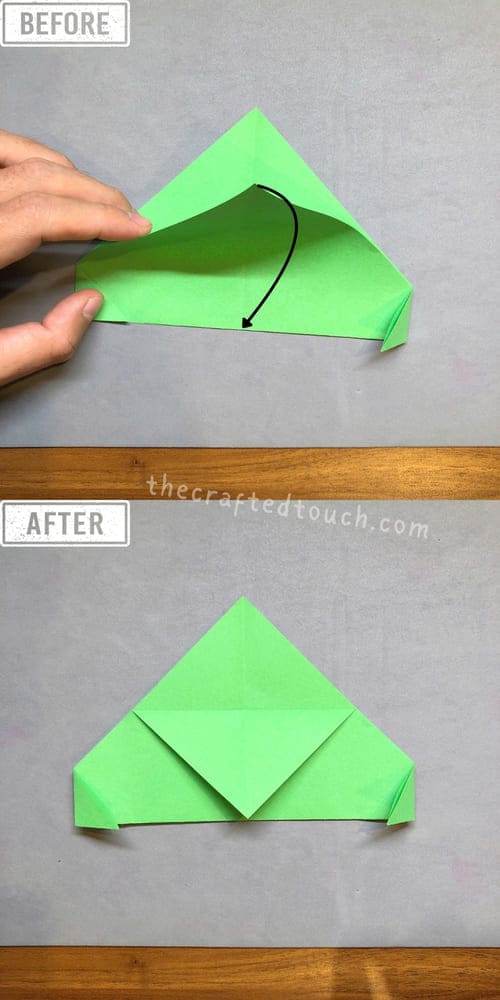
Step 11
After pulling the small triangle out, I press the right side down.
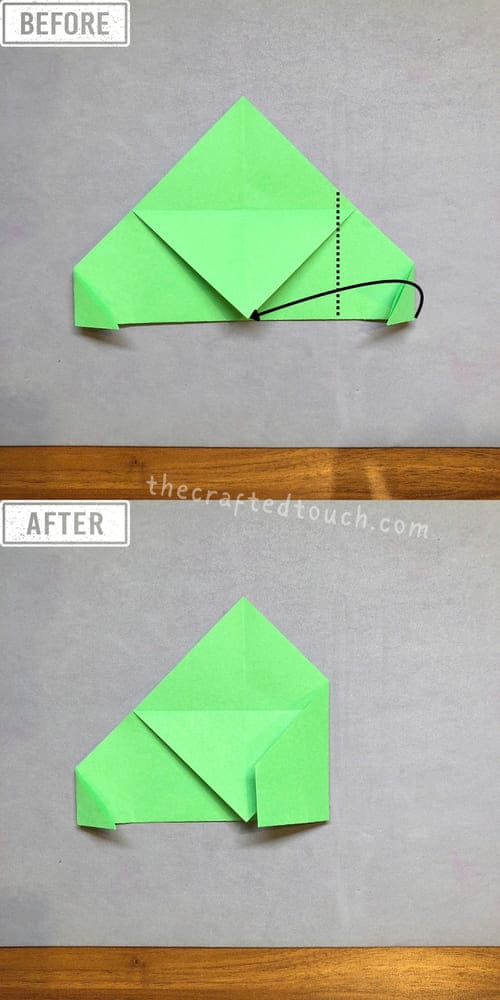
Step 12
I place it down, do you see the big triangle on the right?
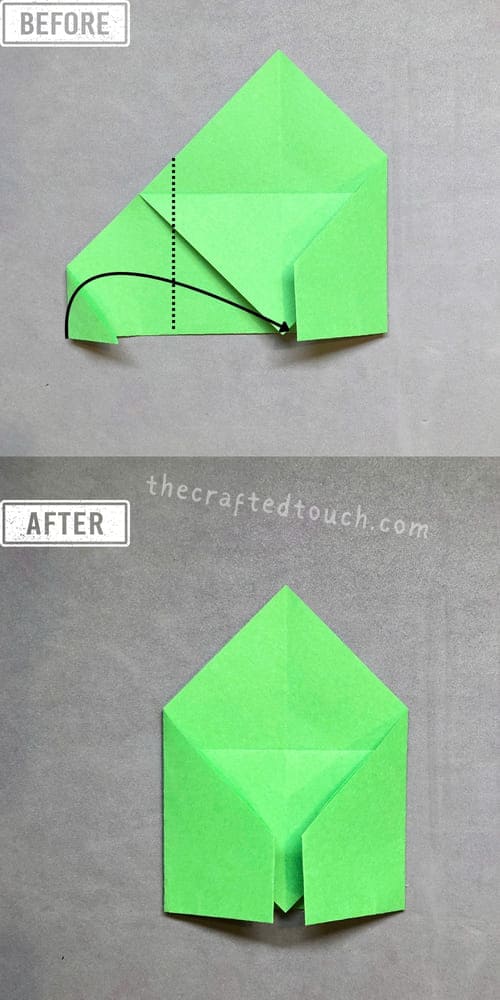
Step 13
Now I fold the outer left corner of that big triangle upward to make a small triangle.
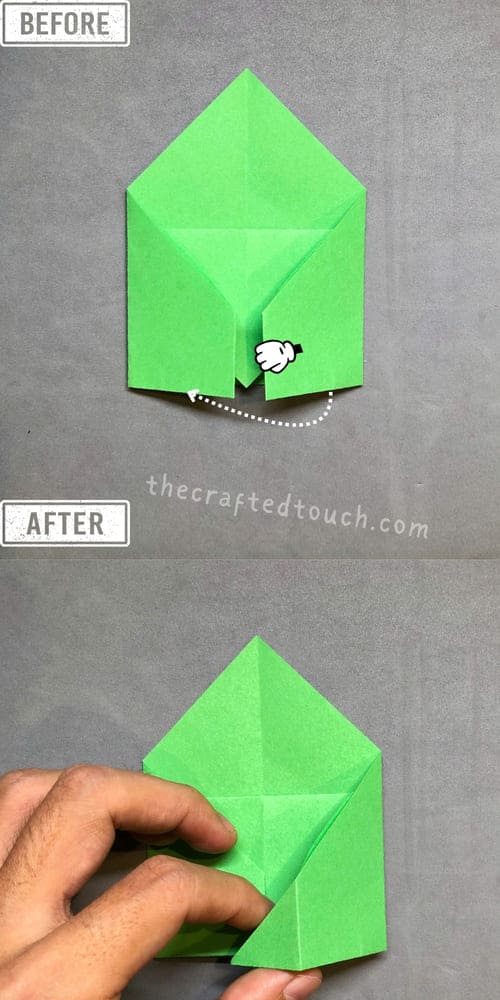
Step 14
I open the fold I just made and gently spread the top part of the triangle.
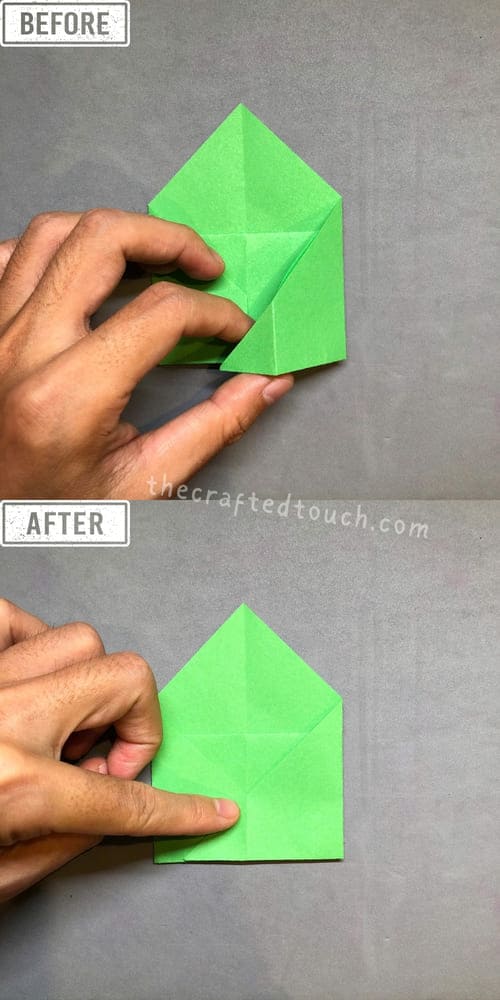
Step 15
Then I press it down from the bottom to the top to make a small square at the base.
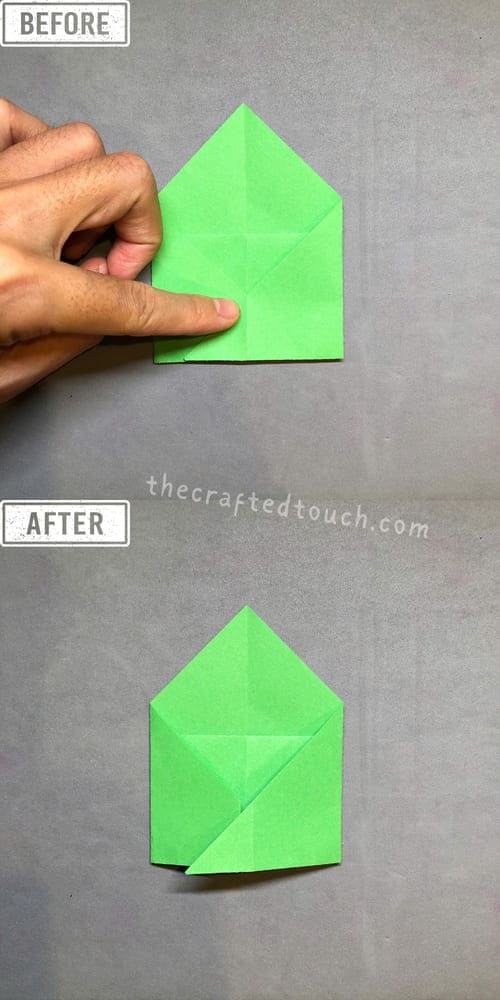
Step 16
Now I fold the paper from top to bottom along the dashed line, so the top point touches the center of the bottom edge.
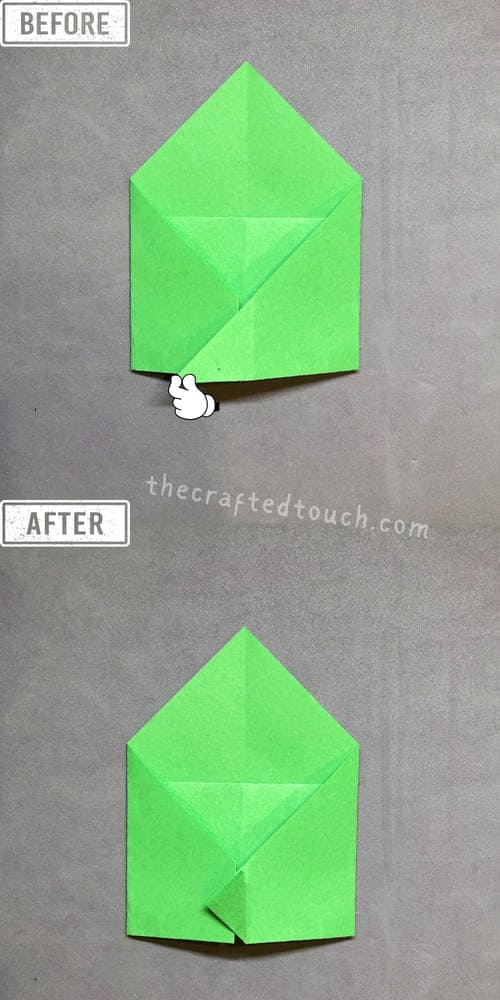
Step 17
I open the fold I just made and gently spread the top part of the triangle.
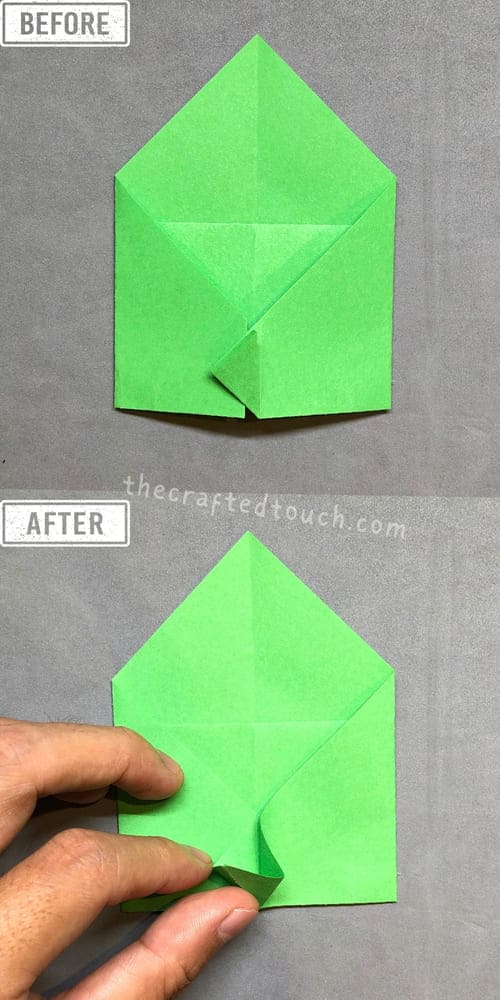
Step 18
Then I press it down from the bottom to the top to make a small square at the base.
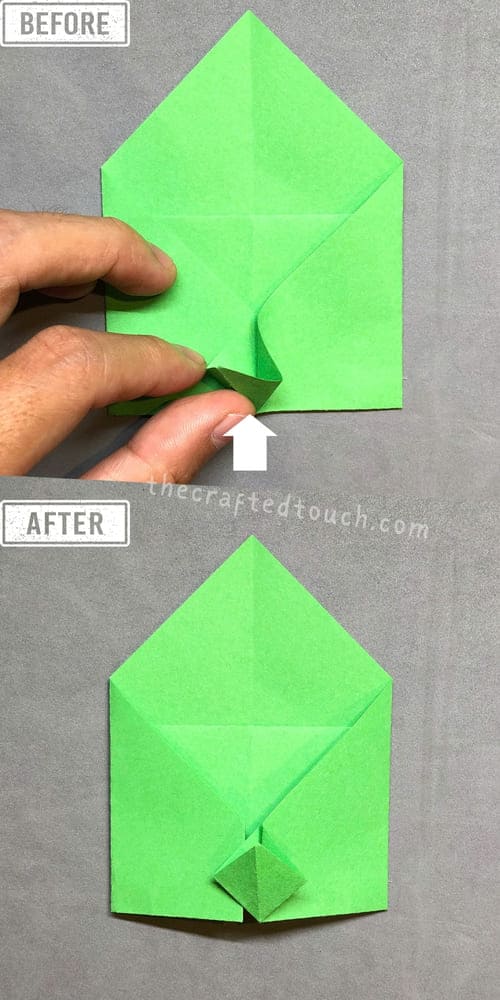
Step 19
Now I fold the paper from top to bottom along the dashed line, so the top point touches the center of the bottom edge.
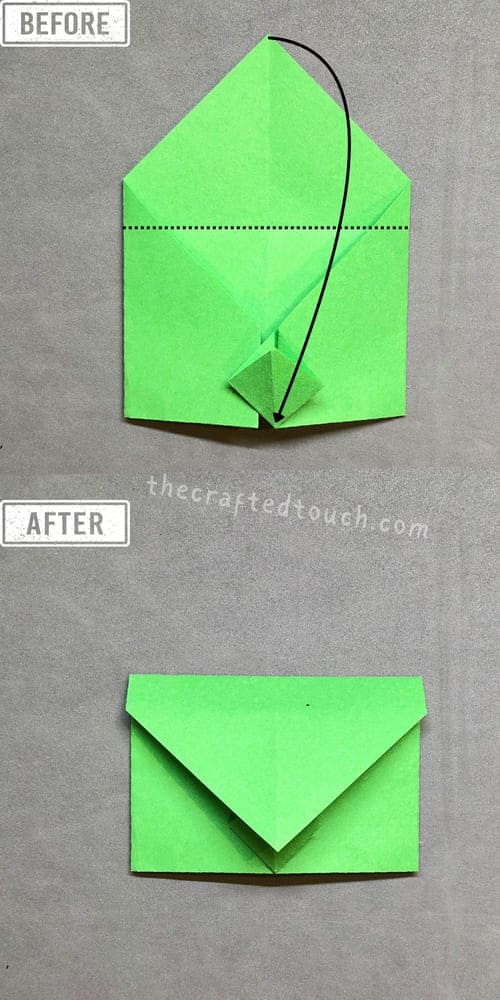
Step 20
After making that fold, I gently lift it up a little.
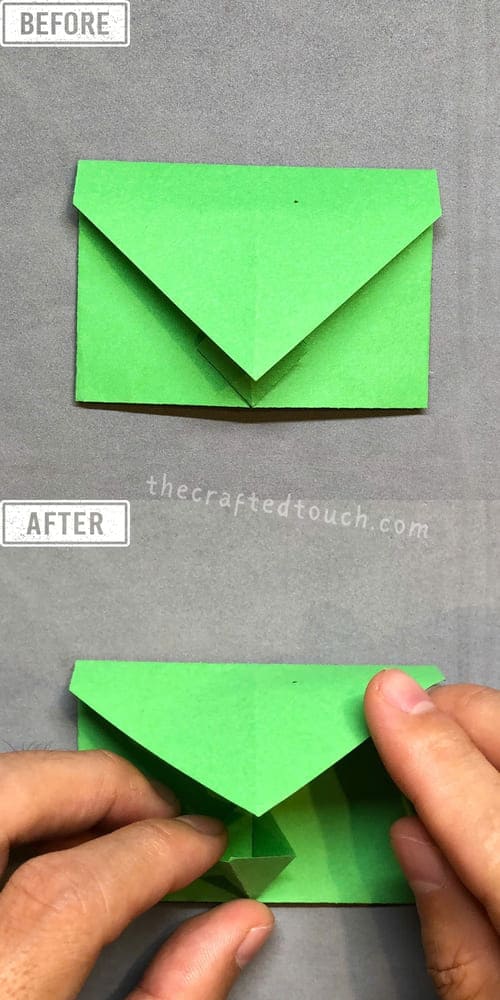
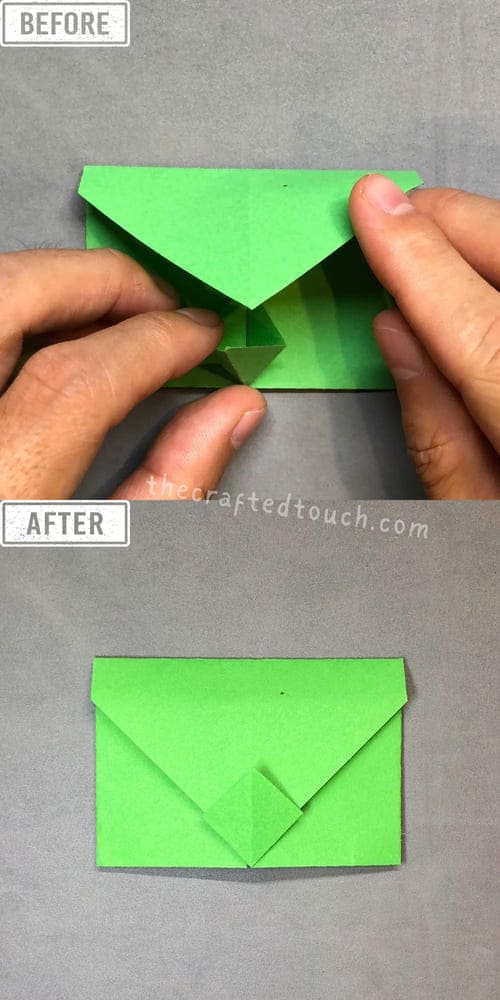
Step 21
Then I tuck the top point into the little square I made earlier at the bottom and there it is, I’ve finished my Origami Envelope
Tips that helped me fold better
| TIPS | How it’s work |
| Crease every fold well | I pressed down on each fold to make sharp lines. It made the envelope look much better! |
| Keep the paper straight | I lined up the edges carefully. If they don’t match, the envelope can look a bit messy. |
| Go slow and be gentle | I didn’t rush. Going slow helped me fold more neatly and fix any mistakes. |
| Use fingernails or a ruler to flatten | When a fold felt puffy, I used my fingernail or the edge of a ruler to smooth it. |
CONCLUSION
I finished my Origami Envelope and it looked great! I could slide in a message or a drawing and close it without glue or tape. If you want, you can decorate yours with stickers, doodles, or even write someone’s name on it. I hope you had fun folding with me, now you have your very own paper envelope!
