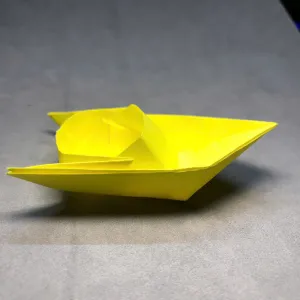
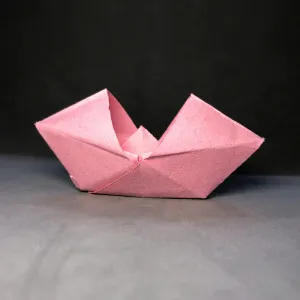
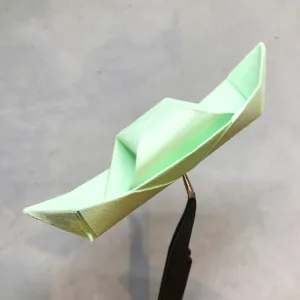
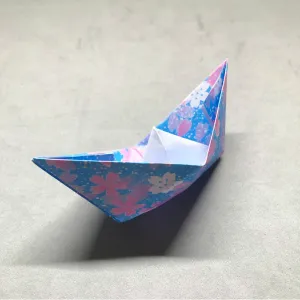
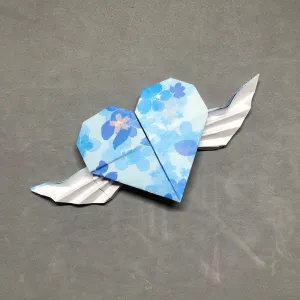
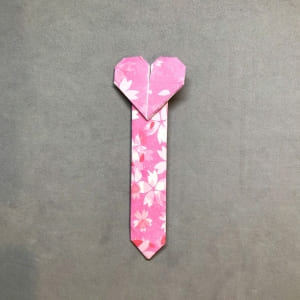
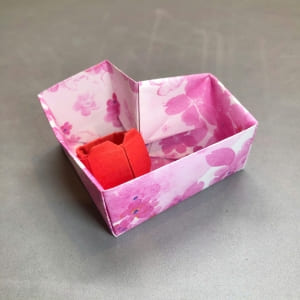
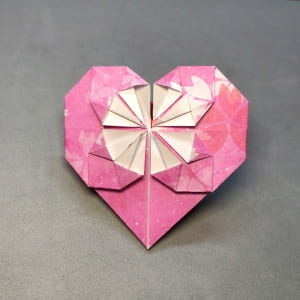
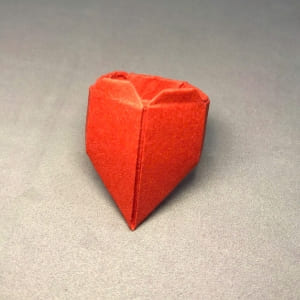
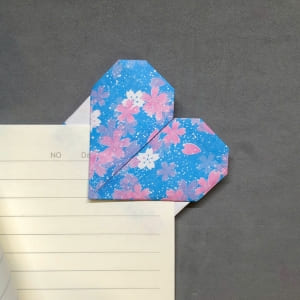
I recently stumbled upon an adorable origami heart and I had to share it! From choosing the perfect paper to the super-simple folding steps, the process is fun and easy for beginners. No fancy tools or complicated diagrams required, just a square sheet of paper, your hands, and a little heart. Whether you make it for a gift, decoration, or personal keepsake, this little heart is sure to spread joy. With step-by-step guidelines, anyone can give it a try.
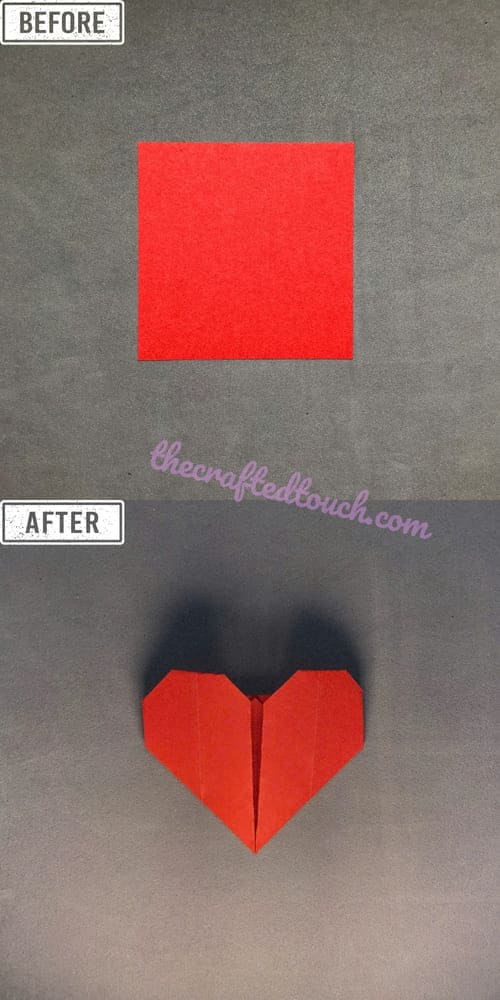
MATERIALS NEEDED
| Material | How I Use It |
| Square paper | Size from 10×10cm to 15×15cm is a good choice or larger depending on your preference,and not thick. |
| Ruler or finger nails | Help smooth the folds for sharpness. But it’s okay if you don’t have one your fingers work just fine. |
| Optional: Pens or Stickers | You can decorate your heart after folding. Draw little faces, write sweet messages, or add stickers to make it even cuter. |
Skill Level
★★☆☆☆ (Easy)
STEP BY STEP INSTRUCTION:
Have you ever wanted to make a paper heart with your own hands? It’s fun, simple, and you only need one square piece of paper! Follow me step by step, and together we’ll create a cute heart that you can keep or give to someone you love.
Step 1: To make a easy origami heart, i take a red square paper and put it in front of me.
Step 2: Then i rotate the square paper 45 degrees to the right to create a diamond
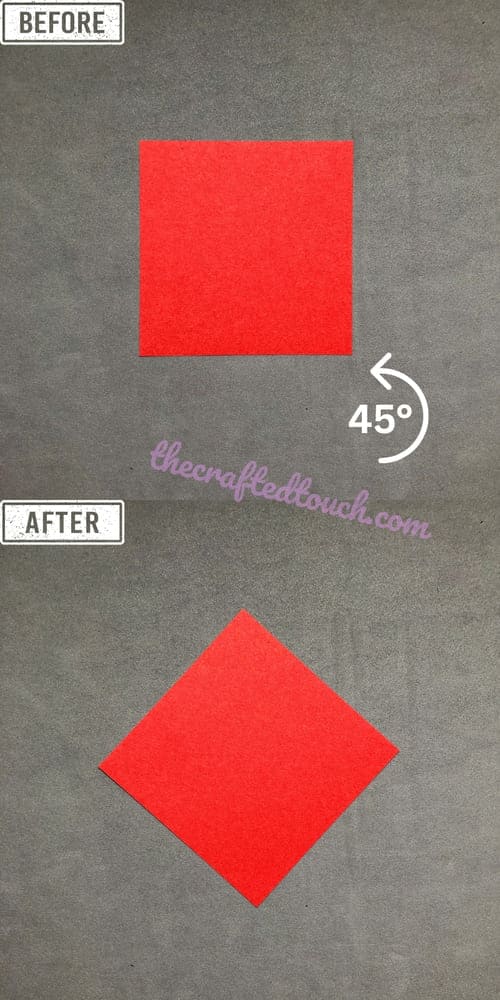
Step 3
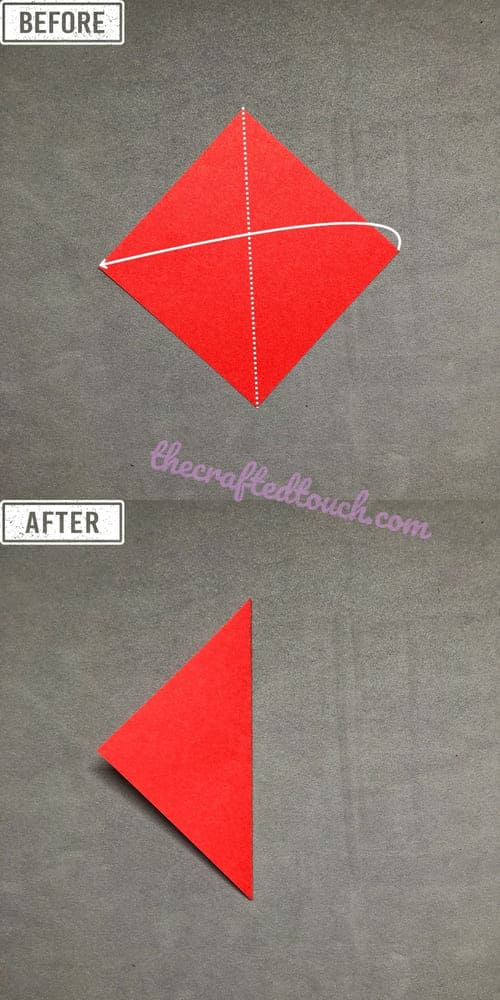
I fold the top right corner of the diamond over to the left to make a triangle and press it down to make a nice, clean fold.
Step 4
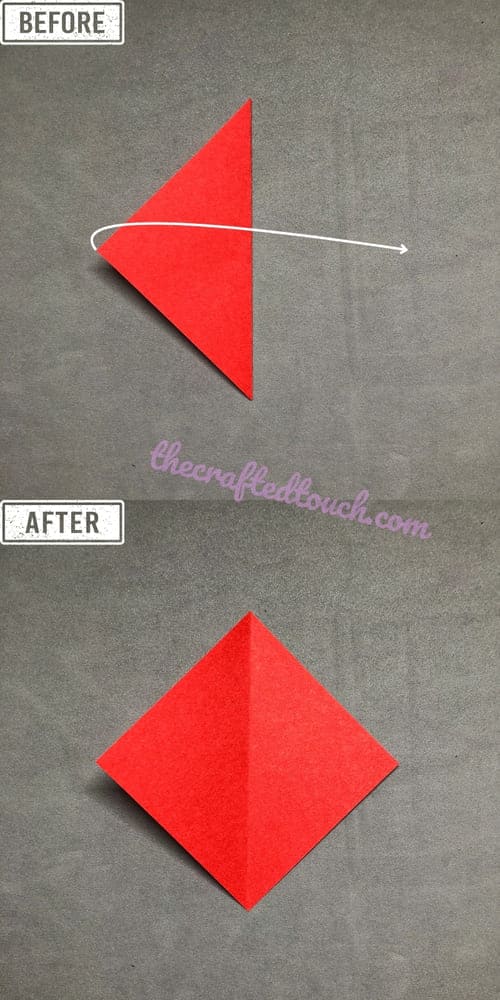
Then I open it back to the way it was.
Step 5
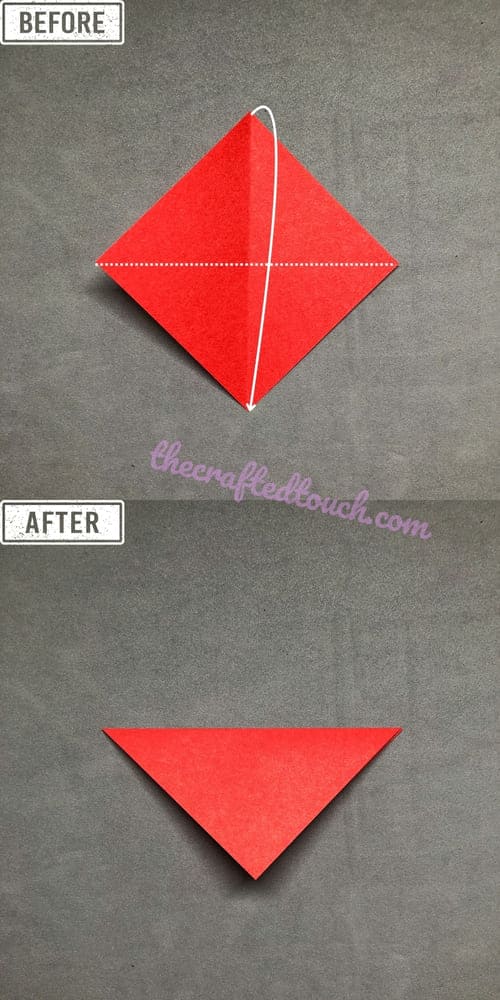
Next, I fold the top point of the diamond down to the bottom and press it flat.
Step 6
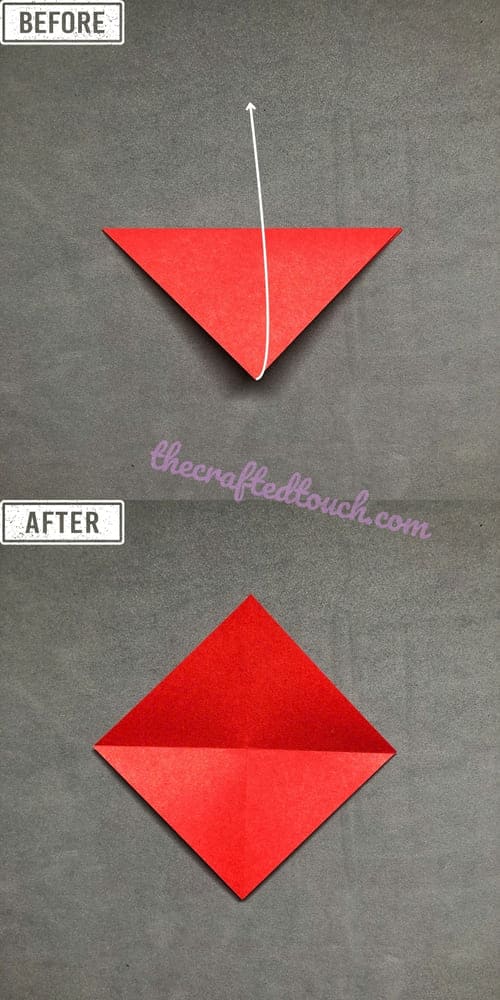
After making a nice fold, I open it up again. Can you see the plus sign (+) in the center?
Step 7
Now that I have a neat and even plus sign (+), I fold the top point of the diamond down to touch the center of the (+).
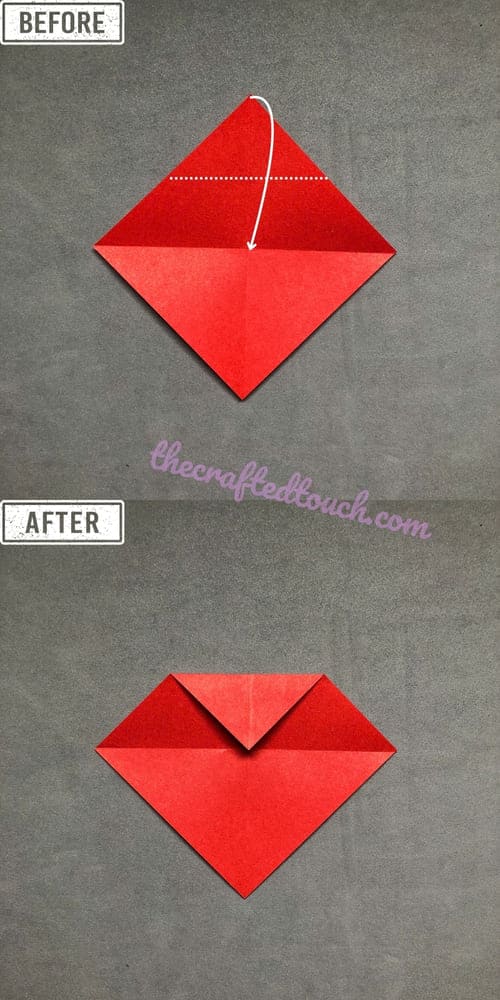
Step 8
Then I fold the bottom point of the diamond up so it touches the tip I just made at the top.
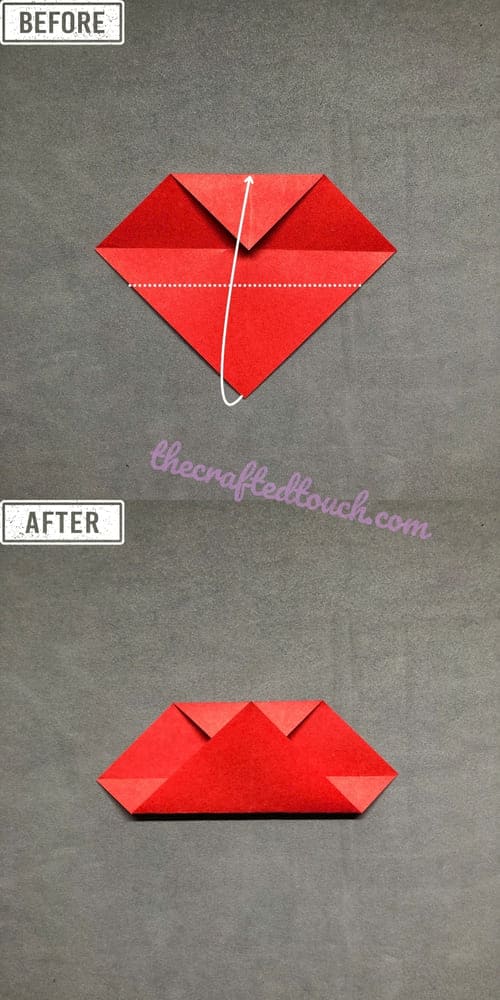
Step 9
On the right side of the paper, I fold the bottom corner up so it touches the center of the top part.
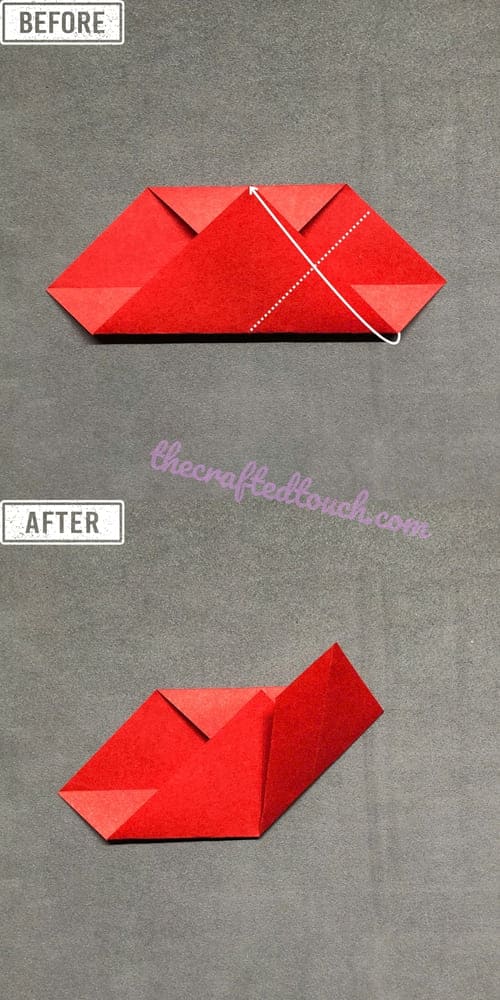
Step 10
Now I do the same with the left side. I fold the bottom left corner up so it touches the center of the top, along the dotted line.
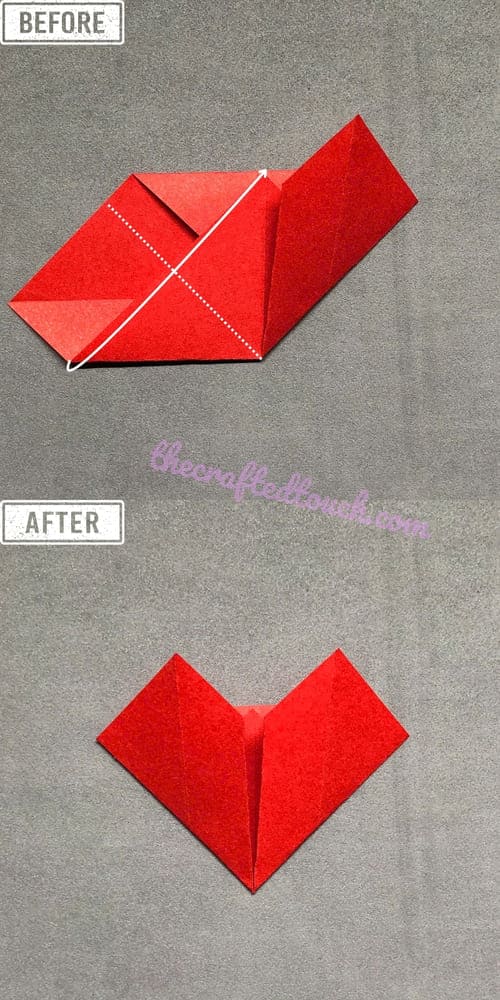
Step 11
It’s starting to look like a heart, right? Now let’s flip the paper over and fix a few small parts to make the heart look even better.
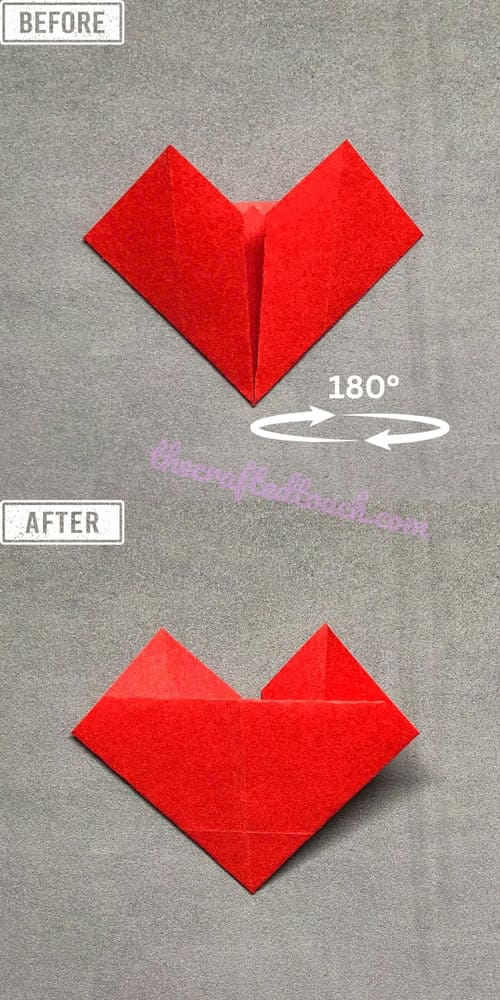
Step 12
On the top right corner of the paper, I’ll fold it in a little bit to make a small triangle.
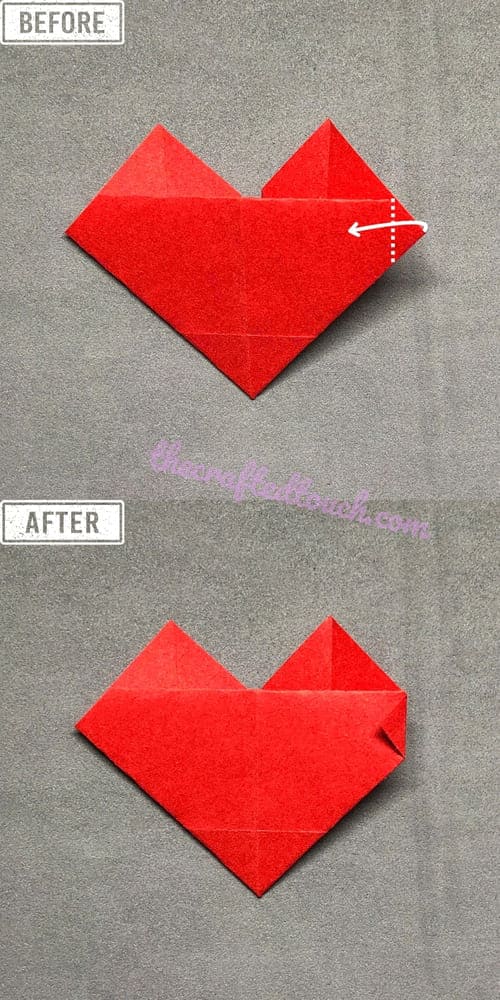
Step 13
I’ll do the same on the left side to make another small triangle like the one on the right.
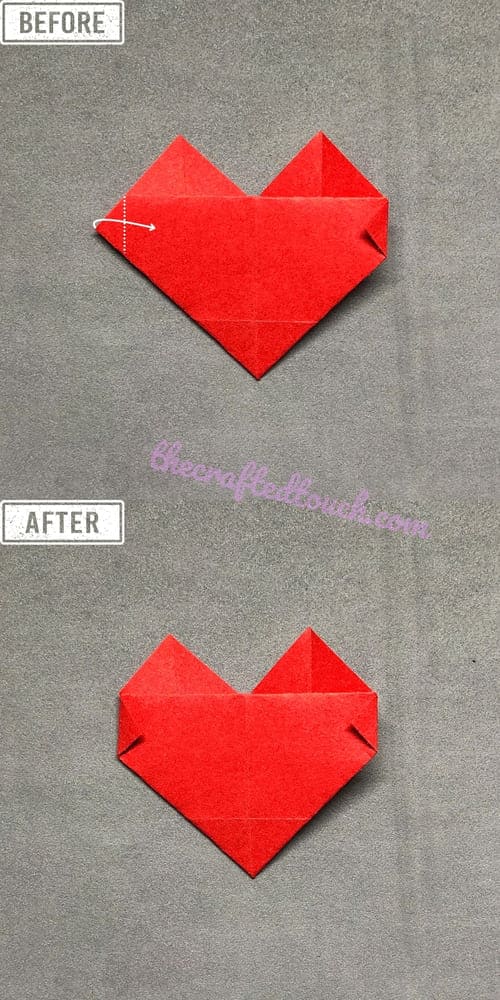
Step 14
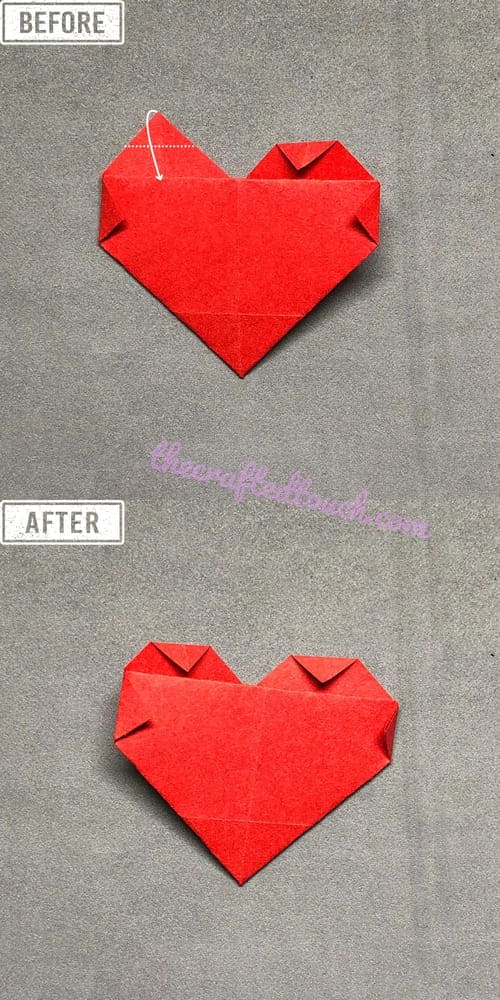
At the top, there are two little triangles. I’ll start by folding the right one down a bit to make the heart look nicer.
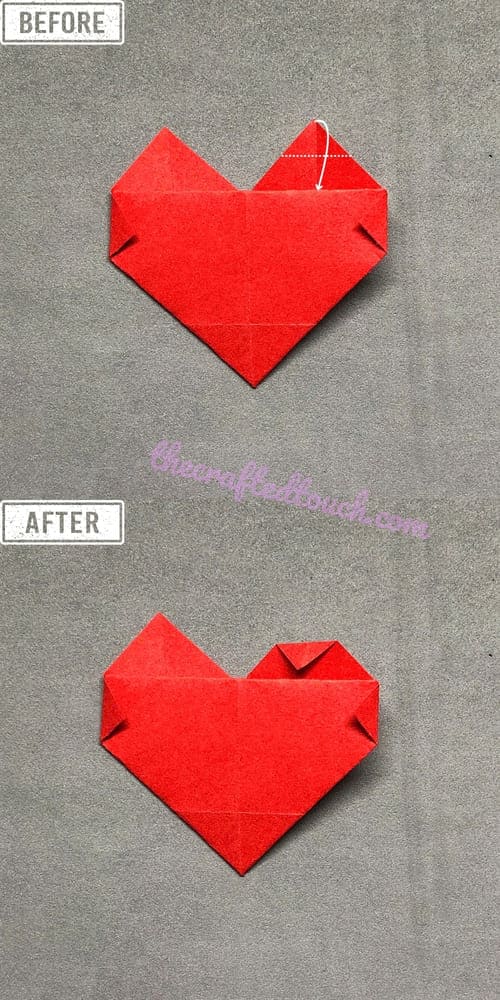
Step 15
Then I fold the left triangle the same way.
Step 16
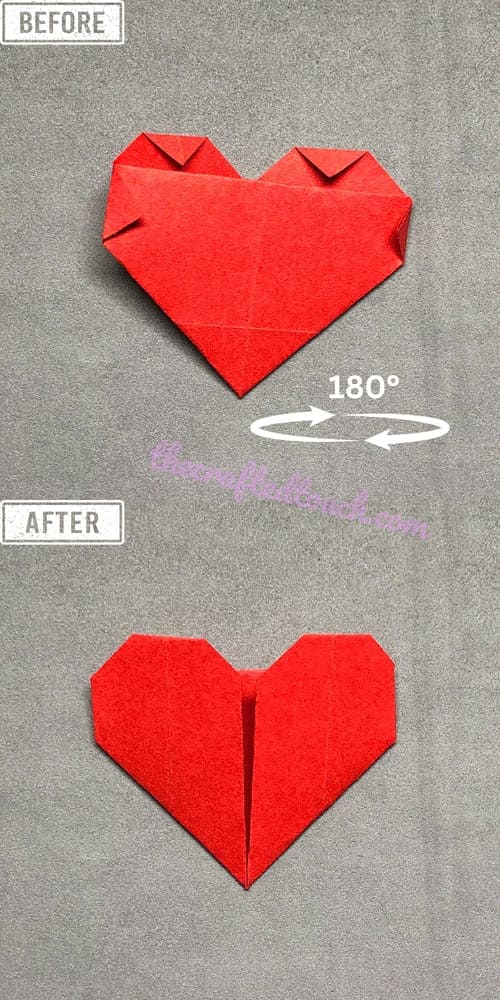
Now I flip the paper over, and here it is, a perfect heart!
Step 17
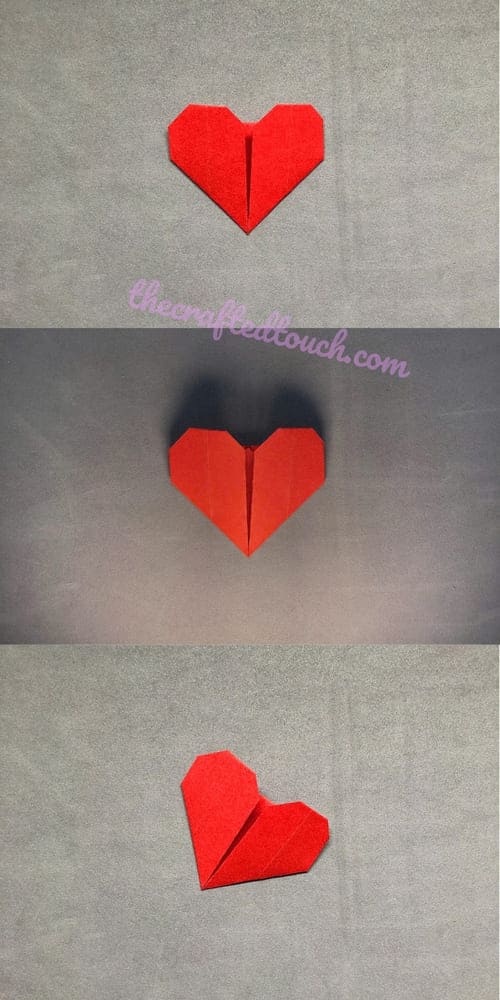
Look! This is how the easy origami heart looks from another angle.
Tips To Make It Look Nice
| Tips | Result |
| Fold carefully from the start | Make your first folds straight and even. This will help the next steps go better and make your heart look balanced. |
| Make the folds smooth and sharp | Use your fingernail or a ruler to press down the folds. This will make your heart neat and beautiful. |
| Add decorations (if you want) | You can draw on your heart or add little stickers to make it look extra cute! |
CONCLUSION
Now you’ve finished a lovely origami heart! It’s simple to make but full of love. You can keep it to remember something special, or give it to someone you care about. Just one piece of paper and a few easy folds and you’ve made something meaningful. Why not fold a few more hearts and share the love with others?
