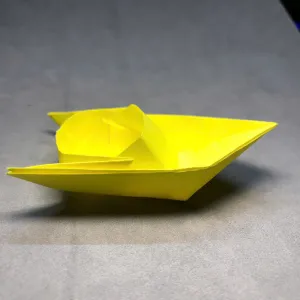
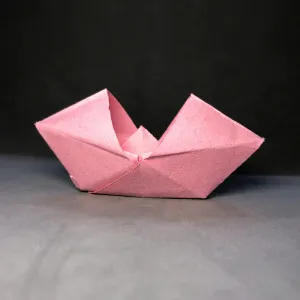
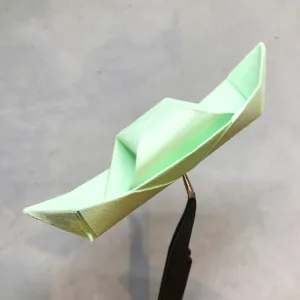
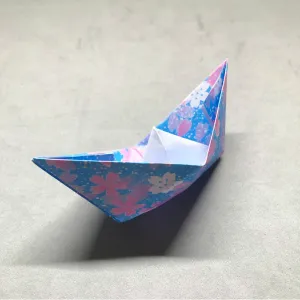
Have you ever wanted to fold your own envelope to hold a letter or drawing? This simple origami project only needs one square sheet of paper and a few folds to turn into a neat envelope. It’s perfect for notes, cards, or surprises.
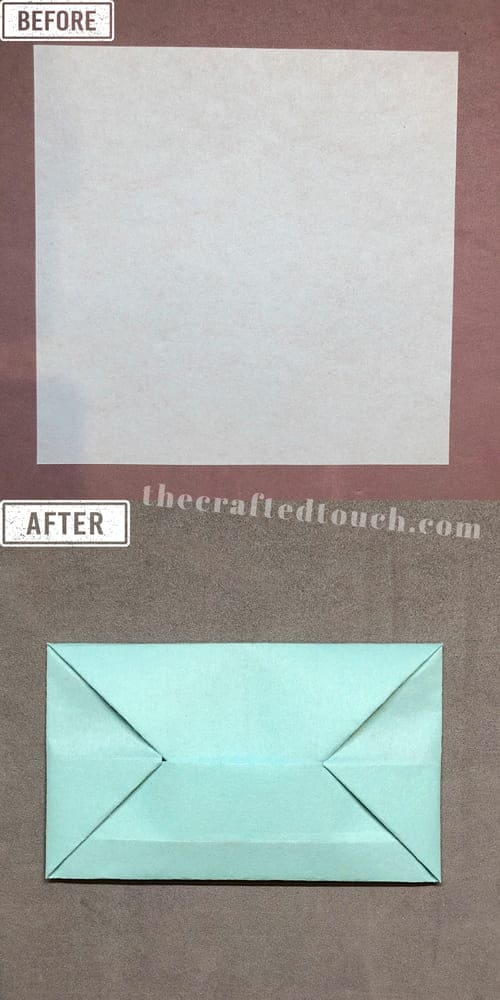
MATERIALS YOU NEED
| Material | Details |
| A square sheet of paper | Any size will work, but 15×15 cm (6×6 inches) is a great size for beginners. I choose colorful or patterned paper for a more fun result. Origami paper works best, but regular paper cut into a square is fine too. |
| A Flat, Clean Surface | Make sure your table or desk is smooth and clean. This helps keep your folds sharp and your paper tidy. |
| Your Hands | You won’t need glue, tape, or scissors, just your fingers to make folds. If you want, you can use a ruler or your fingernail to press folds firmly. |
Skill Level
★★☆☆☆ (Easy)
Step-by-Step Instructions
Now that I have everything I need, I’m ready to start folding. I’ll take it slow and fold one step at a time. I’m going to follow the creases carefully and make sure each fold is neat. It’s okay if it’s not perfect. what matters is that I try my best.
Step 1: To make my Easy Envelope Origami, I got a square piece of paper. One side is white, and the other side is blue. I placed the paper on the table with the white side facing up.
Step 2: I folded the paper in half from top to bottom.
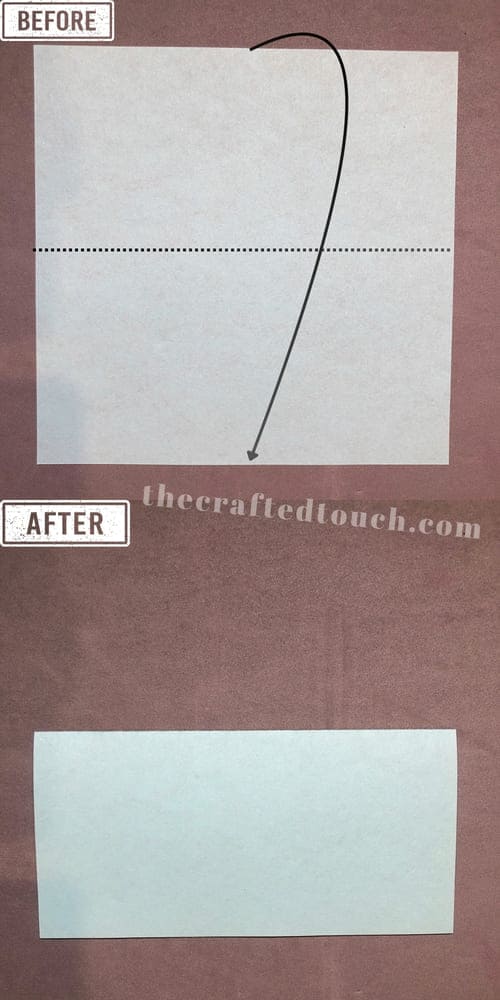
Step 3: Then I opened it back up
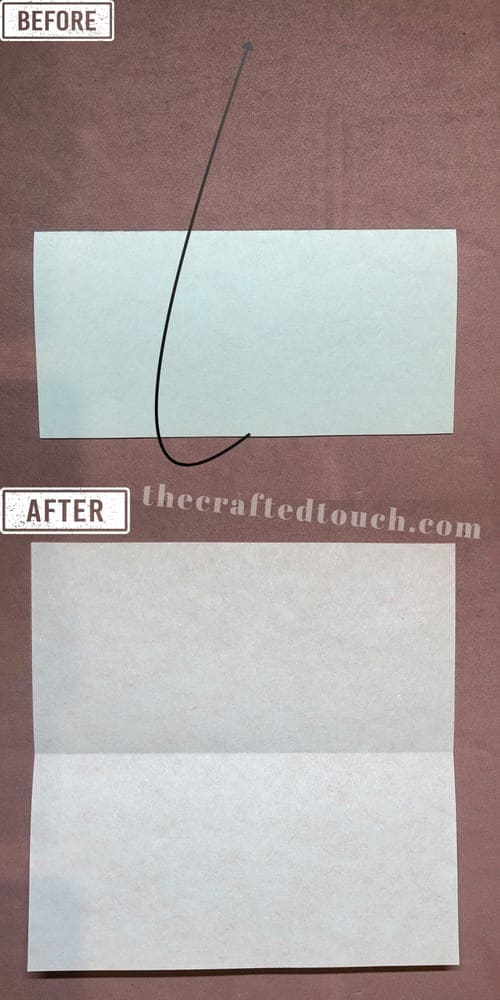
Step 4: The crease in the middle divides the paper into two rectangles, so I folded the bottom rectangle up along that crease.
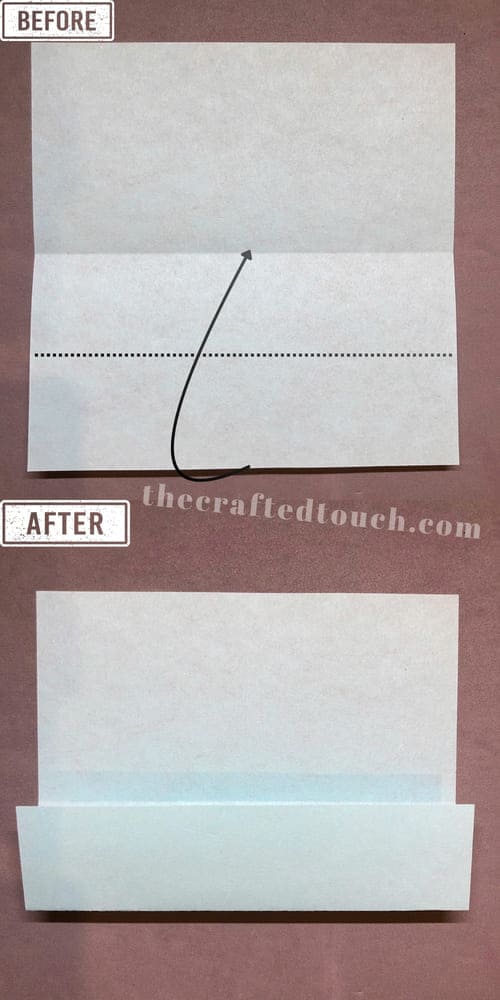
Step 5: After making a nice crease, I opened it back up again.
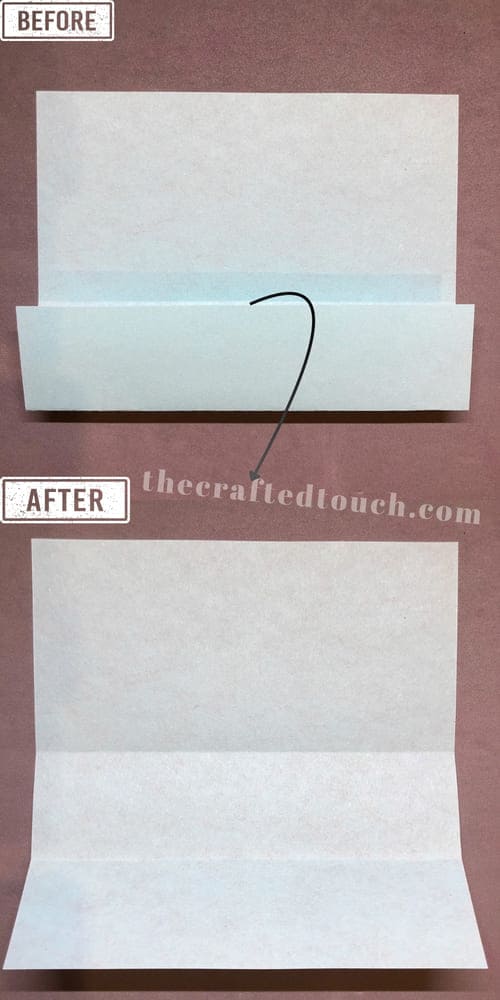
Step 6: I will keep going by folding the small rectangle I just made in half, from the bottom up.
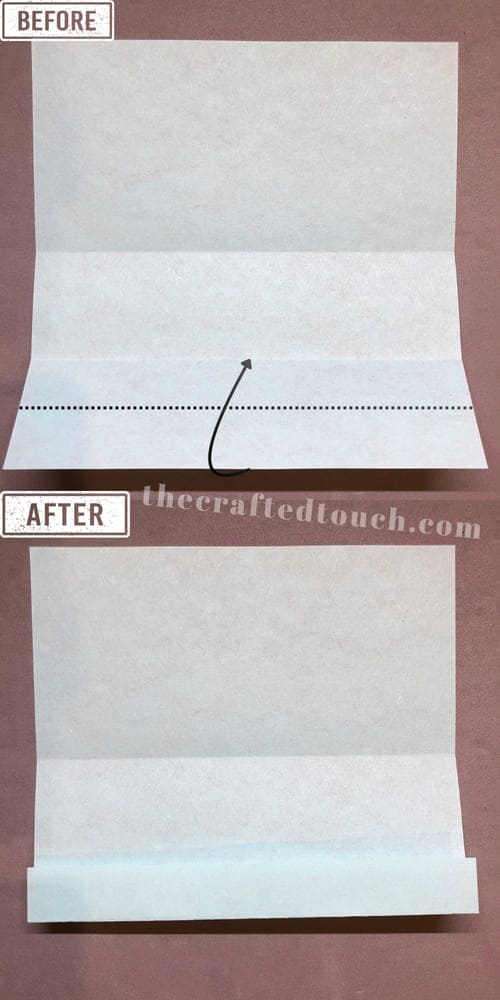
Step 7: Then I fold the bottom edge of the small rectangle up until it touches the middle crease. If you see one crease below the shape, that means you’re doing it right!
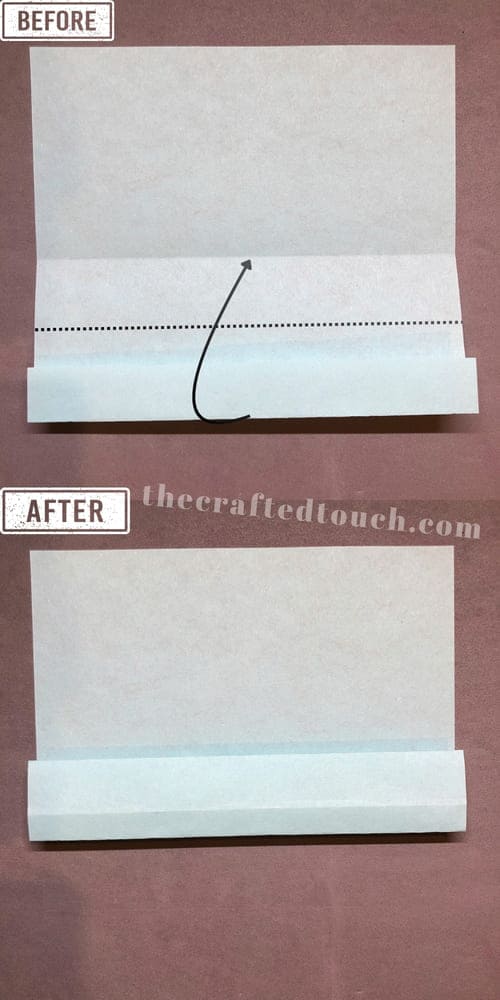
Step 8: Now I fold the top edge of the paper down until it touches the crease I made earlier near the bottom.
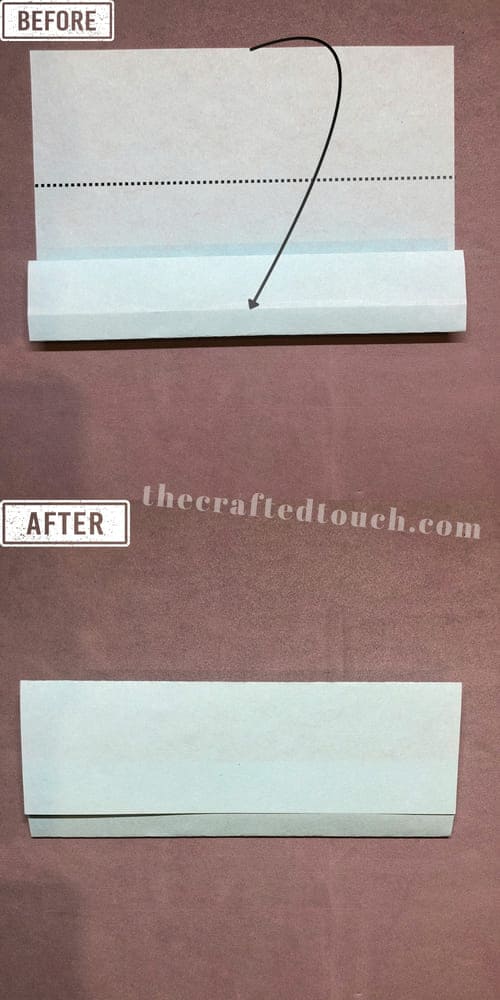
Step 9: After I get a nice crease, I open the top part I just folded back out.
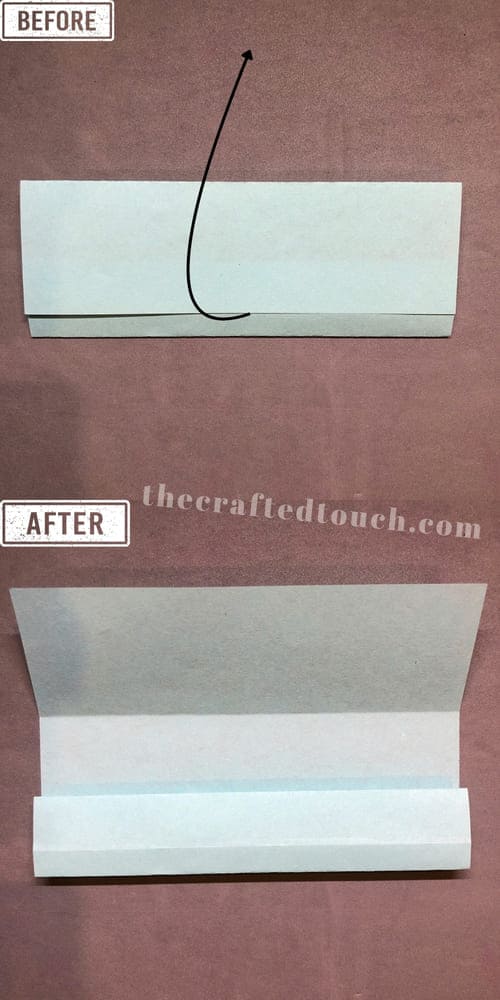
Step 10: On the bottom rectangle, I take the bottom right corner and fold it up to make a small triangle.
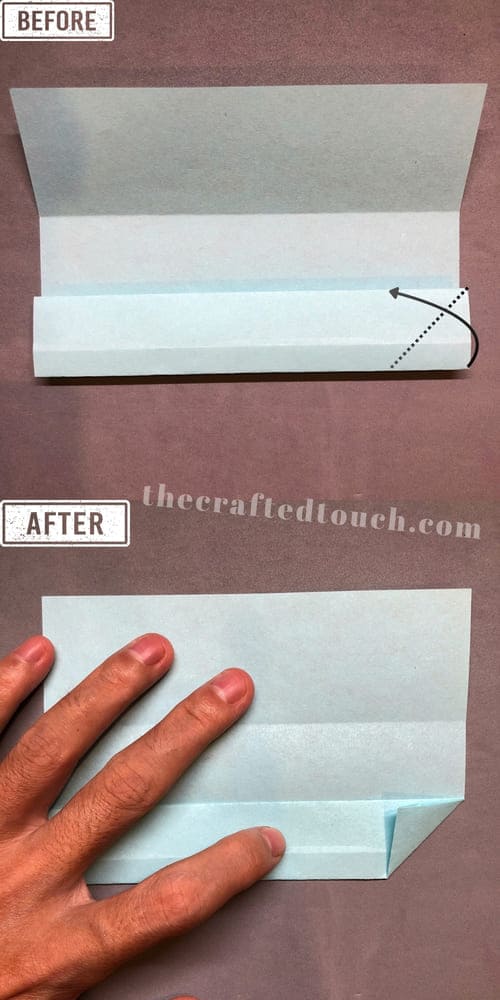
Step 11: On the right side, I do the same by folding the bottom left corner up to make another triangle.
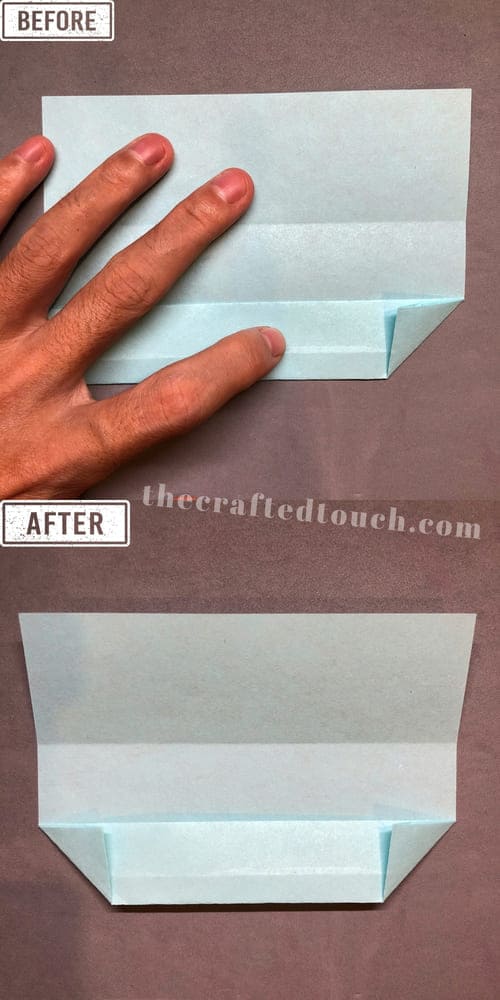
Step 12: Now, using the triangle I just made on the right, I fold the right side of the paper along the dotted line.
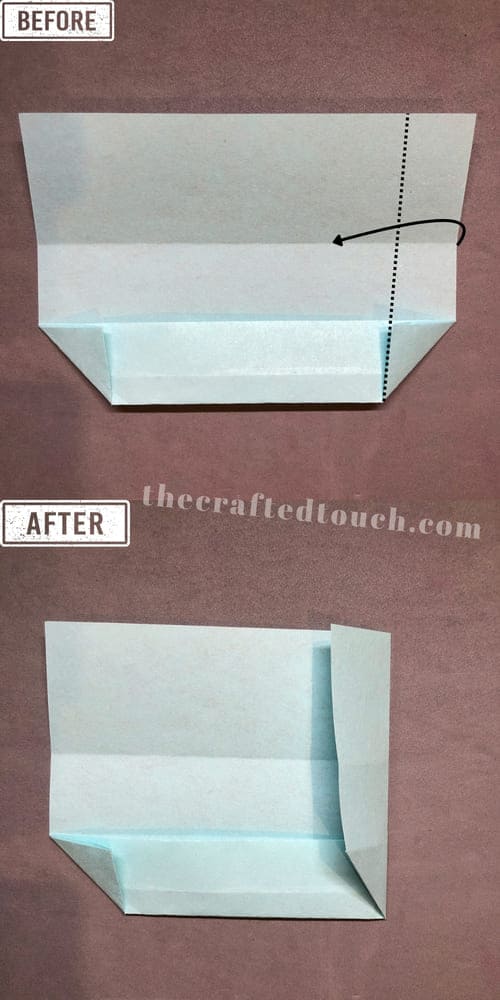
Step 13: I do the same with the left side. It looks like two little doors, right?
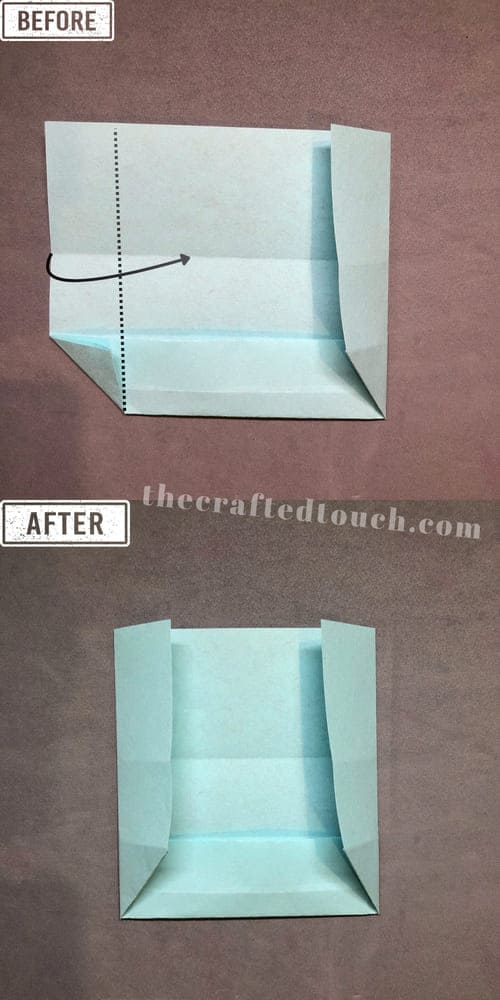
Step 14: Now I fold down the top right corner of the paper, using the crease that’s already there as a guide to make a small triangle.
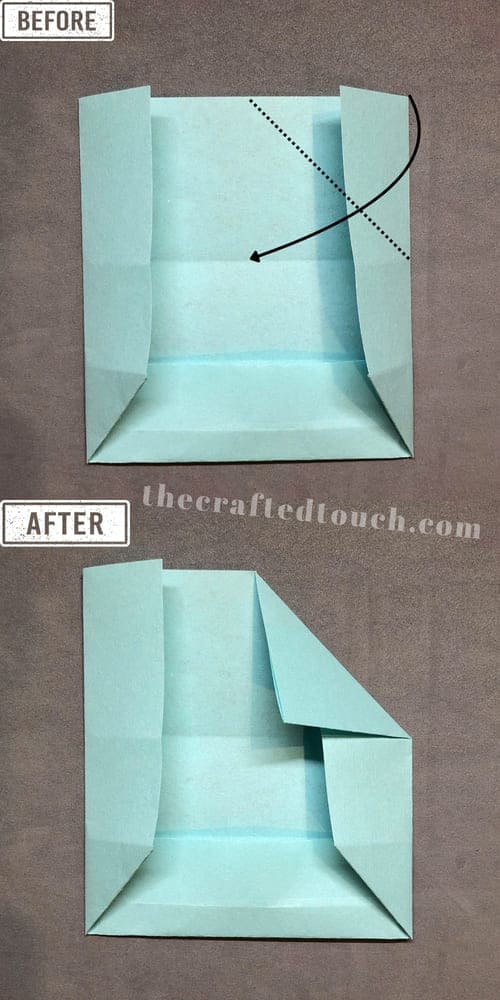
Step 15: I do the same with the top left corner, folding it down to make the second triangle. Now I have two small triangles at the top.
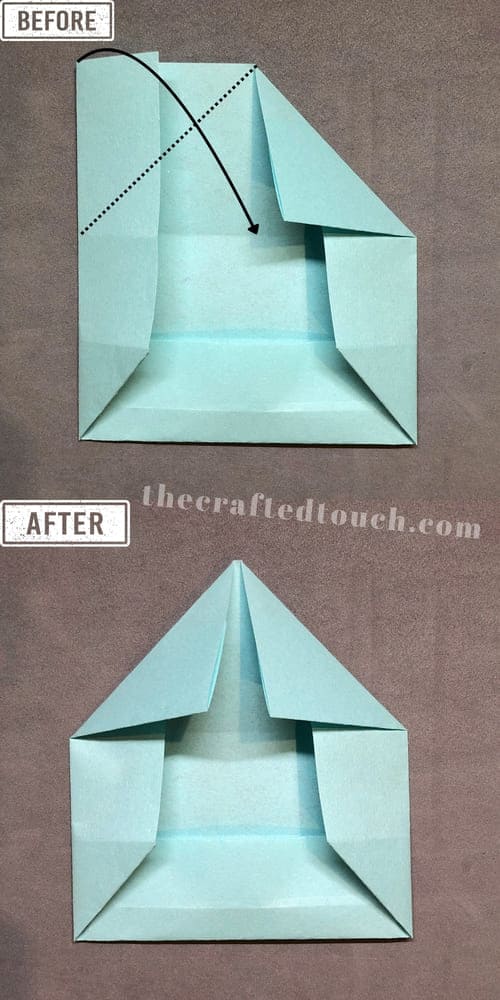
Step 16: After making neat folds, I lift the triangles back up.
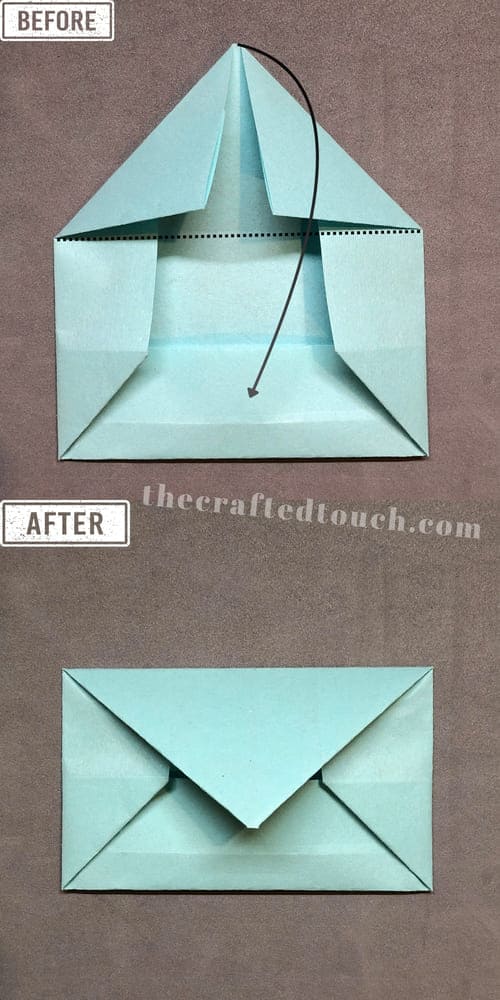
Step 17: After making neat folds, I lift the triangles back up.
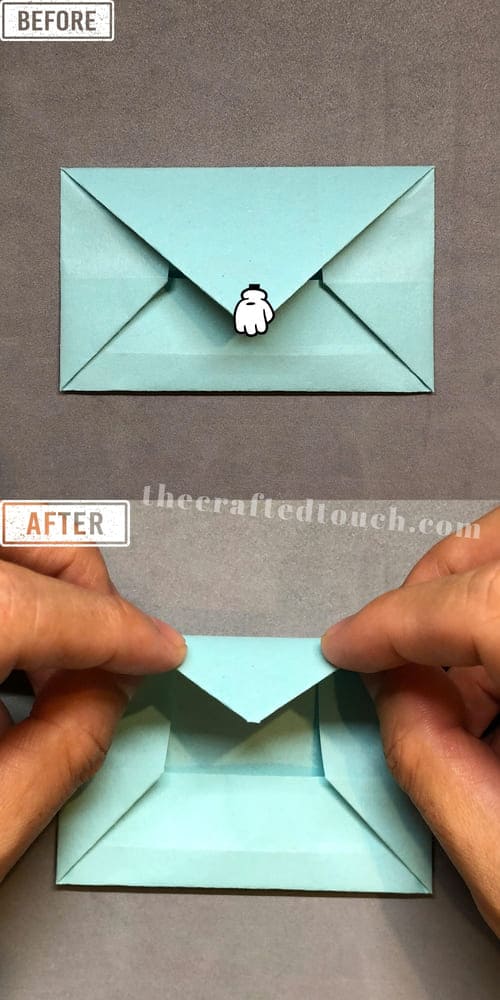
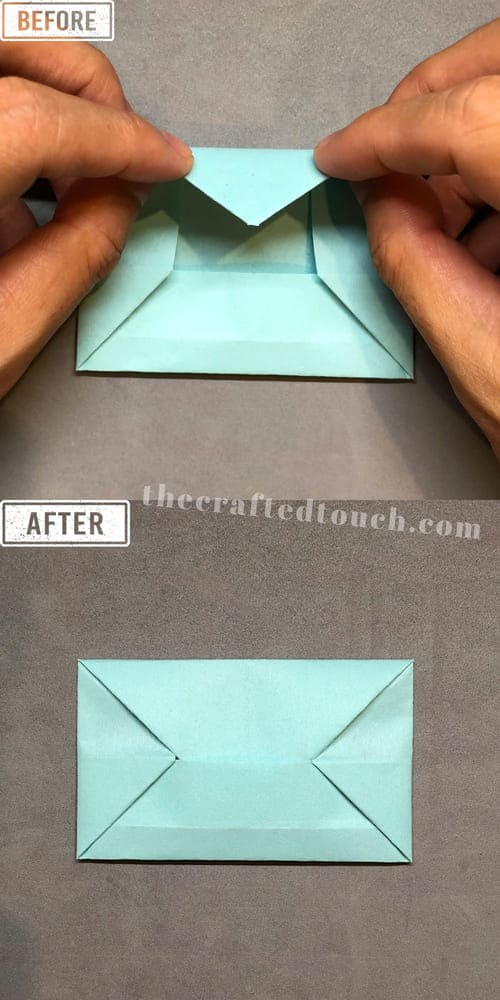
Step 18: Then I tuck the top of each triangle into the little pocket made earlier. And just like that, I’ve finished my Easy Envelope Origami!
Helpful Tips for Folding
TIPS | Description |
| Fold neatly and slowly | Take your time with each fold. Make sure the corners match up and lines are straight. A neat fold makes a better envelope. |
| Press each fold flat | Use your fingers or the edge of a ruler to press down on the folds. This helps the envelope stay in shape and look clean. |
| Use lighter paper at first | If this is your first time, try using thinner paper. Thicker paper like cardstock can be harder to fold neatly. |
| Add personal touches | After finishing your envelope, you can decorate it with: Stickers, drawings or doodles, washi tape, names or messages |
| Practice with scrap paper | Before using your favorite paper, try folding once or twice with scrap paper. This helps you get the steps right before using decorative paper. |
CONCLUSION
I had so much fun folding this easy envelope origami! It’s a simple and creative way to turn a piece of paper into something useful and beautiful. You can use your envelope to keep a note, a drawing, or even a small surprise. I hope you enjoyed folding it with me and try making more with different colors and patterns!
